Four weeks into Destiny 2's Season of the Wish, Bungie revealed the Starcrossed Exotic Mission. Completing it for the first time will award the Wish-Keeper Exotic bow. Additionally, players can earn craftable versions of Season of the Undying's weapons.
Over the course of the next few weeks, additional sections and secrets will open up. So, keep this guide handy, as I'll be covering everything you need to know.
How to beat the Starcrossed Exotic Mission in Destiny 2
Starcrossed in the Exotic Mission, in which players can obtain the Wish-Keeper Exotic Bow. In keeping with previous Exotic Missions, players will need to return to the Black Garden for several weeks to unlock each of the Intrinsic Perks for the bow.
As for power levels, Normal is at 1810, and Legend is at 1830. However, there is a modifier that keeps all enemies five levels above players. This doesn't make the individual enemies any more difficult by a significant margin but makes the large groups lethal.
Loadout recommendations
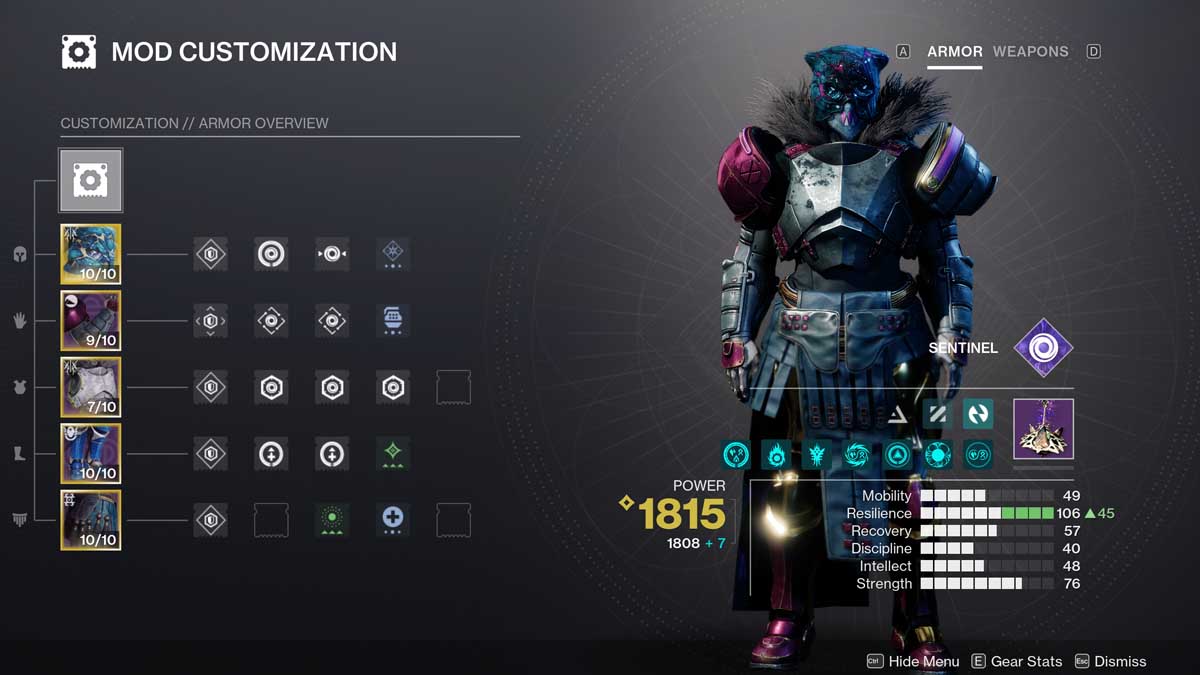
There is a 25% buff to all incoming Void damage and outgoing Solar and Stasis damage. Combined with the bevy of Solar Artifact Perks this Season, a Solar subclass is a strong choice with plenty of Void Defense boosts in the Chest slot.
I highly recommend a weapon with range, as there will be plenty of enemies at a distance, and the final boss is a Hydra that's best to stay away from. I used crafted versions of Ragnhild-D and Retrofit Escapade and alternated between Graviton Lance and Le Monarque.
For solo players, survivability is the name of the game as Starcrossed doesn't scale, and dying will reset the current section. Anything with health regeneration or overshields goes a long way.
Walkthrough
There's not a whole lot to Starcrossed in terms of navigation. It's a fairly linear experience as you're shuffled from one encounter to the other. The biggest things to learn are the mechanics of the different Ahamkara buffs.
- Sire's Obligation
- This is a 45-second buff gained from standing in the blue pools of light. This buff allows you to see the symbols and damage enemies that are normally immune. The symbols are the key here as you'll see Dragon, Fish, Bird, or Snake.
- When these symbols appear, there will be a door that can only be unlocked by activating the symbols in order. So, if you see Dragon, Bird, and Snake, grab the Sire's Obligation buff and kill the Taken Phalanxes in that order to unlock the door.
- One caveat is that by killing enemies in the wrong order, the lock resets and you'll need to check for the new symbols.
- Dam's Gift
- This 45-second buff is attained by standing on an orange pool of light. There aren't any symbols tied to this one. Instead, it allows you to survive the poisonous orange clouds filling several passageways.
- The second encounter requires you to use this buff to wipe out three Gatekeeper Wyverns in as many passages. Once dead, you can activate the now unshielded Vex Node to partially unlock the main door.
- Crowned by Dragons
- By doing a Fusion Dance (standing in both pools of light), you gain the perks of both buffs.
- For the third encounter, you are combining mechanics from the previous two encounters. There are two rooms filled with poison and containing an otherwise immune Taken Phalanx that must be put down. They're fairly tough, so you might need to pop in and out a few times, topping off the buff by standing in the pool.
- Aside from the two rooms, there's a third Taken Phalanx in the middle of the room. Feel free to kill his allies for Special and Heavy ammo bricks.
How to beat Akardon, Pitiless Mind
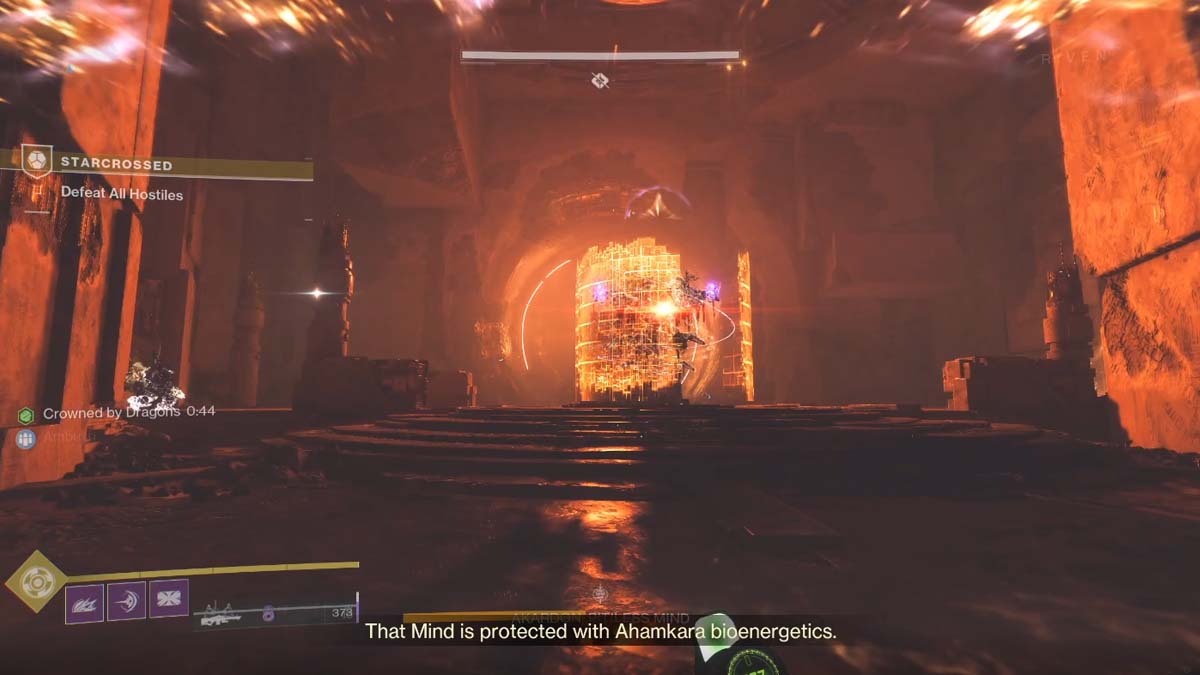
For solo players, this fight is a nightmare. For a full fireteam, it goes so quickly that you'll be done before you realize it. Balance your content, Bungie!
Grab both buffs before entering to get the Crowned by Dragons buff. There will be two pools in opposite corners of the room where you can top off. Pay attention to your timer as failing to reset it will kill you!
Aside from the boss in the middle of the room, there will be two Taken Phalanxes who serve as attendants. Take them out first, as they will hunt you down and boop you out of cover using their shield blast.
Speaking of cover, there are two reliable spots on the left and right sides of the arena. I prefer the right side with the stairs as it provides more cover, but you'll want to be comfortable with either and the wall in the back. The reason for this is that Akardon will start to wander at 2/3 health.
At random times, Vex Harpies and Taken Goblins will appear. The Harpies will try to flush you out of cover, while the Goblins will make Akardon immune to damage. Deal with both accordingly. Additionally, there will be drones that encapsulate you in a Vex bubble if they complete their kamikaze run. You're in for a bad time if this hits you out in the open.
The fight itself is incredibly straightforward. It's just a matter of keeping the ads in check and ensuring your buff doesn't run out.
Secret Chest #1
Located at the beginning of the mission, where you're traversing over the branches and leaves of the Black Garden. Eventually, you'll curve to the right and head over an enormous branch. Look down to spot a ledge that leads to a cave containing the chest.


Secret Chest #2
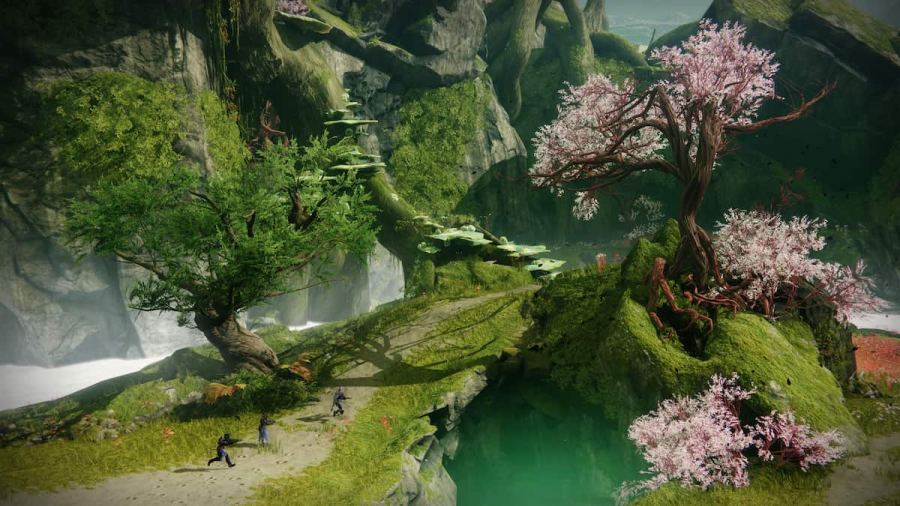
Our second chest will be in the second area of the mission, where it opens up into a lush field of flowers, rainbows, and waterfalls. Head toward the waterfalls on the left to spot a Dam buff pool. After acquiring the buff, jump through the second waterfall (the one on the right) to see an entryway full of the nasty orange stuff. Head in to find the chest, which contains the first upgrade for Wish-Keeper.
Related: Albedo Wing god roll, stats, & how to get – Destiny 2


Secret Chest #3
This one isn't so much of a secret as you practically run into it with any treasure-finding Mod for your Ghost Shell. After dispatching the group of three Taken Phalanxes using Sire's Obligation, you'll come into the area where you first get Dam's Gift. Go into the orange haze and immediately turn left to find a Taken Phalanx guarding the chest.
How is Wish-Keeper?
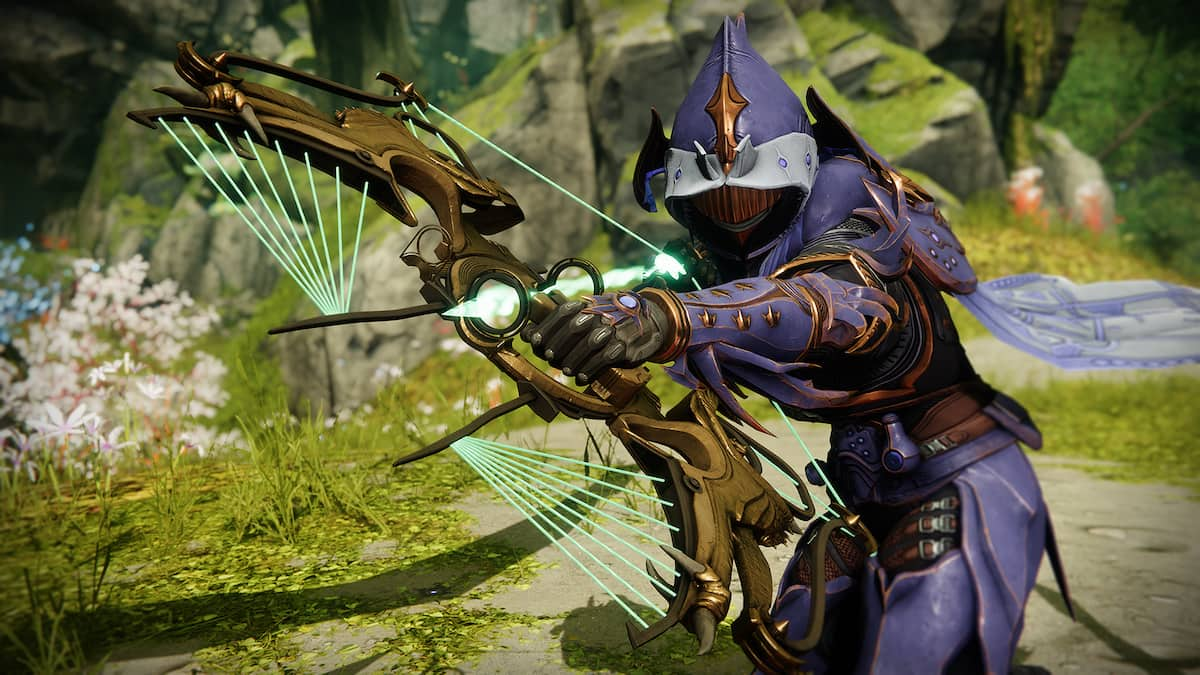
The Exotic Strand bow isn't great. Its Exotic Perk lays down traps that Suspend targets depending on how many previous precision shots were made. It's similar to Ticuu's Divination in terms of operation, with damaging blows being ADS, whereas the perk shots are hip-fire.
Granted, this impression is from a bow with no useful Intrinsic Perks, as they'll be released over the coming weeks. I'll be sure to update this when those become available, but for right now, Wish-Keeper is not worth making a build around.
Update (12/27/2023): The first Intrinsic Perk only added five Stability, the ability to select different bowstrings and handles, and the first Exotic Trait, which increases trap duration. I'm still not fully convinced that this bow isn't immediately going into my vault once this quest chain is done.
Update (1/3/2024): Second verse is same as the first, unfortunately. I wish there was something about this bow that made it work for me, but there simply isn't. I feel that needing five shots to trigger the Exotic Perk is too much. Dropping it to three would fit the faster pace of Strand much better.
For more Destiny 2 content, check out How to get the 2023 Dawning shader in Destiny 2 on Pro Game Guides!