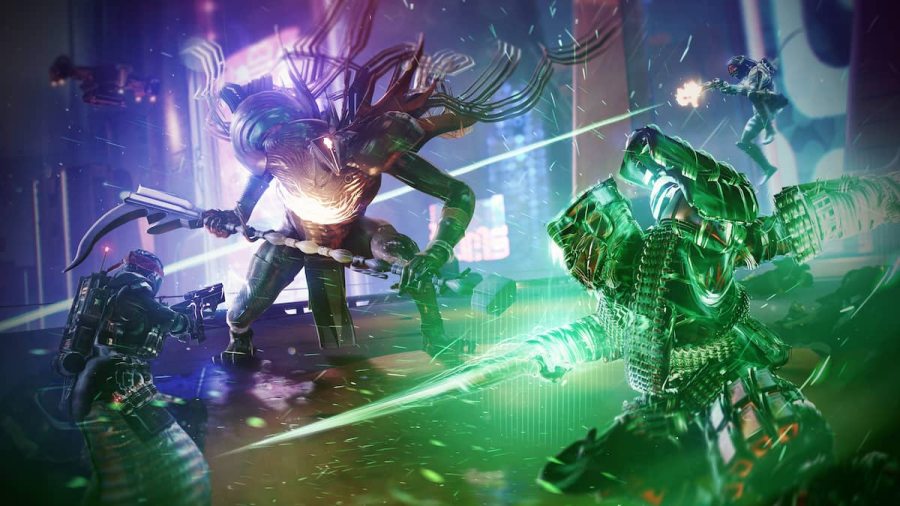
Having a lethal weapon can significantly improve your chances in Destiny 2. While some weapons are easy to obtain, you must fight hard for the best ones. One of them is the Vexcalibur exotic glaive you'll get after completing the NODE.OVRD.AVALON mission. It's not easy, but with our help, you'll learn how to complete NODE.OVRD.AVALON secret exotic mission in Destiny 2 and take Vexcalibur home.
How to get Vexcalibur Exotic Glaive in NODE.OVRD.AVALON mission in Destiny 2
Here's how to get the Vexcalibur Exotic Glaive in NODE.OVRD.AVALON mission in Destiny 2. You must enter the Vext Network, gather and enter data. Then defeat two bosses to claim your exotic!
How to start the NODE.OVRD.AVALON Secret Mission in Destiny 2

- Head to the Gulch, located in the European Dead Zone, Earth.
- Collect six Vex orbs to obtain the access code.
- Be quick; you have 30 seconds to locate each orb when you pick the first one.
- By completing the code, you'll unlock the entrance to Simulated Cave. Make haste, as you'll unlock the cave for everyone!
- Interact with the Harpy.
- Press the Launch button to start the secret mission.
How to enter Vex Network in NODE.OVRD.AVALON Secret Mission in Destiny 2
To enter Vex Network in NODE.OVRD.AVALON Secret Mission in Destiny 2, you must defeat enemies with void shields and enter the codes. Use the best void builds for Warlock, Titan, or Hunter for the best results. Start by jumping on the first platform with enemies, and take them down. Be careful, as they'll respawn fast, so you'll have to do the coding with enemies around.

Related: Best Solar Machine Guns in Destiny 2
- The exact order for the first code is located on a wall on the right side of the platform.
- Shoot the objects at the pillar in the order you saw, from top to bottom.
- The second code is located on the left side of the pillar. Here you need to shoot four objects.
- Shoot the objects at the pillar in the order you saw, from top to bottom.
- The third code five-object layout is located behind the Vex portal on the right side of the pillar.
- Shoot the objects at the pillar in the order you saw, from top to bottom.
You'll have to repeat the process in the next room, but with many enemies. Focus on codes and less on enemies, as they'll respawn fast. When you complete the codes, clean the room of Vex enemies. Now you need to follow the path, avoid traps, and shoot enemies until you reach the "Corrupt Data Management" part of the mission.
How to gather and enter data in NODE.OVRD.AVALON Secret Mission in Destiny 2
You must destroy enemies as they'll drop purple objects representing data you need to collect. When you gather enough of them, head to the center of the room and use them. The floor will disappear, and you'll fall. After you spawn to the arena, you'll need to repeat the process several times. While doing this, the Data Nullifier boss will appear.
How to defeat the Data Nullifier boss in Destiny 2

Related: All Destiny 2 Lightfall Missions
Focus first on Harpies and Hobgoblins around you to beat the Data Nullifier boss in Destiny 2. When you clear one wave of them, attack the boss with full force. As soon as more enemies appear, retreat behind the wall and gun them down. After you beat the boss, follow the path out of the arena to the Node Core. On your way there, you'll face some enemies, but they're not as dangerous as falling from the platforms, so be careful!
How to defeat Brakion boss in Destiny 2

- When you enter the Node Core arena, you'll see Brakion. Instead of going after him, retreat to the defense position on the right side of the map.
- Destroy enemies and focus on Brakion.
- As soon as new enemies arrive, focus on them again.
The second phase of the Brakion boss fight
- In the second phase of the battle, you need to chase him to another arena to override its access gate.
- To do this, you must solve another five-orb puzzle. The object pattern is located on the left side of the arena, in the hole behind the wall. This position is also great for cover.
- When you do this, the Brakion boss is no longer protected by a firewall (energy shield).
- Unfortunately, the firewall will reboot after 25 seconds, so deal as much damage as possible.
- Repeat the process with the orb puzzle to take down the firewall and attack Brakion.
The third phase of the Brakion boss fight
- The final arena is the smallest one. Brakion will immediately chase you while other enemies shoot at you. Move fast, and take as many enemies as you can so you can focus on the boss.
- Move all the time to avoid being surrounded by enemies while focusing firepower on Brakion.
- With some luck, you'll defeat the boss and thus complete the NODE.OVRD.AVALON Secret Mission in Destiny 2.

- Now all you have to do is pick up the Vexcalibur weapon pattern and take it to the War Table in H.E.L.M.
- Vexcalibur is a glaive weapon with an exotic perk M1R Distribution Matrix and Perpetual Loophole trait.
For more information on Destiny 2, check out How to Get Weapon Mods in Destiny 2 Lightfall on Pro Game Guides.