
Season of the Witch in Destiny 2 introduced a new weekly activity, the Exotic Mission Rotator. For years, Guardians have been lamenting that there isn't enough to do in the looter shooter and content vaulting has only made this worse. The Exotic Mission Rotator brings back classic missions that can then be farmed. Here's how to complete the reintroduced Presage mission.
Where to find the Presage Exotic mission
All of the Exotic missions are now found in the Legends section. Open the Director, head to Destinations, and finally Legends to find this week's rotator. Note that to play the Presage mission, Guardians must own the Beyond Light expansion.
What are the Presage Exotic Mission Rotator rewards?
The big draw to running the rotators is the opportunity to farm gear from previous seasons. When it comes to Presage, Guardians can nab equipment from Season of the Haunted. Note that this includes red border weapons which are required for crafting. Additionally, Exotic weapon rewards are now craftable. This is huge as players no longer have to wait for Xur to show up with a good roll.

Weapons
- Dead Man's Tale - Exotic scout rifle
- Completing the initial run will award the red border. Break this down to unlock the blueprint. Subsequent runs will unlock the Intrinsic Perks, of which there are three. These are necessary to unlock all craftable perks.
- Dead Man's Tale Exotic Catalyst - Complete Presage on Legendary to obtain this.
- Firefright - Legendary auto rifle
- Tears of Contrition - Legendary scout rifle
- Nezarec's Whisper - Legendary glaive
- Without Remorse - Legendary shotgun
- Hollow Denial - Legendary trace rifle
- Bump in the Night - Legendary rocket launcher
- Austringer - Legendary hand cannon
- Drange (Baroque) - Legendary Sidearm
- Beloved - Legendary sniper rifle
- CALUS Mini-Tool - Legendary SMG
Armor
Guardians can obtain the Eidolon Pursuant armor purely for transmog purposes.
Presage Exotic Rotator Mission Modifiers
Normal (1800 Power)
- Chaff: Radar is disabled
Legend (1830 Power)
- Equipment Locked
- Maximum effective Power is 1815
- Shielded Foes: Combatants can have Arc, Solar, and Void shields
- Raider Shield: Scorn Raiders have Void shields.
- Void Threat: 25% increase to incoming Void damage.
- Overcharged Weapons: Weapon overcharges from the Seasonal Artifact are active in this activity. Kinetic weapons do increased damage when your subclass element matches an active surge.
- Overcharged Scout Rifle: 25% bonus to scout rifle damage.
- Strand Surge: 25% bonus to outgoing Strand damage.
- Arc Surge: 25% bonus to outgoing Arc damage.
Presage Exotic Mission Rotator Walkthrough
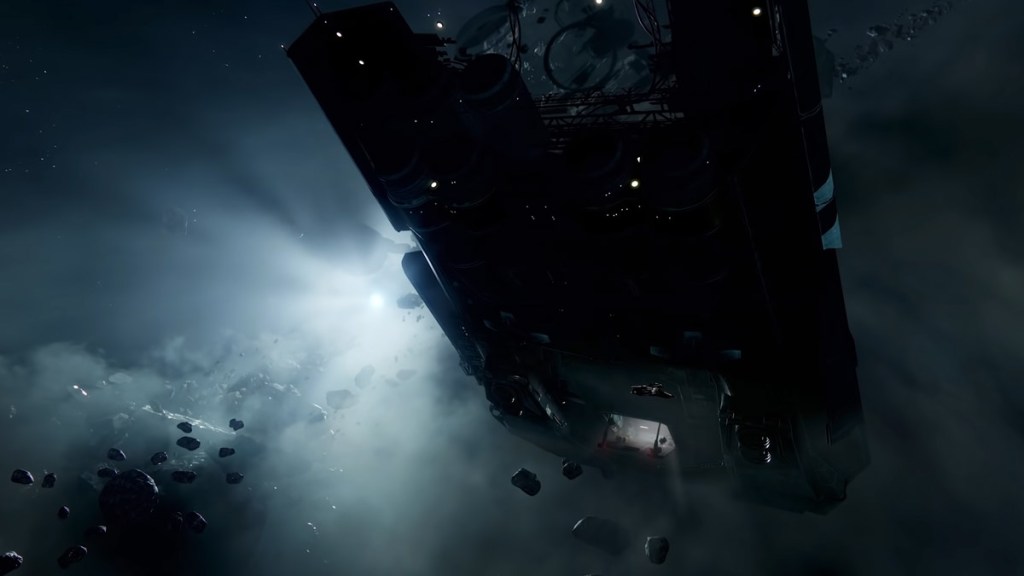
Glykon Entrance
Once you've landed on this "abandoned" Cabal ship, you'll be on a platform in front of a locked door with no clear way in. Turn to the left and you'll see a ledge that you can jump to. There will be plenty of funky jumps, as is the Destiny 2 way. Follow this around until you see an opening on the side of the ship.
Once inside, make your way through the ventilation systems until you come out into a room hosting the other side of the door you first spotted. Pull the lever to open it up for any fireteam members still waiting.
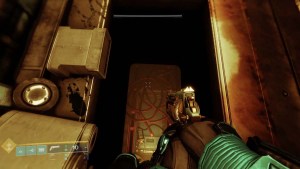
On the opposite side of the room, you'll open a door and see the mechanic of this mission, the Egregore Spore. Shooting the spores while standing next to them will give you the Egregore Link buff which allows you to pass through the barriers.
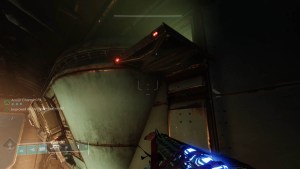
Head through the barrier, turn left, and look back. In that corner will be some pipes illuminated by a light. Jump up there and follow them around. Shoot the vent on the other side of the room and proceed through. Follow the ventilation systems and you'll be dropped into the Glykon, proper.


Glykon Passage
After dropping down into this room, immediately turn around and head down the corridor. There will be some Screebs to deal with before reaching the lever at the end. Pull this lever to open a door with Egregore Spores where you initially dropped in. Head back that way, shoot the spores, and jump across the gap to the opening.
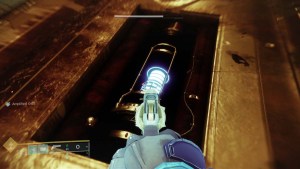
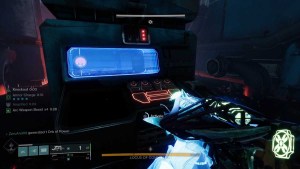
Once across the gap, continue on and be mindful of the Screebs. You'll eventually come out on the other side of the electrified barrier. Jump to the hanging platform directly in front of you and then to the ledge across that. Shoot the blue power cell to open the hatch in the floor and drop down.
There will be more Screebs in here. Jump up to the second level and pull the lever which opens a door on the opposite side of the room. Go through that door, jump across the gap, and you'll find another lever. Pull it, jump back across the gap, and there will now be another exposed power cell.
With all that done, head back out to the room with electrified barriers. Look down to your right and there will be a door with a platform that flips down. Jump onto the platform and head through the door.
Trash Compactor
Pull the available lever and the floor will open up. However, as with any space station trash compactor, the walls will begin closing in and Screebs decide to visit again. Shoot open the floor panels to find three power cells. Once you've shot all three of them, there will be an open panel in the floor that you can drop into.
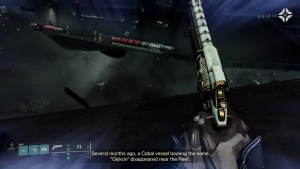
Follow the path and you'll enter into a Darkness Zone. Play safe and smart to eliminate the Scorn here. Keep trekking along and you'll wind up in a large hangar where the first real encounter starts.
First Encounter
This fight is incredibly straightforward. Kill all of the Scorn and the two Darkmind Abominations without dying. These are beefy boys, so keep your distance and pepper them with Heavy weapons until they succumb.
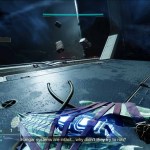
With that taken care of, look off into the vastness of space and ponder your place in the universe. When you're done having an existential crisis, go out through the open hangar bay door and turn right. Hop into the adjacent hangar, up onto the Cabal ship, and across to the opposite corner of the room. You'll see a lit vent/opening that takes you to the next section.
Second Glykon Passage
Upon dropping down, look to the left and you'll spot a lever that opens a door with Egregore Spores. Grab the buff and head to the door on the opposite side of the room. More Screebs will pop up but once you're past them, you'll see another lever. Pull that to expose a power cell on the opposite side of the room. Shoot that to deactivate the electric barrier above you.
Jump up to find another lever. Pull that, turn around, and follow the corridor to yet another lever. This will open the door and allow you to drop down into the original room. Grab the spore buff to proceed to the next unlocked room.
This room is all about levers and power cells. Clear out the Scorn and pull the lever at the back of the room. Go forward, drop down off the ledge, and turn around to reveal an opened door with a turret inside. Destroy the turret and the power cell inside. With that done, another door on the other side of the room will open, revealing more spores. Grab the buff and head through the barrier to drop into the open floor plate.
Play slow and smart here as Screebs love to hide behind these panels. Take your time and shoot the panels so you're not surprised by one. When you first drop down, there will be spores behind the panel to your right. Grab the buff and head through the vents to pop out into the room you were in before heading down to the vents.
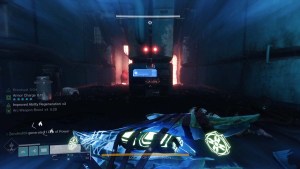
A new door will now be open. Grab the buff and head through the new door to find another Scorn welcoming party. Look for a lever at the back of the room that opens a panel with a power cell inside. Shoot the cell to open another panel on the opposite side of the room that contains more spores.
Obtain the buff and hoof it to the next room. There is some platforming to be done while you contend with several Corrupted Raiders. Work your way to the back of the room where you'll find a lever. Pulling that opens a room next to you with a turret that must be dispatched.
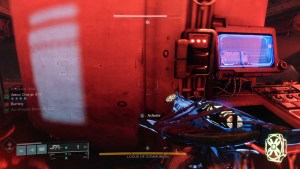
Go back toward where you started in the room and you'll see a freshly exposed power cell. Blast it, continue on, grab the buff, and keep going. You'll come across a point where you can place a Rally Banner. Right next to that is a lever that you can pull to let your fireteam skip all the nonsense you just went through.
Locus of Communion Boss Fight
When you drop into the initial room for the boss fight, you'll be greeted by the Locus of Communion and his buddies. Shoot their stupid Scorn faces and they'll bugger off for a bit. With them out of the way, activate the three switches in the room. Two will be on either side and the last is in the furnace room. Note that furnaces are hot and you'll take burning damage until you activate the switch.
With all three activated, go back into that initial room and drop down the newly exposed "basement." Since basements generally contain spooky things, the Locus of Communion and his goons are down here. Upon nuking a third of the boss' health, the basement will turn red as the temperature skyrockets. Get out by heading up. Repeat this pattern to kill the boss for good.

Presage Reward Room
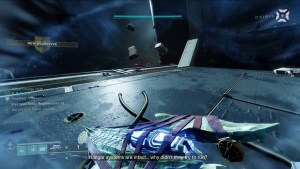
With the boss defeated, a door will open on the top floor of the boss room. Head on through to find a gruesome display. Interact with the suspended Guardian to claim your rewards.
For more Destiny 2 goodies, check out How to get Necrochasm in Destiny 2 on Pro Game Guides!