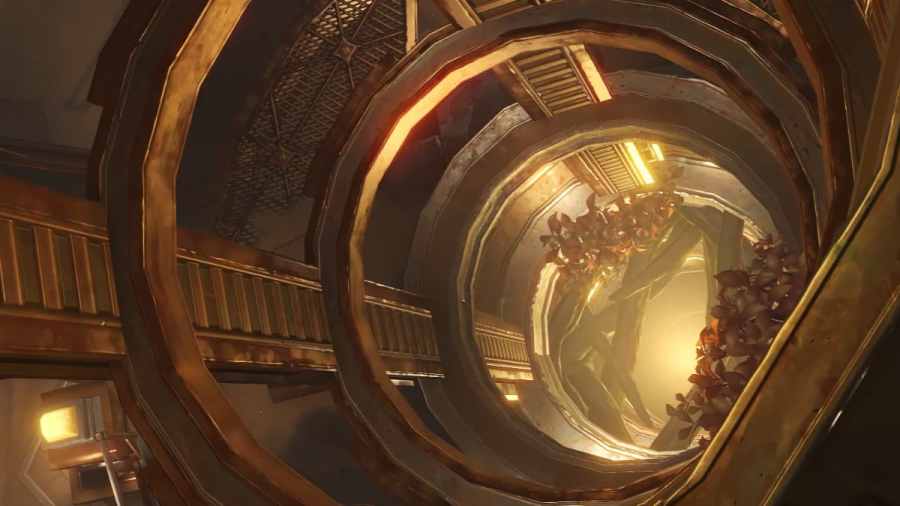
Afratu's Dilemma is a Genshin Impact World Quest that you can accept in the Valley of Dahri. In this quest, you'll meet a researcher named Afratu interested in stopping the giant Ruin Golem in the Valley of Dahri. This quest is a must if you want to learn bits of Khaenri'ah lore.
There are no specific prerequisites to unlocking this quest, but you must have access to the Sumeru desert and light up the Land of Upper Setekh to make it easier to complete.
How to complete the Afratu's Dilemma Sumeru World Quest in Genshin Impact
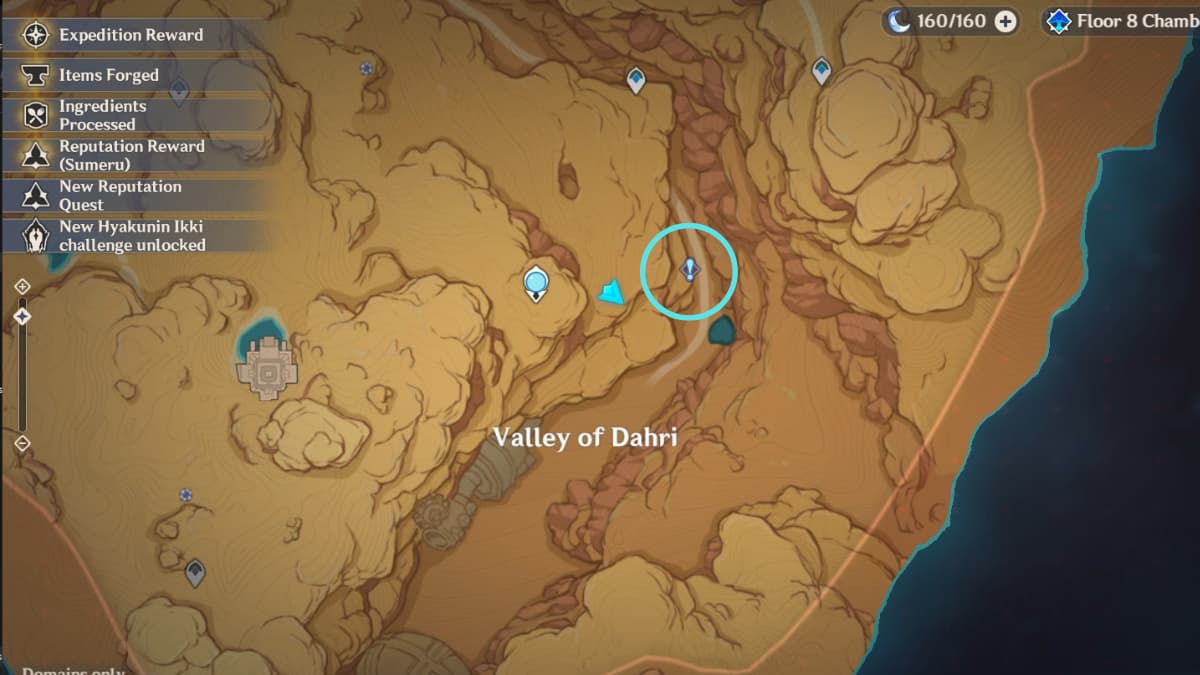
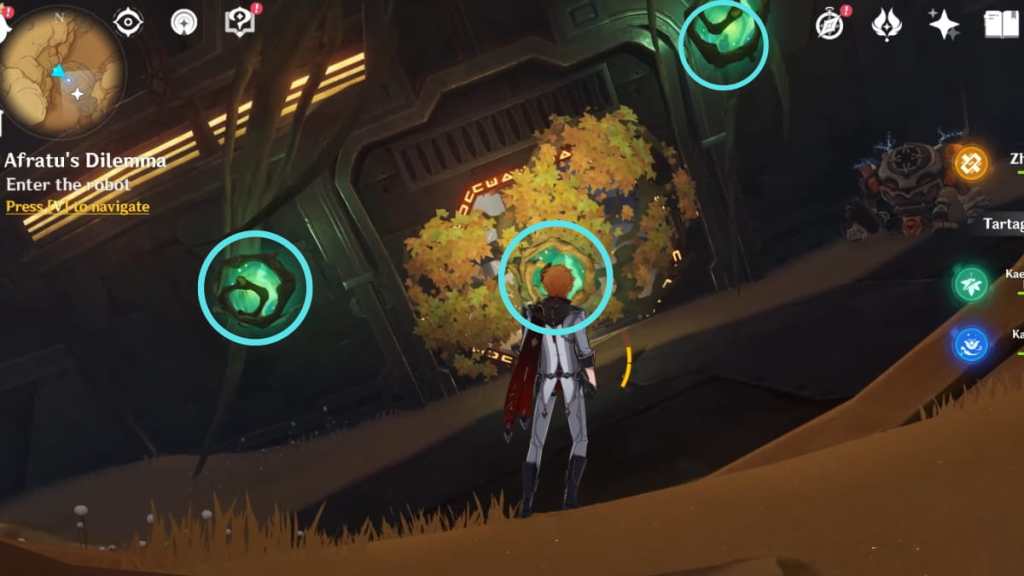
Head to the area circled in the image below to find Afratu. Once you get close, a blue exclamation mark will appear on your World Map or mini-map. Approaching it will automatically trigger the quest.
Find a way to enter the robot
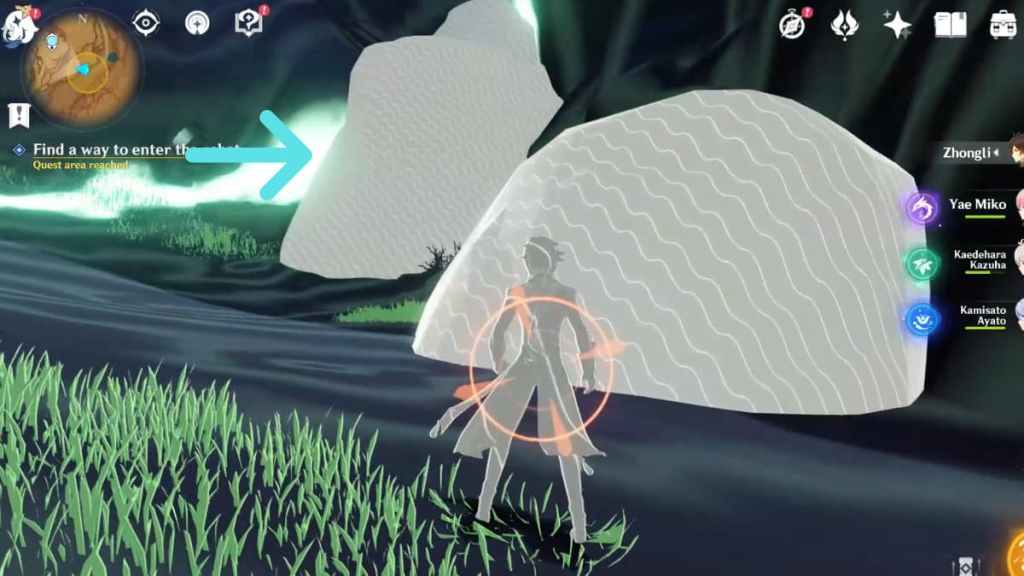
After speaking with the researcher, you must approach the glowing spot up ahead to begin the next segment. Be careful, as there's a Ruin Golem that will target you and shoot beams—use a shield or dodge to avoid taking massive damage. You need to unblock the road by destroying the second boulder blocking the path, which you can find using Elemental Sight. However, the usual boulder-breaking methods don't work, so you must use yourself as bait to prompt the Ruin Golem to destroy it.
Related: All new Sumeru Desert Creatures you can catch in Genshin Impact
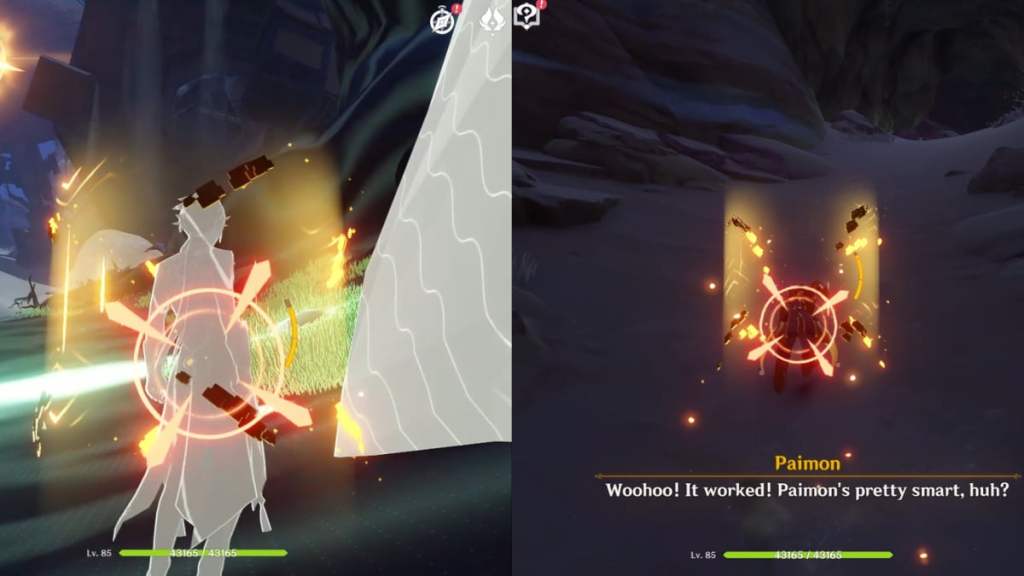
To do so, stand beside the boulder and wait for the Ruin Golem to target you, then dodge before the beam hits you. This will force the beam to hit the boulder instead, opening a path forward.
Try to break the seal

Once inside the cave, use the Four-Leaf Sigils to propel yourself toward the green circle at the other side, which is a seal called the Suda's Flow. Use a Normal Attack to break it and proceed. Your path will be blocked with another seal; likewise, use a Normal Attack to break it.

You'll encounter a small Hilichurl camp where you can defeat the enemies to unlock a Chest, but this part is optional. To continue the quest, look up and use the Four-Leaf Sigils to head upward. You'll encounter a hidden Teleport Waypoint that we recommend activating to make it easier to return to the area later.

Reference the quest marker for which direction to go, but don't exit the cave, as the entire quest happens underground. Keep following the path through the giant tree branch, or use Four-Leaf Sigils. You'll encounter another seal near some fungi blocking your path, so get rid of it using a Normal Attack. After that, you'll find a seal above a Ruin Grader that you can break using an archer.
Enter the robot
Three seals block the entrance of the robot. Simply use a Normal Attack to break each seals in any order and enter.
Investigate the cockpit
Once inside, use the Four-Leaf Sigils to propel yourself to the highest point in the room, overlooking the cockpit at the center.
Break Suda's Flow at three locations
In this segment, you need to eliminate a cluster of seals in three locations. They must be done in the exact order prescribed below. Remember that there are many other seals in the vicinity, but you only need to destroy the ones mentioned below for the quest—the rest are optional.
First Suda's Flow
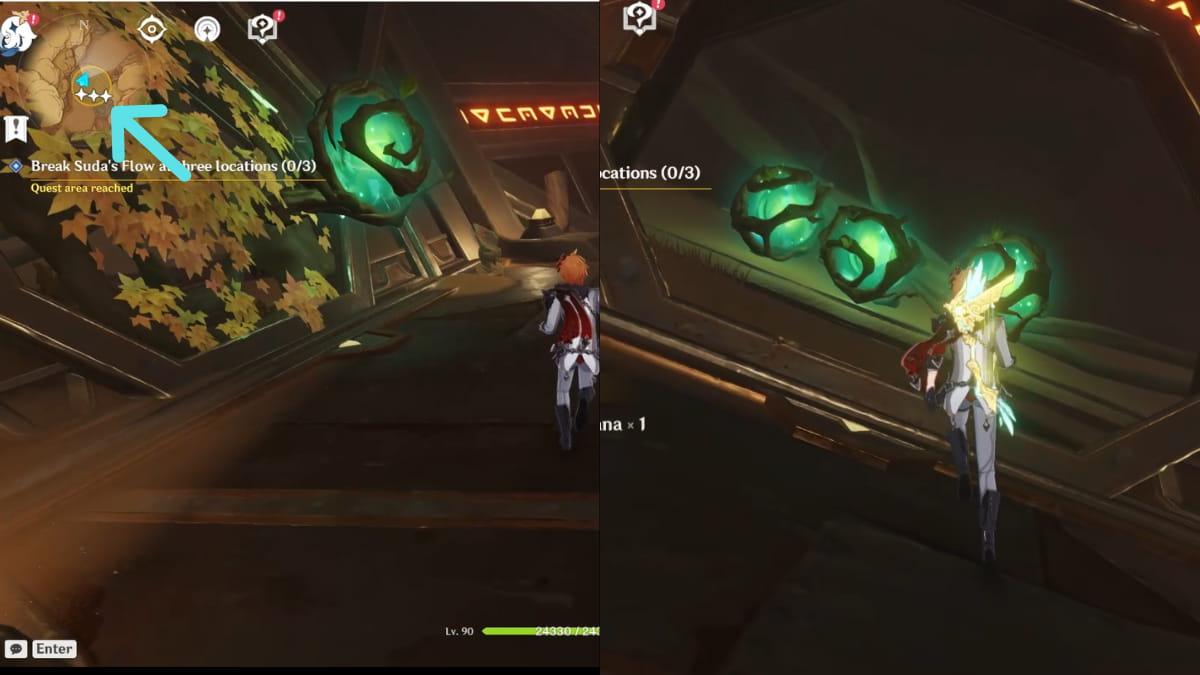
First, head to the elevated area near the highest point of the room pictured above (see the mini-map above for the exact location), where you'll find a seal in front of a door. Break the seal using a Normal Attack to find a room with three more seals. Break them using Normal Attacks to get rid of the first Suda's Flow. This will prompt a nearby door to open.
Second Suda's Flow
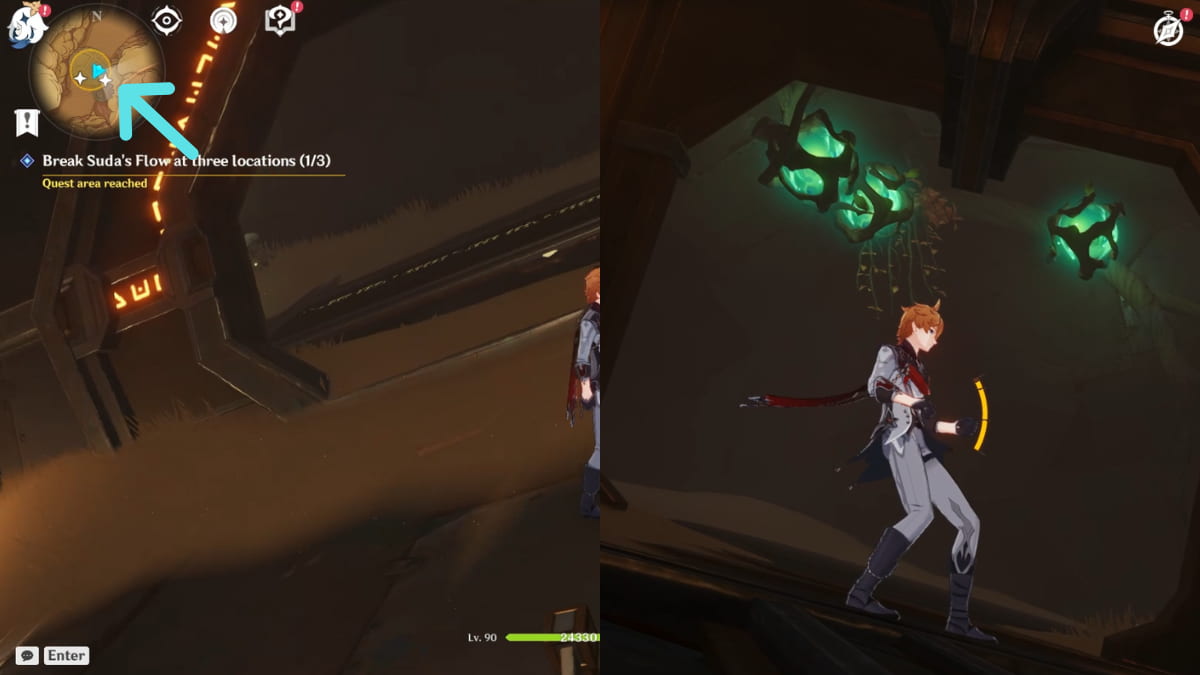
Glide toward the nearby opened door (see the mini-map above for the exact location). Once inside, you'll find two seals on the left and right. You can turn left to get rid of a seal and enter a room with some enemies you can defeat to unlock a Chest, although this part is optional. To continue with the quest, turn right and break the seal blocking the door. Once it opens, look up to find three more seals you must destroy to get rid of the second Suda's Flow.
Third Suda's Flow

Jump down the entrance underneath the cockpit (be careful of fall damage!) to find a clearing with six seals arranged in a circle. Use Normal Attacks to get rid of all six seals in any order to break the third and final Suda's Flow.
Related: How to unlock the Garden of Endless Pillars Domain in Sumeru in Genshin Impact
Enter the cockpit

An air current will appear at the center of the clearing, allowing you to head back up. Then glide toward the cockpit and enter. Head toward the glowing spot, where you can interact with the control center to Turn Off the Ruin Golem. Next, you can either return to Afratu to complete the quest or stay and control the Ruin Golem to get two Wonders of the World Achievements: What Does This Button Do? and The Breakthrough.
Report back to Afratu
Once you're done, follow the quest marker back to Afratu in the Valley of Dahri to report your progress, completing the World Quest. Doing so will unlock the Wonders of the World Achievement called Reclining on Top of the World.
Check out our Genshin Impact Dreams Beneath the Searing Sand World Quest guide – Golden Slumber to complete a massive World Questline in the desert.