
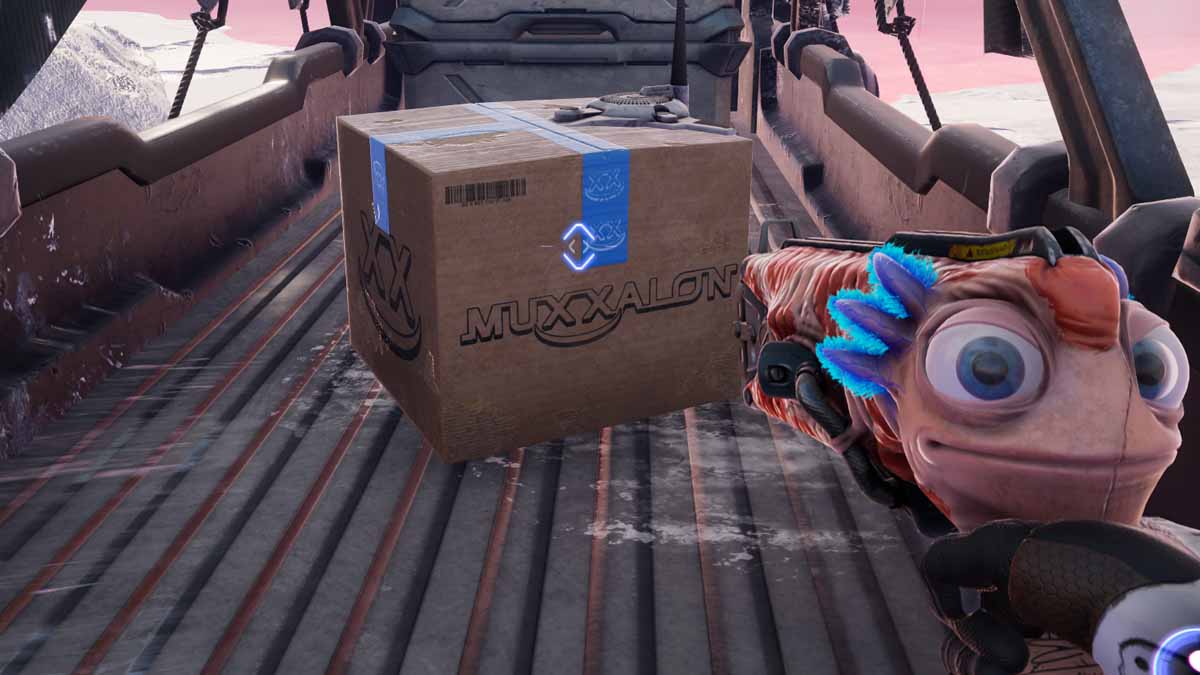
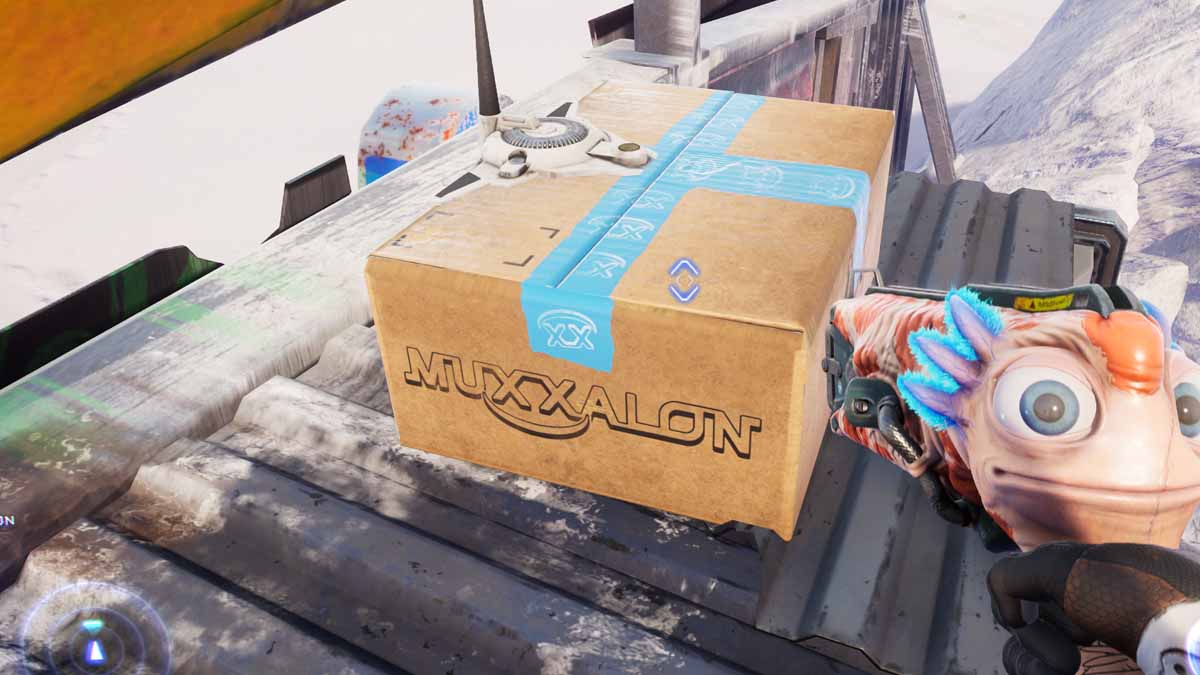
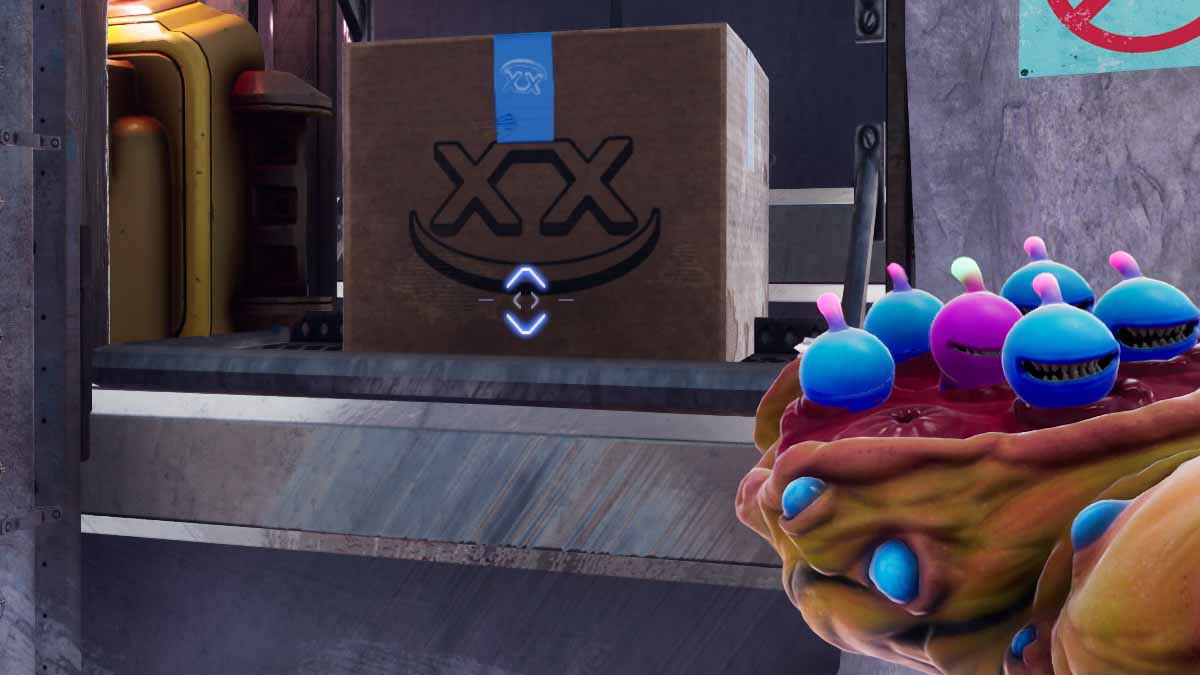
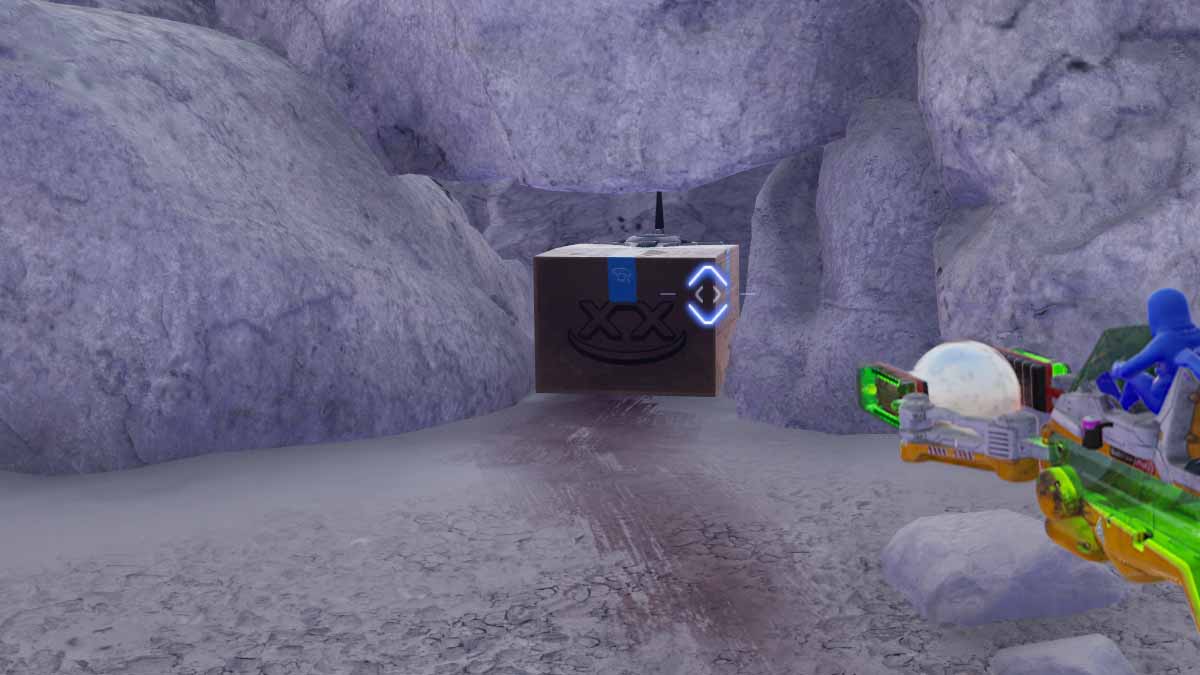
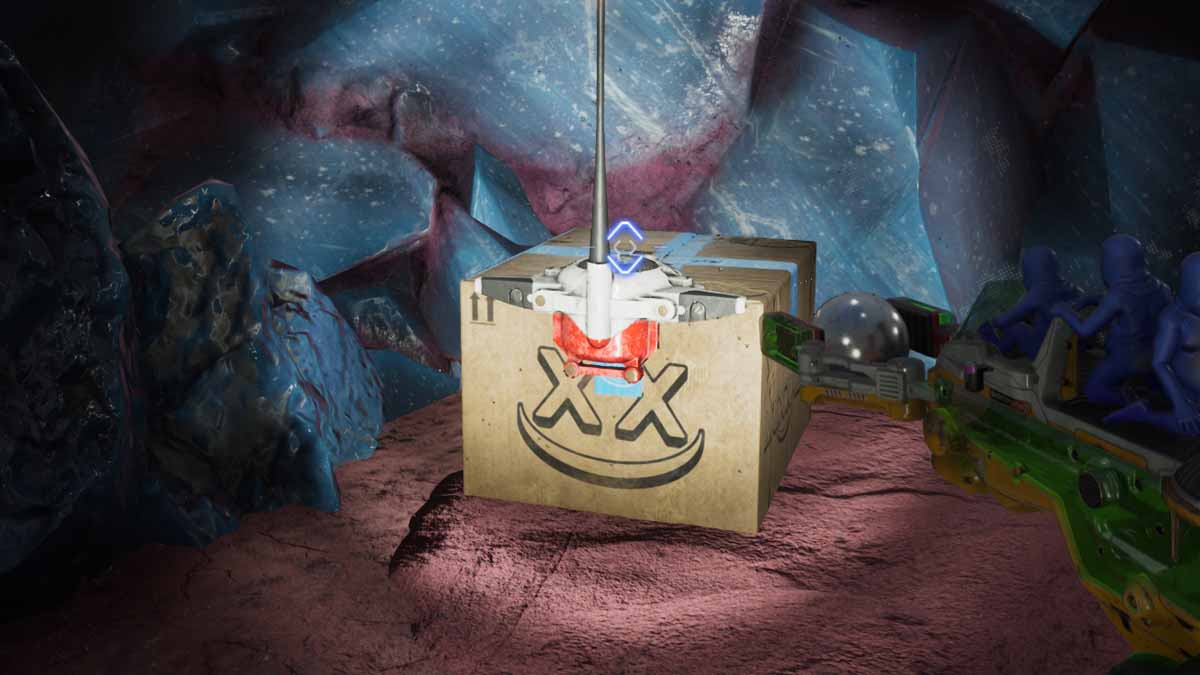
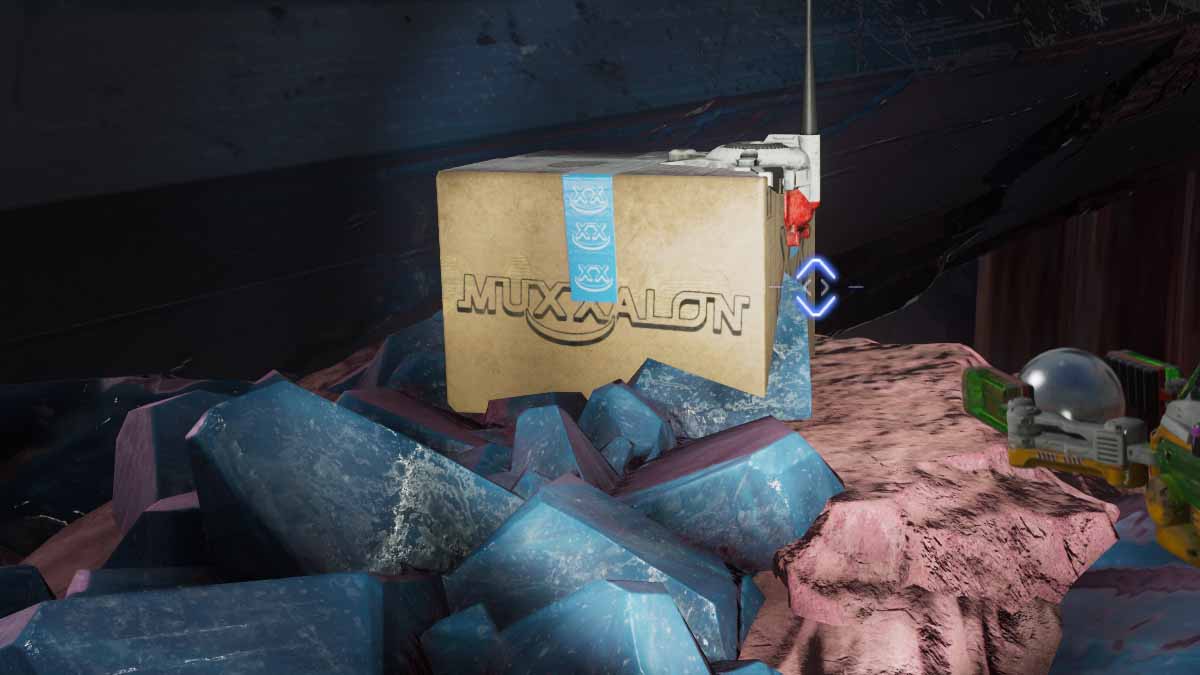
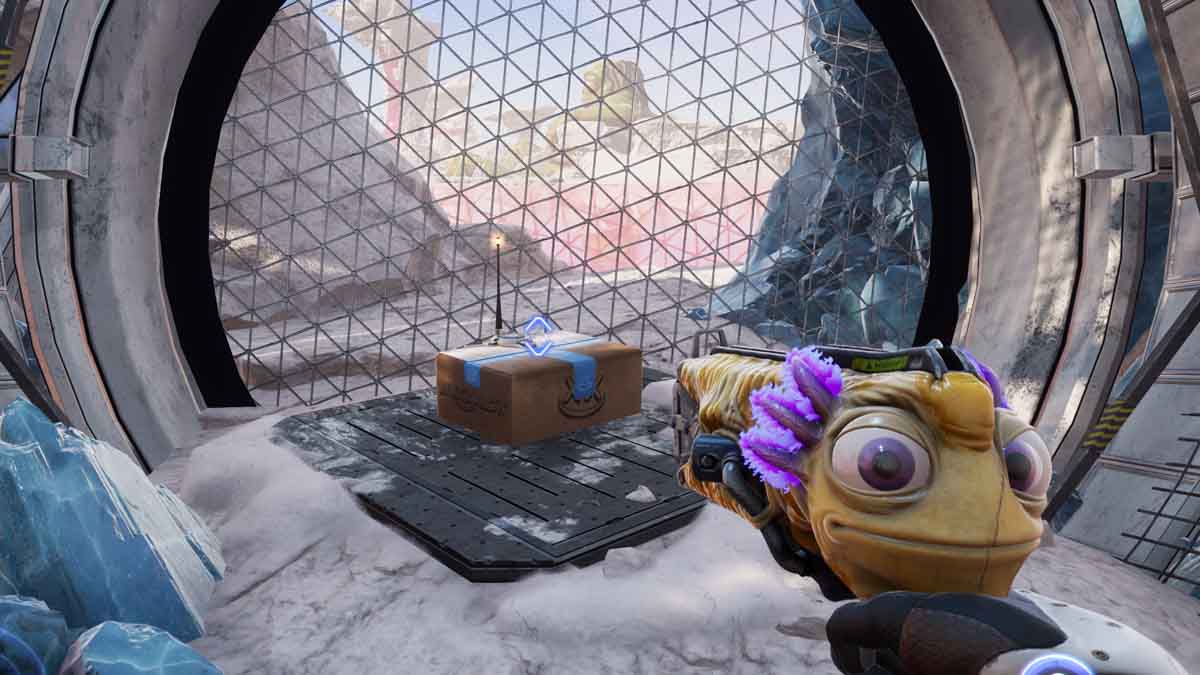
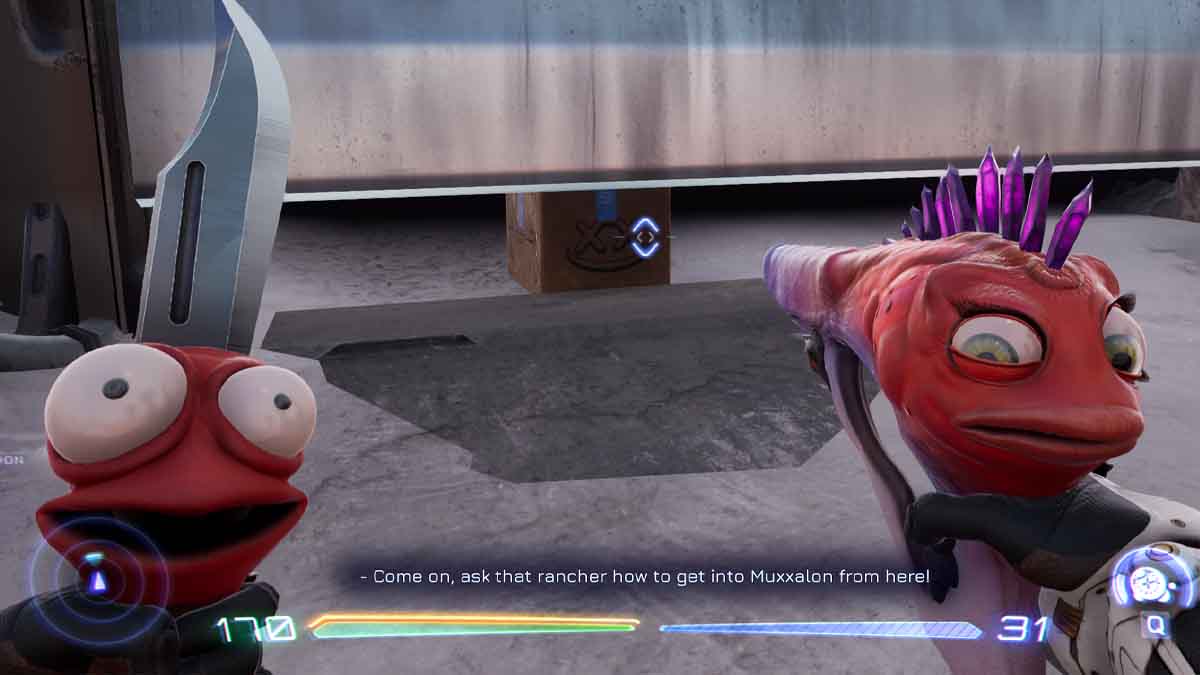
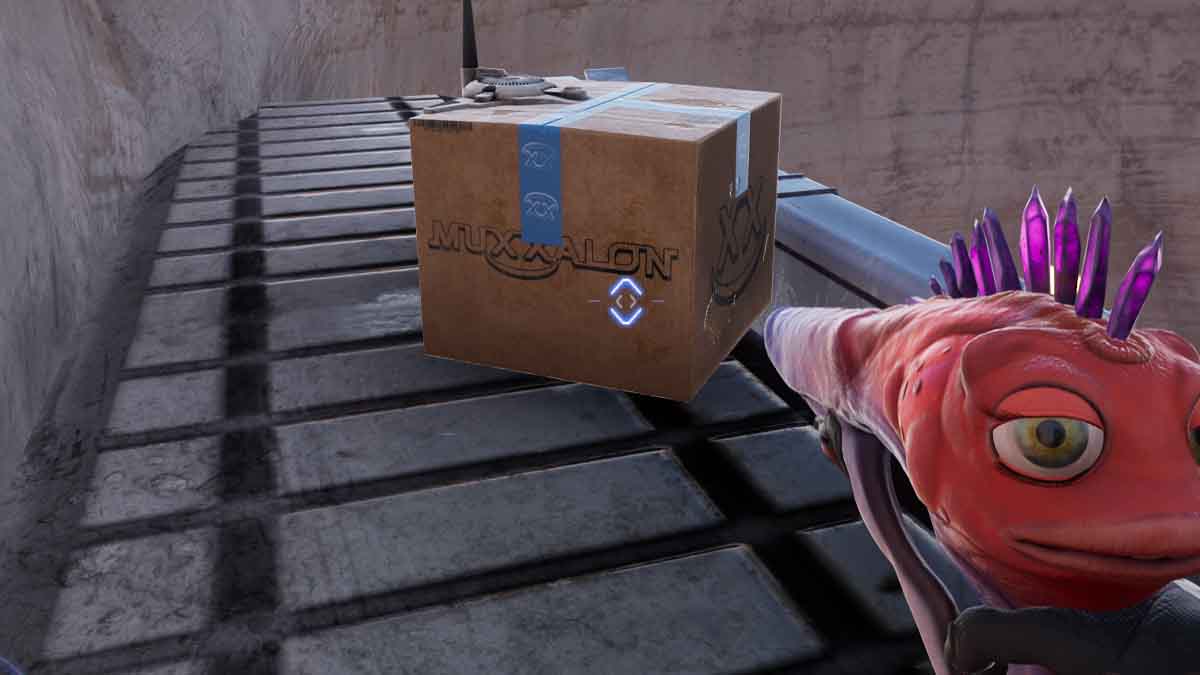
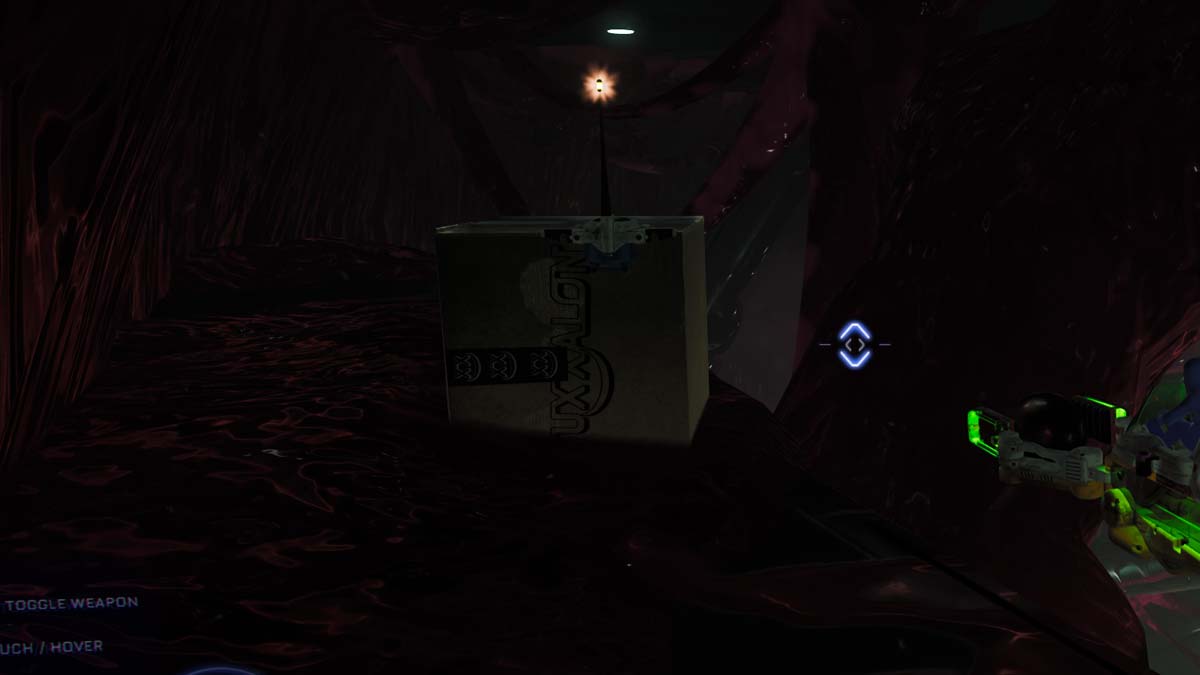
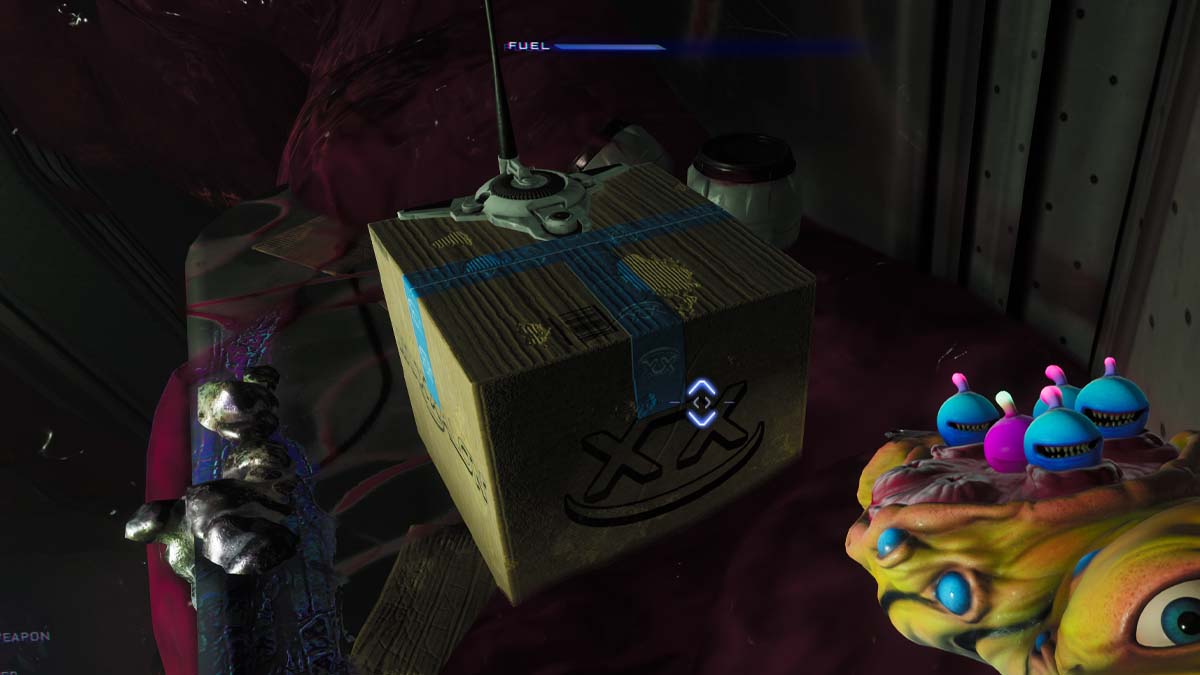
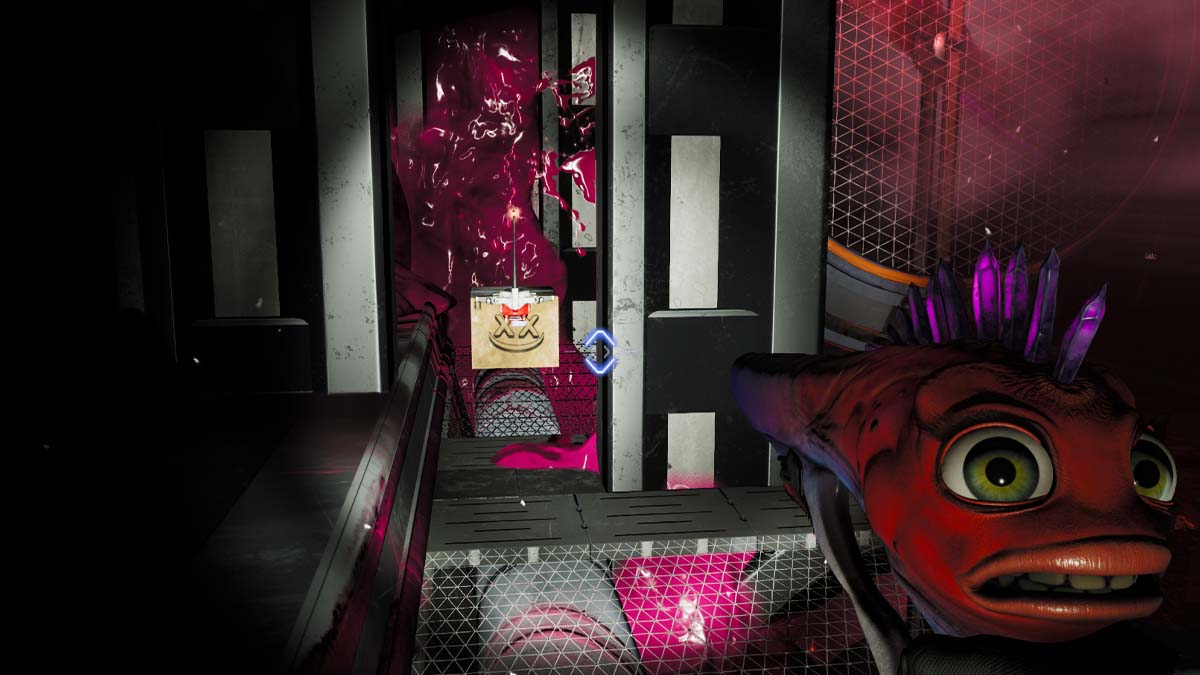
The High on Knife DLC for High on Life comes with a bunch of a new collectibles to find. There are 58 Muxxalon packages to find in total, and they are very easy to miss if you don't know where to look. Keep in mind you'll need to beat the DLC to unlock the necessary tools to collect each box. Here's where you can find all Muxxalon packages in High on Life's "High on Knife" DLC.
Every Muxxalon package location in Outskirts
Package 1
Right next to the portal when you start the DLC.
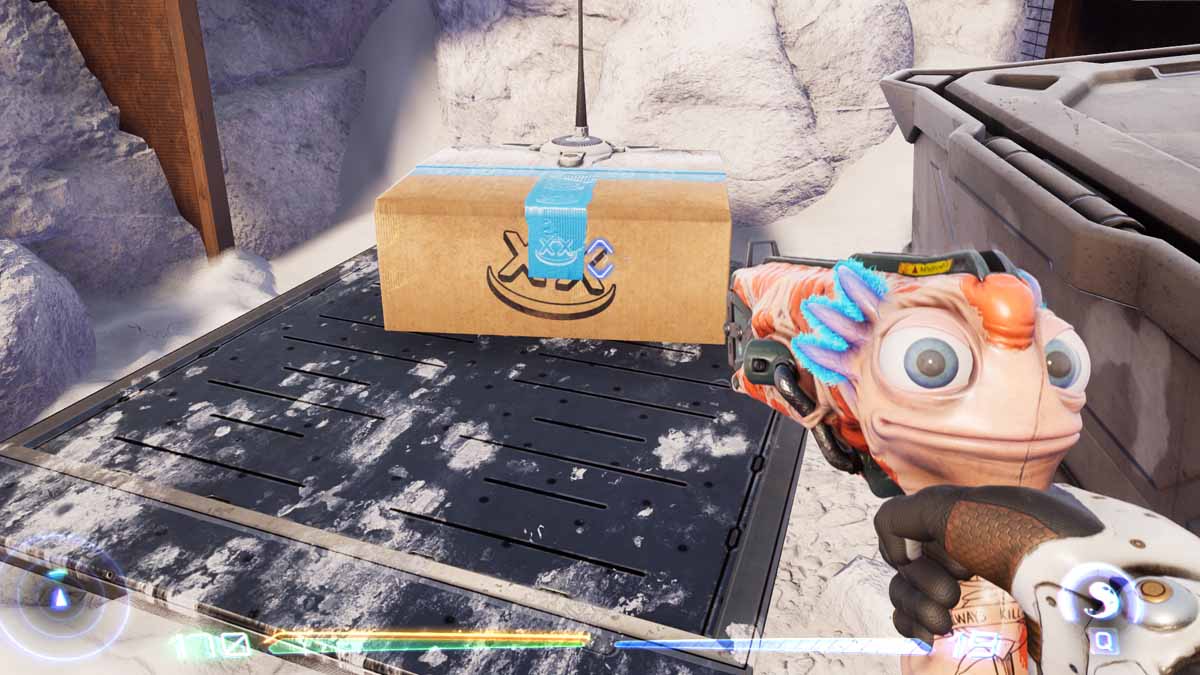
Package 2
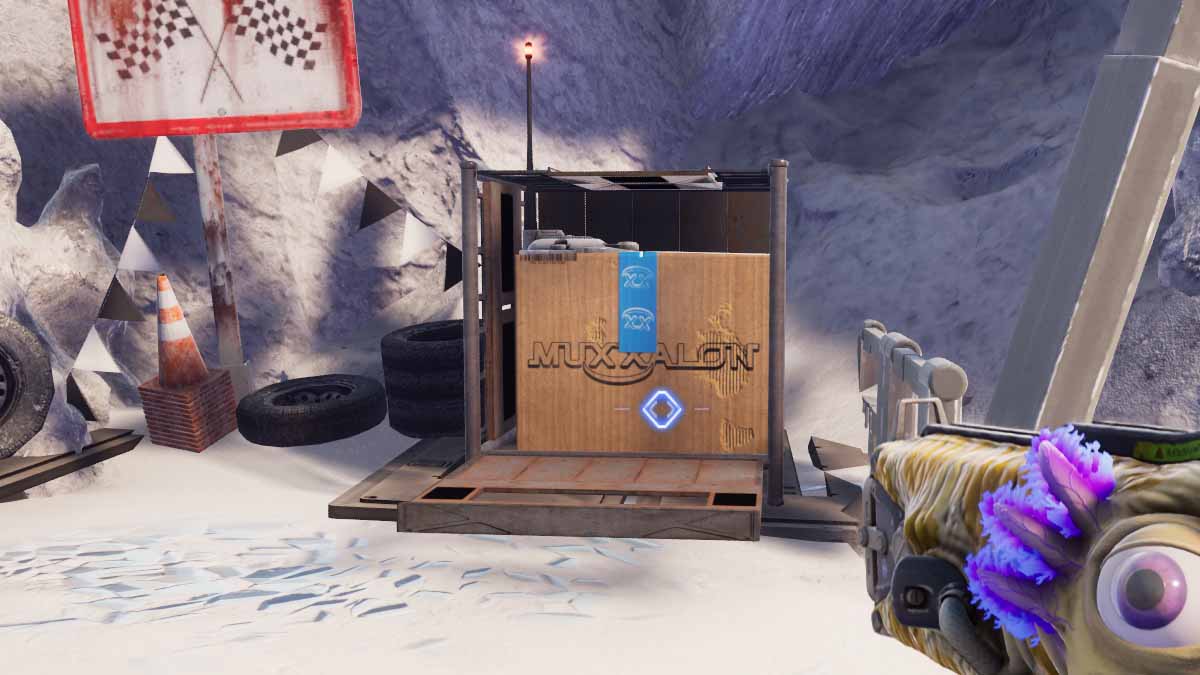
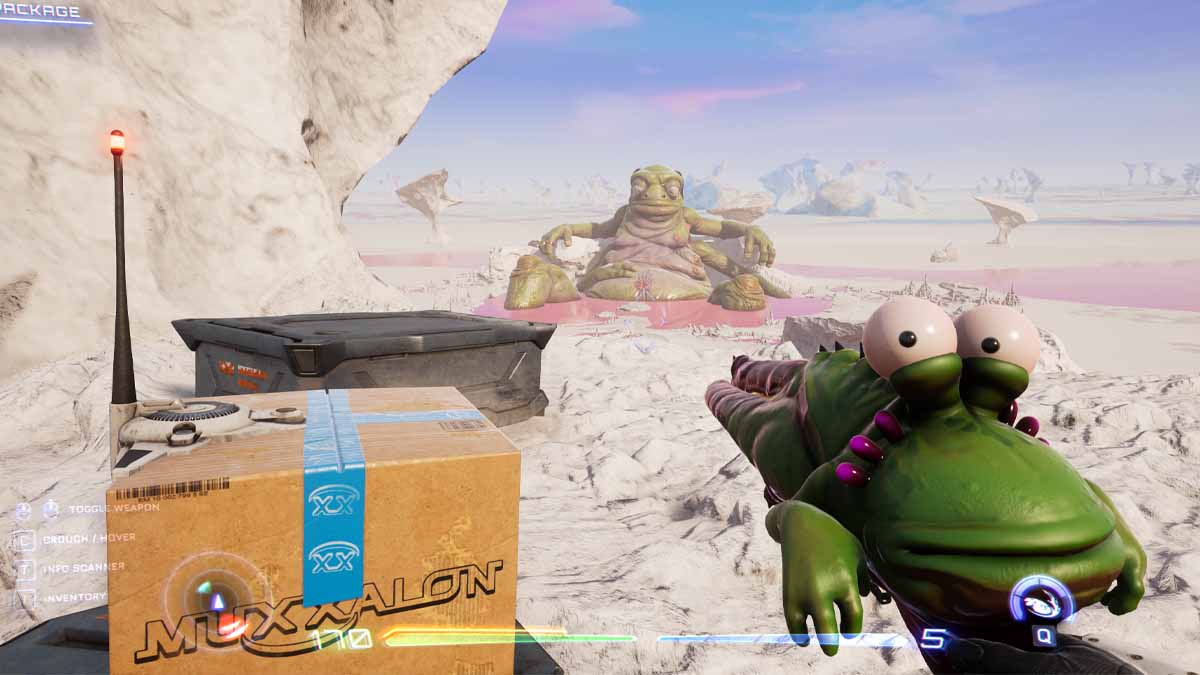
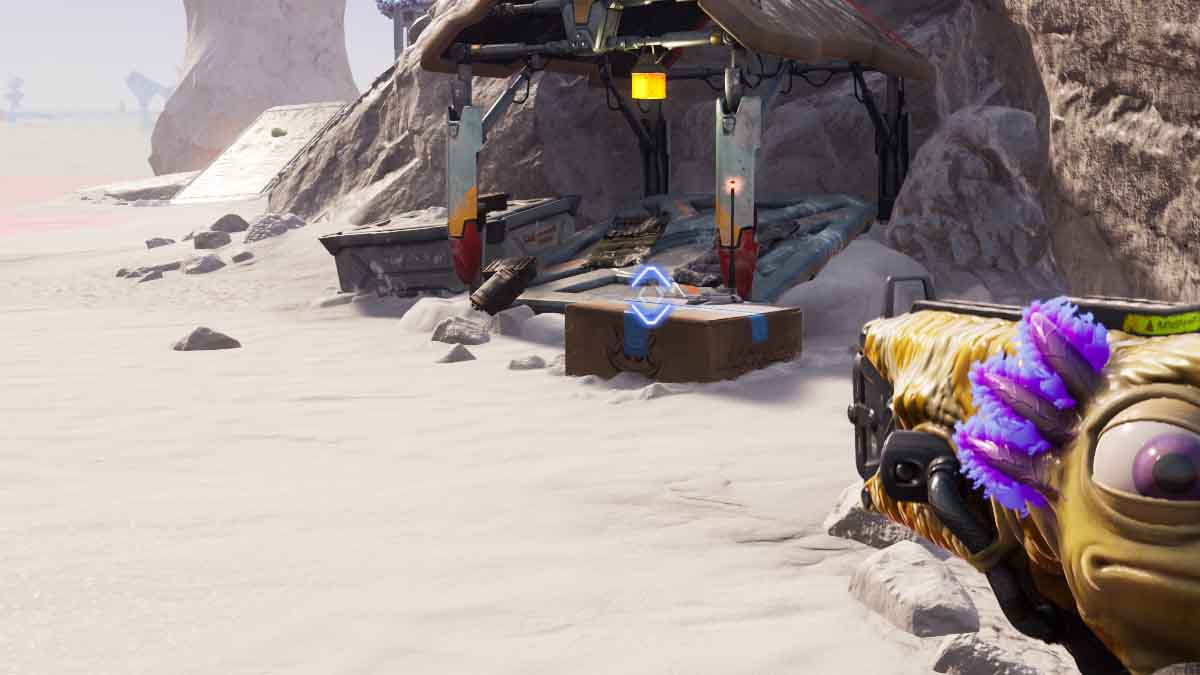
In the back of a truck to the right of Salt Lick City. Follow the power cable to the generator you power down to get to the box.
Package 3

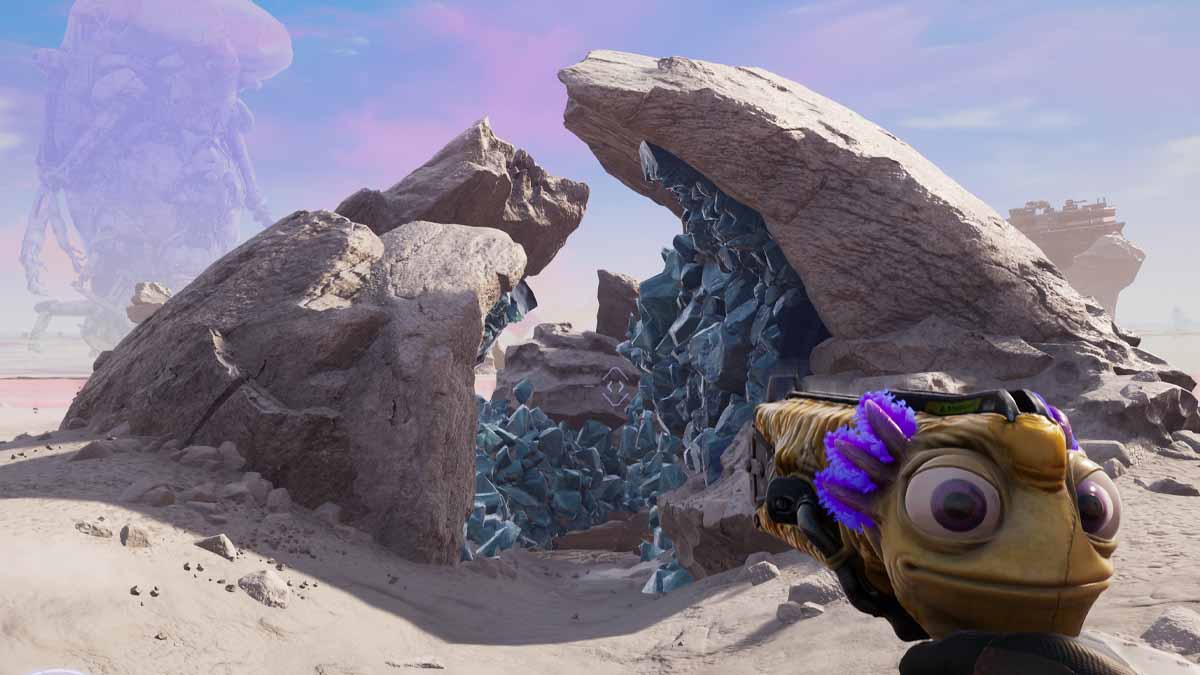
In a rock formation directly to the left of Salt Lick City.
Package 4
Right behind the main sign to Salt Lick City.
Package 5
Up the stairs to the right inside Salt Lick City. Slow time to get past the fan, and then slow time again to get the vent on the other side of the fence to open. Shoot a helper creature inside to open up the forcefield.
Package 6
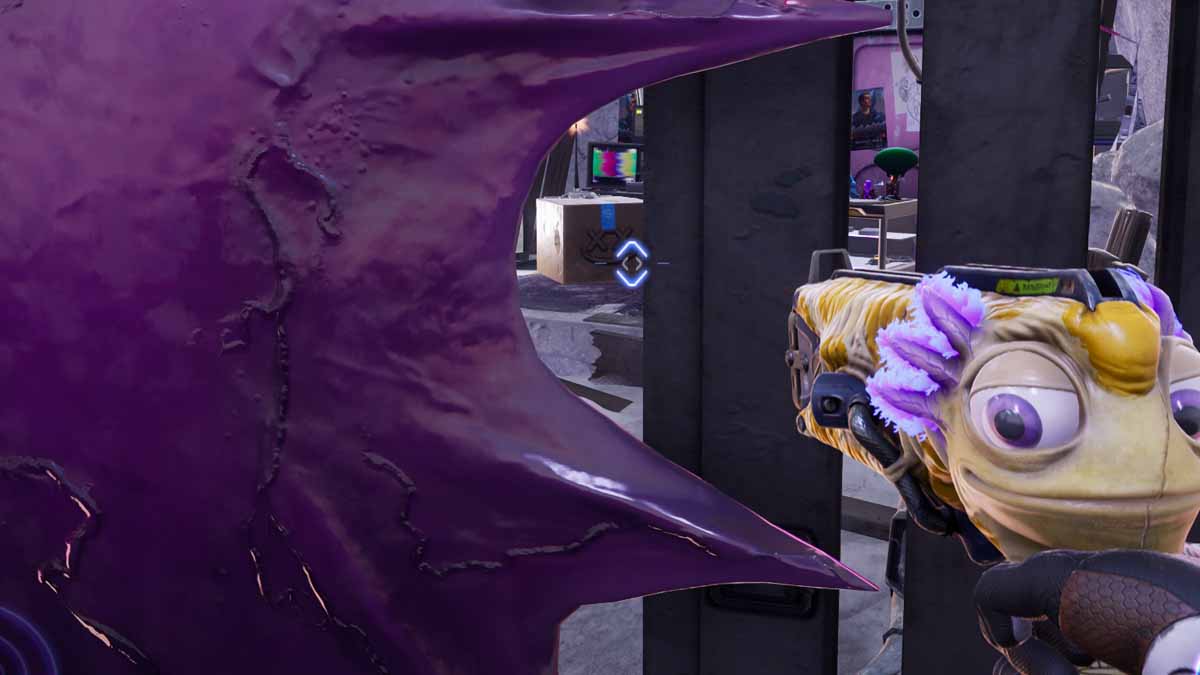
Drop into the main hub area of the city. Slice the goop wall down and open the box on the other side. This will be directly below Package 5 if you're following along.
Package 7

Just across from the B.A.L.L. mini game NPC and up the stairs. You need to use the Goop Shot to open the door.
Package 8
Complete the Salt Lick City slug race in under 14 hours. Yes, it's that easy.
Package 9
Beat the B.A.L.L. minigame high score. Use the bumpers as much as you can and prioritize the blue targets.
Package 10
Hit a switch next to a pipe in Salt Lick City. Throw a creature helper in and follow the pipe to another one. Repeat the process until you get to the end. The final pipe just below the box will finally open up the forcefield.
Package 11

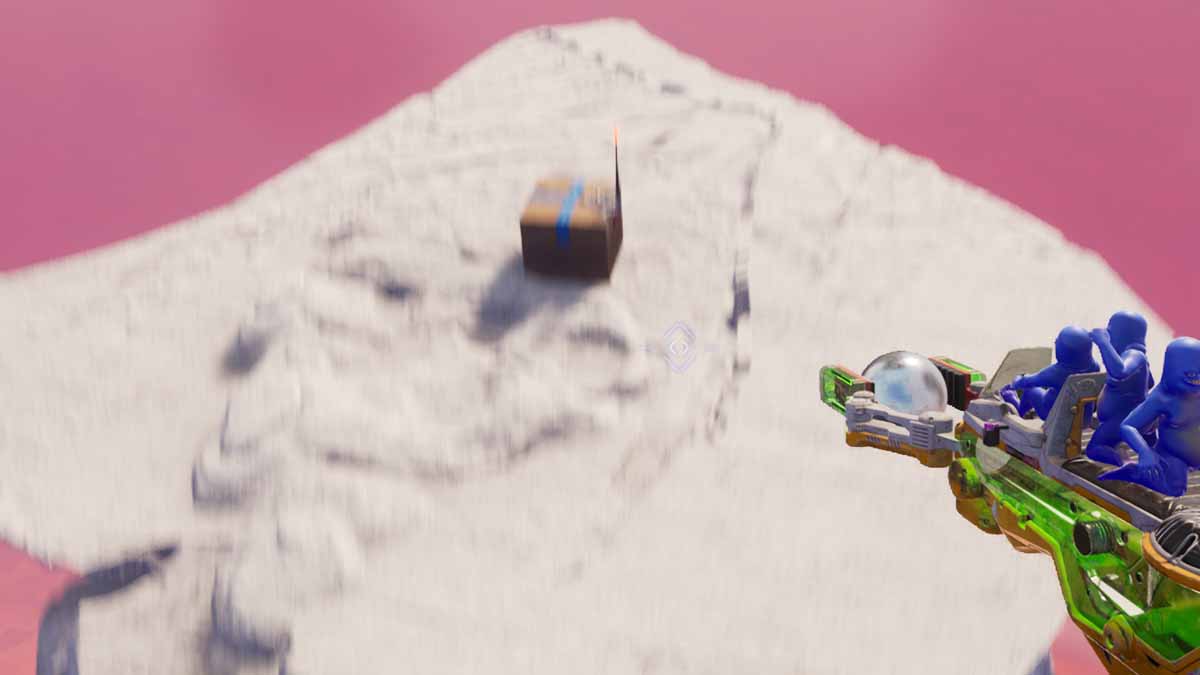
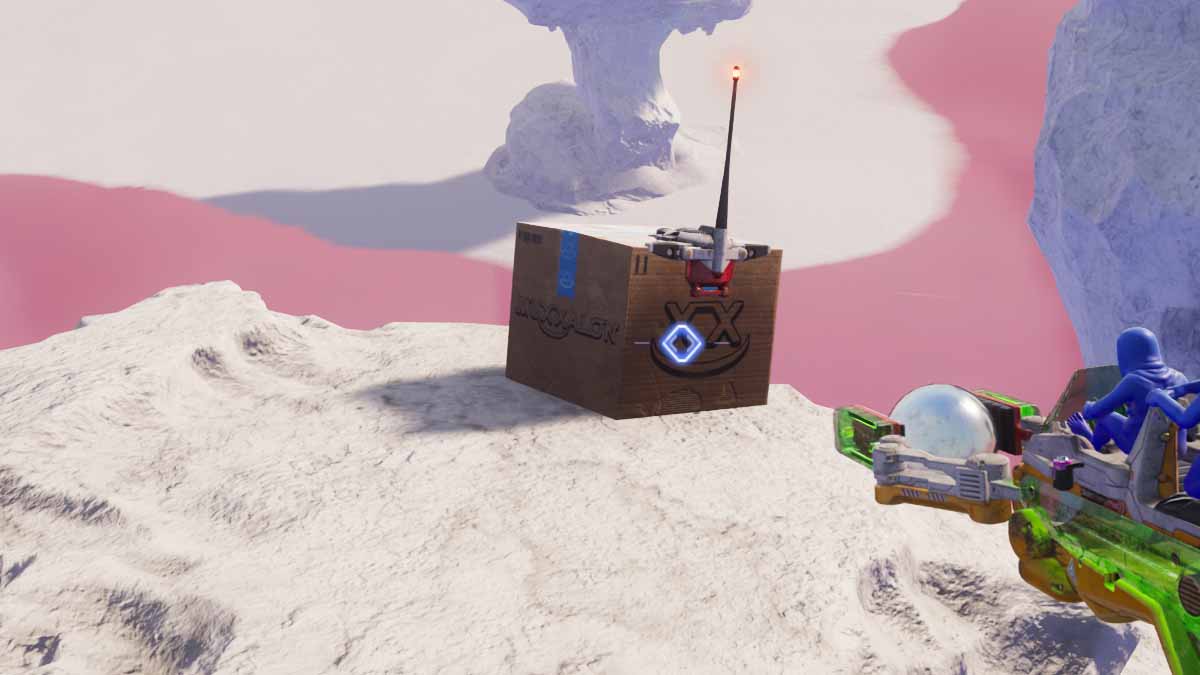
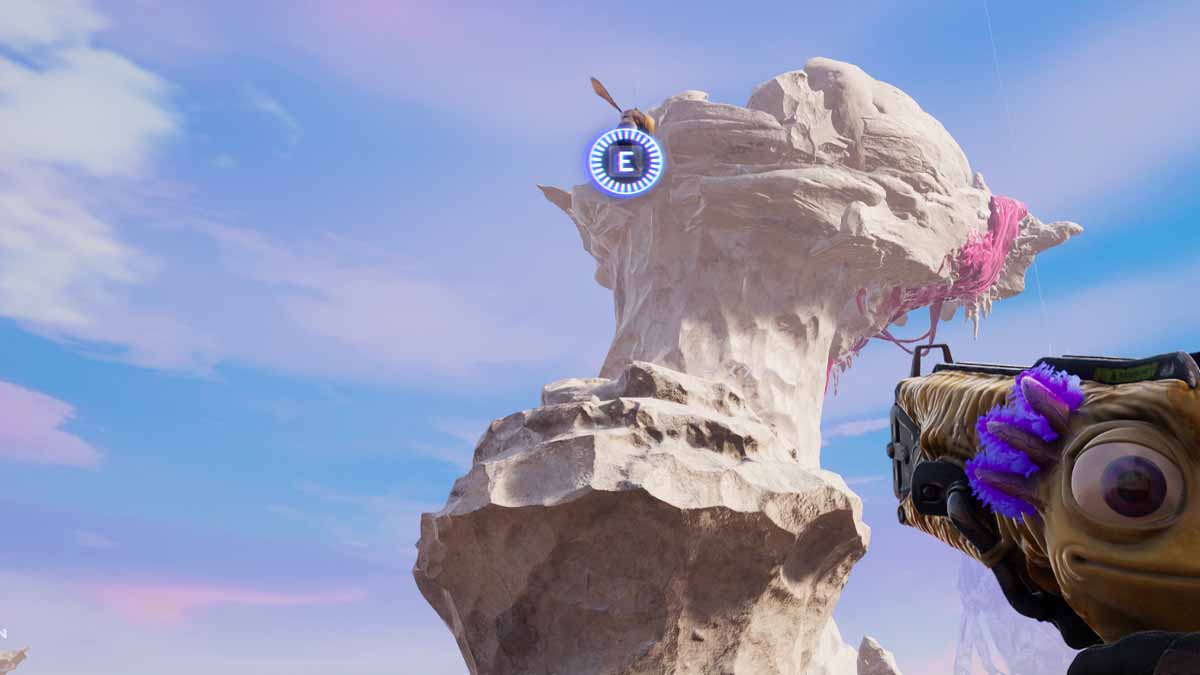
On top of a tall building in Salt Lick City. Signaled by a blinking beacon.
Package 12
Outside of town to the right. Grapple using the Hookbugs you see upon exiting and land on the pillar with the box. Excuse the motion blur.
Package 13
Keep climbing the same pillars right of Salt Lick City from Package 12 using the Hookbugs. This is the last of the two packages you find this way.
Package 14
Plug the geyser spots north of Salt Lick City using the new B.A.L.L. gun and ride to the cave. Clear the cave of enemies and use the Hookfly to cross the chasm. Turn around and use the same Hookfly to climb up to the box.
Package 15
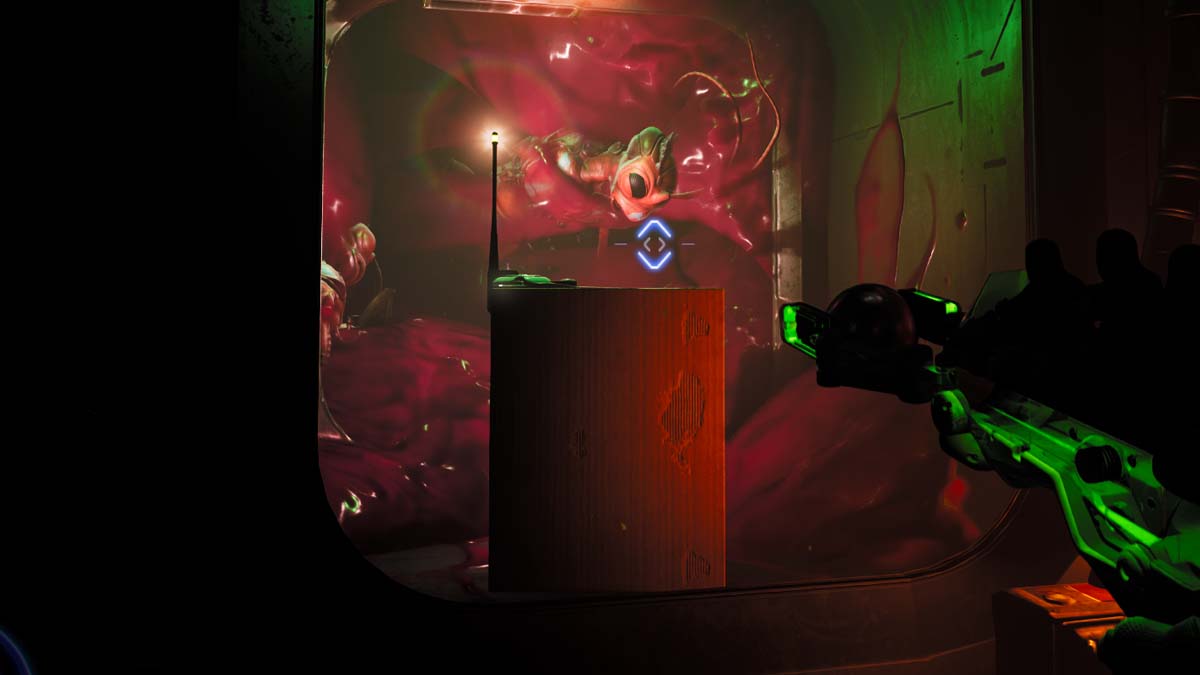
Inside a poacher ant base. You'll need to head over to the spot and clear out the enemies for the base and box to spawn. It's to the left of Salt Lick City—almost directly to the left of the portal you come through to start the DLC.
Package 16

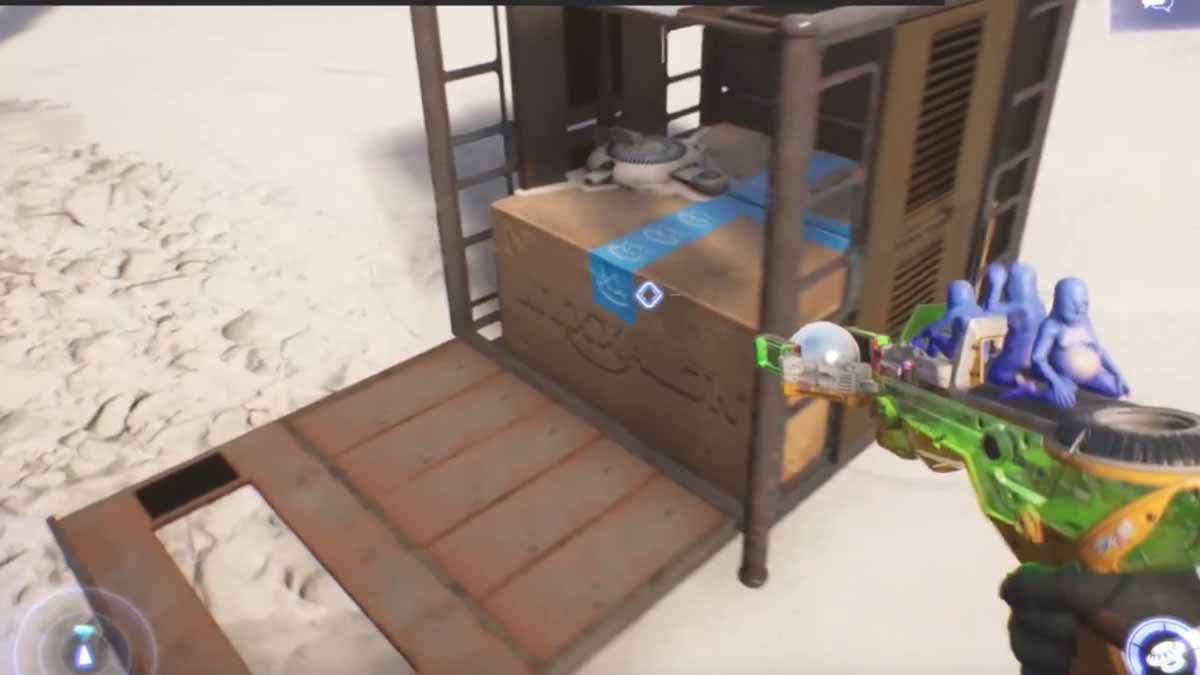
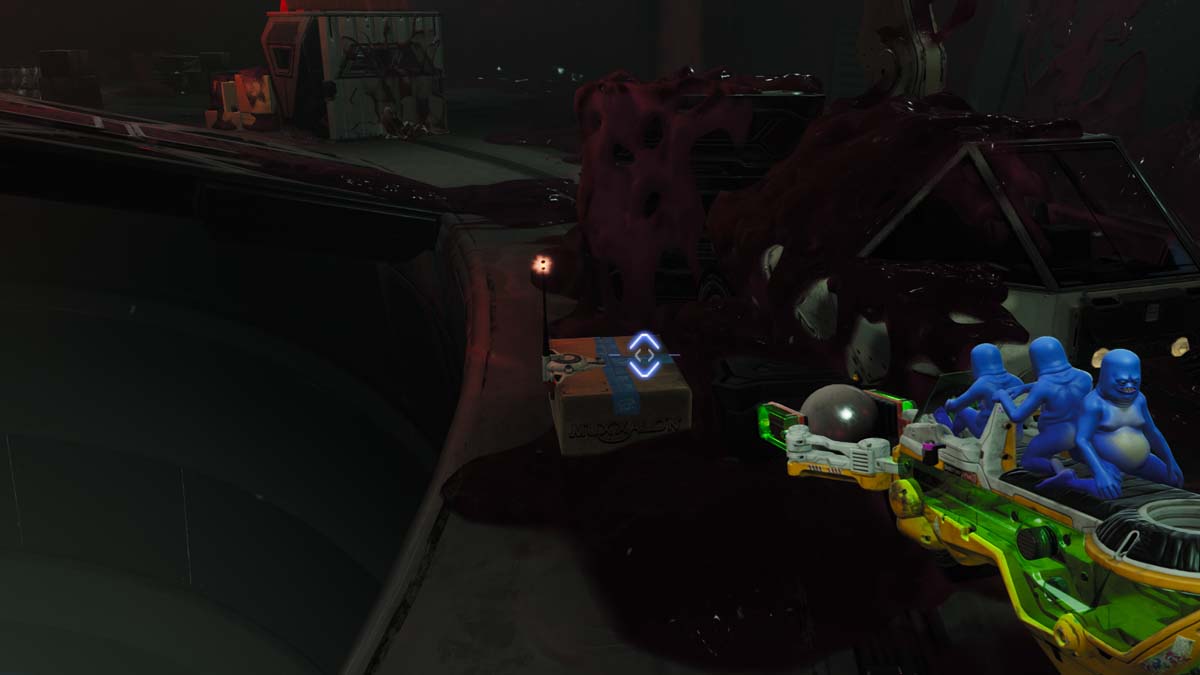
In the back of a truck north of the poacher ant base that spawned the previous package. Just check for the red poacher base if you're collecting the packages out of order. If this is your first time going by the truck, you'll be ambushed by ants.
Package 17
In a rock formation almost directly next to the truck housing the last package. This truck is north of the poacher ant base, and your minimap will light up blue to give you the precise location.
Package 18
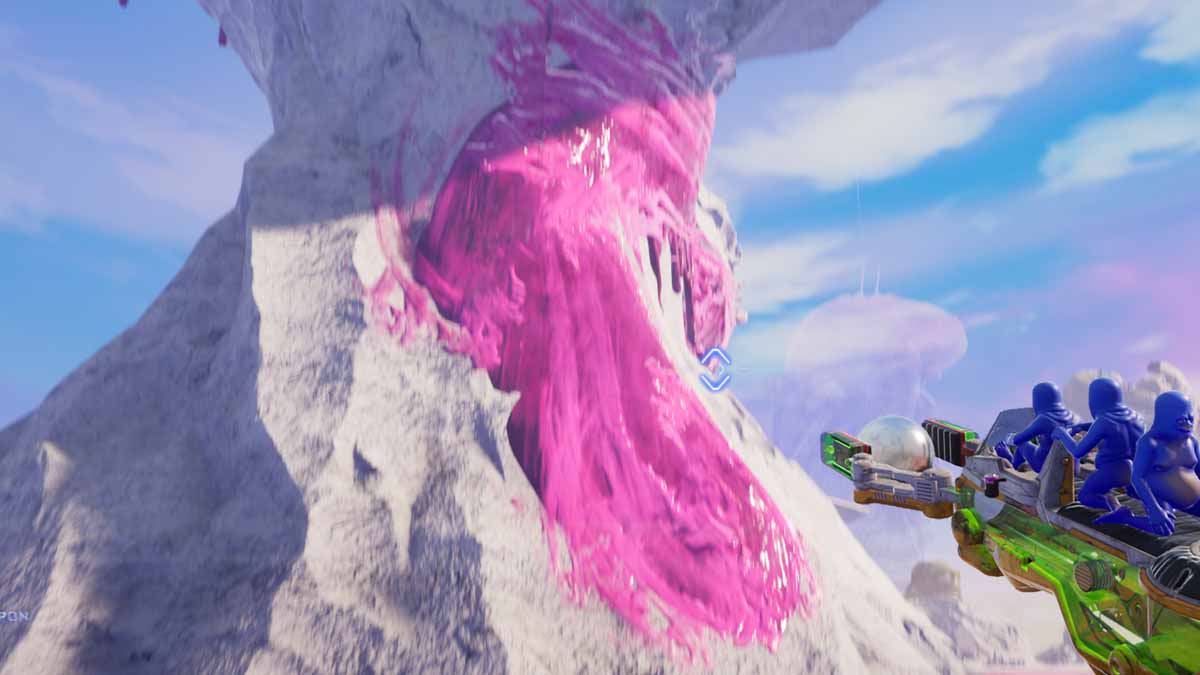
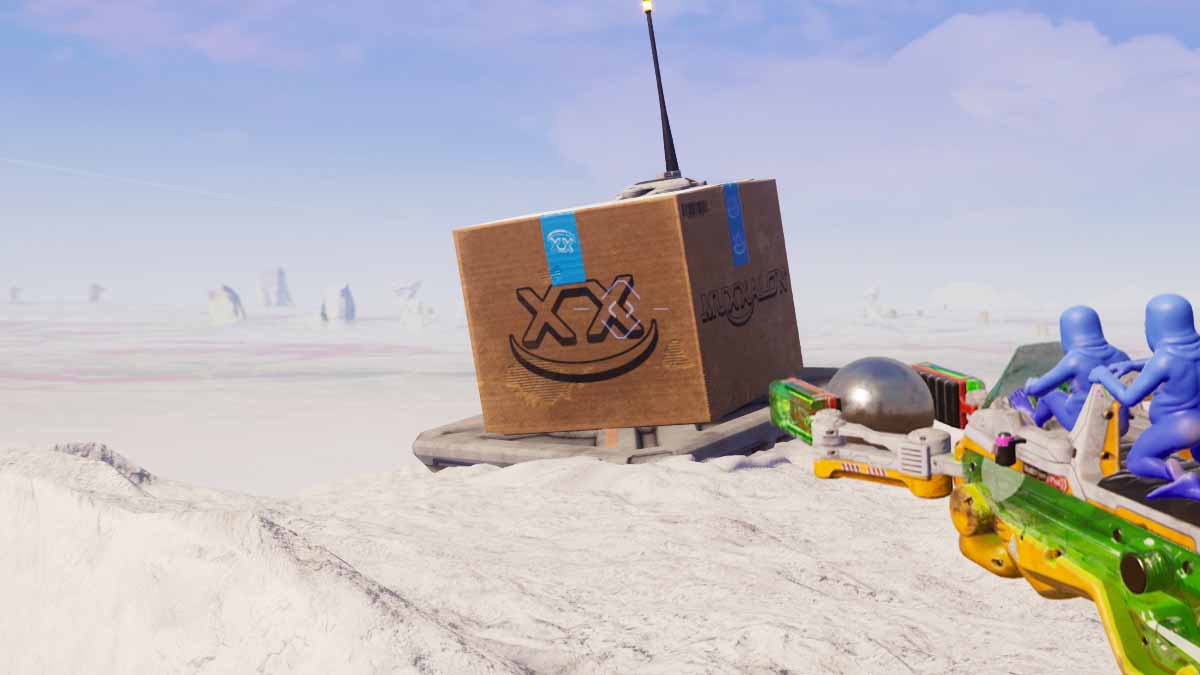
Use Knifey to climb up the pink slime on the rock formation north of the ant base nearby the previous two packages. Ride all the way to the top and collect the 18th and final box of the region.
Every Muxxalon Package location in Duffalo Ranch
Package 1
In an underground cavern to the left upon entering the zone from the Outskirts. Climb down to the bottom and follow the blue marker on your mini map.
Package 2
In the same underground cavern to the left upon entering the ranch. Climb the pillars and use the rocks the climb on. You'll come across a Hookbug that'll allow you to navigate better. Climb to the top and find the second crate.
Package 3
Head in the direction of the giant green man. Stick to the left path and you'll come across a Hookbug. Use it and claim the third box at the top of the pillar.
Package 4
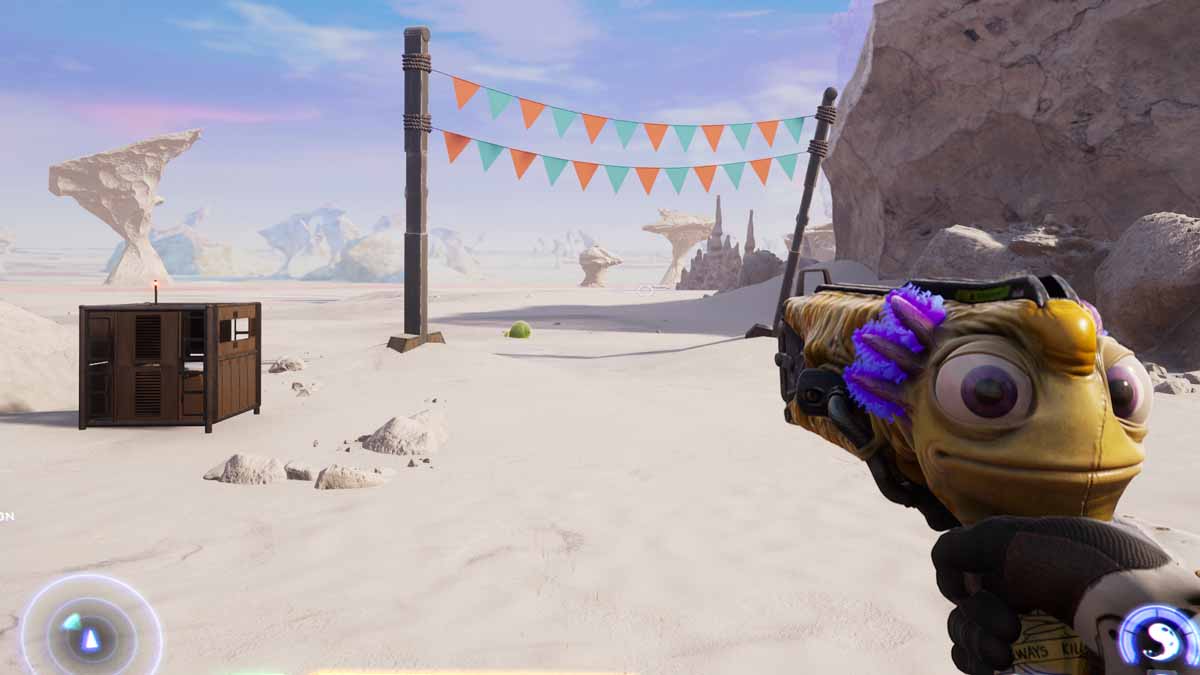
Go to the slug racing mini game in Duffalo Ranch. If you're following along, it'll be to the right of the previous package. If not, look for the racing banner picture above. There will be a slug just like the one in Salt Lick City that you must challenge.
Package 5
Go around the corner to the green guy's right side, plug the geyser holes with the B.A.L.L. gun, and claim the package at the top of the rock formation.
Package 6

Climb the pick slime directly across from the green giant. Fight the enemies at the top until the package drops.
Package 7
Go to the right of the pink slime and climb the rocks. You'll find another package.
Package 8
On the rocks to the right of the pink slime, you'll be able to see another package. This is the same place as Package 7, so you're in the right spot if you're following along. You'll need to use the disc special ability on the red spots of the wall to climb up here.
Package 9
Go up the stairs inside the bar under the green giant. Open up the box.
Package 10

Head right out of the bar until you reach three holes that need to be plugged. Do that and ride the geyser across to the next box.
Package 11
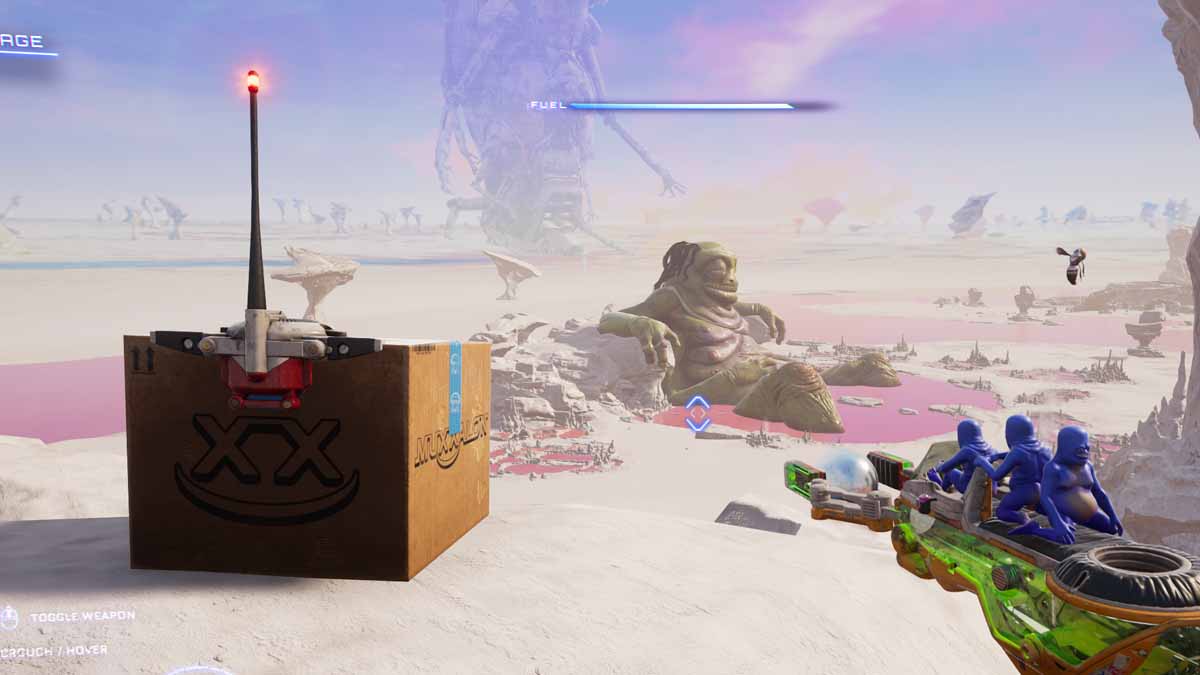
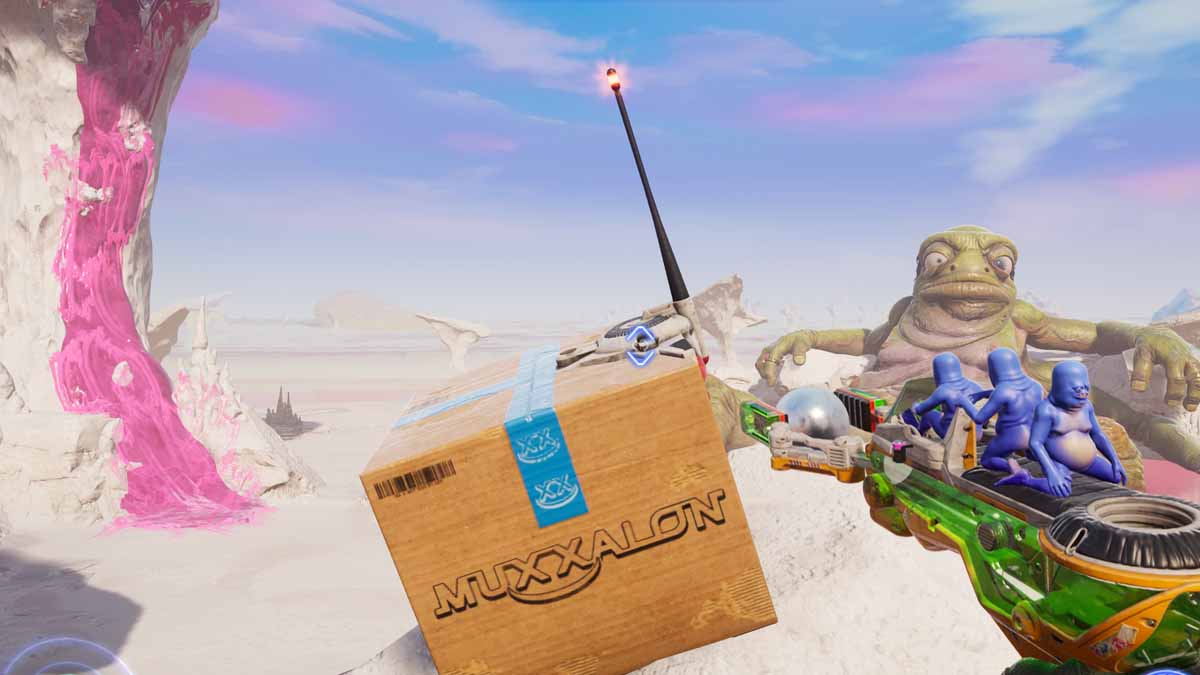
Head down into the pictured cave formation and hit a series of switches. Follow the cords, and they'll take you where you need to go. This will reward you with the box and Humoranger card.
Package 12
Exit the cave and head over to the third race track. You know the deal by now: win the race and get a box. (This is how you get the Pyrat card.)
Package 13
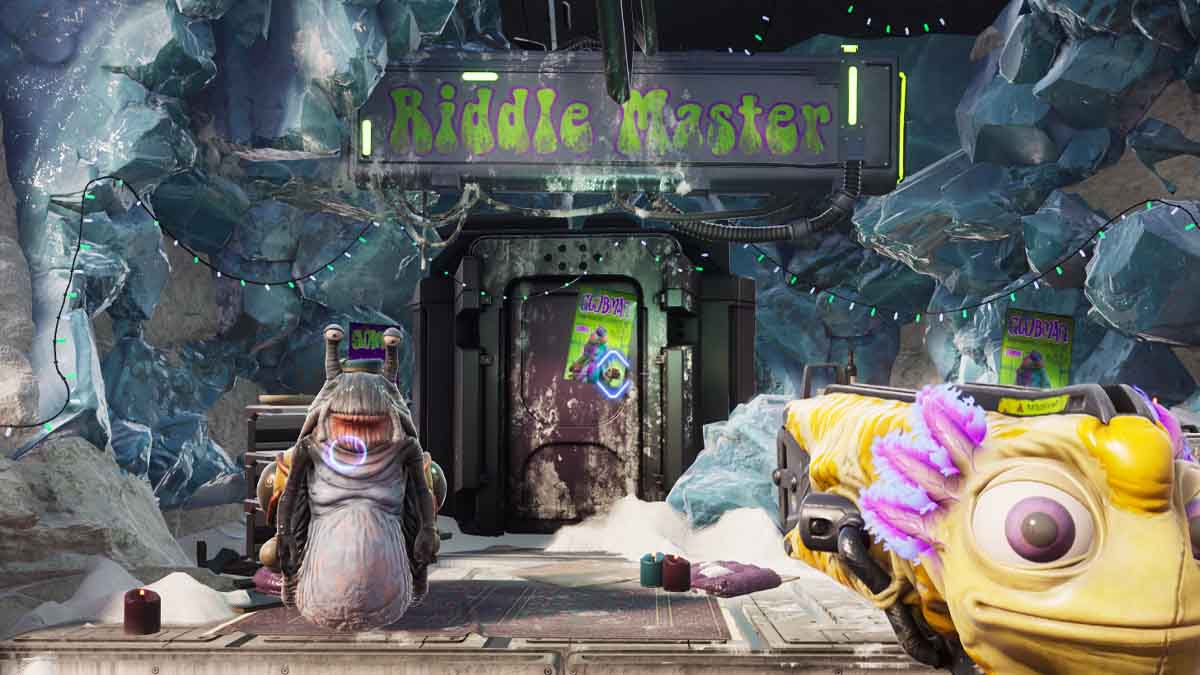
Go to the Riddle Master in Duffalo Ranch and shoot him. You get a box, an achievement, and the Ripsaur card.
Package 14
Climb the Riddle Master's building and grab the box at the top.
Package 15
Head straight across from the room of the Riddle Master until you come across a structure with a garage door. Follow the cable until you find a large Duffalo coming out of an opening. Hit the switch before the door closes and head back to the first door and get the box.
Package 16
Go directly across from the last package until you come across a giant hole. You can find this area by the Riddle Master if you're not following along. Go to the bottom and claim the next package. Use the B.A.L.L. gun to turn on the fan and get out of the hole.
Package 17
Head into Poacher Territory. Stay on the path until you see a small structure with a box in front.
Package 18
Begin climbing the Poacher structure. Use Gus to put the discs into the red portion to reach the top. Plug the geyser holes and keep working your way up. Use a creature to create a Hookbug to make your way to far platform and grab the box.
Package 19

Continue the climb to the top. Use the pair of Hookbugs to snag another box. Be prepared to fight a lot of enemies.
Package 20
Use the green goo to knock open the door and launch yourself to the next platform. Launch yourself again and start following the arrows in the base. Slow down the fan and go through. Shoot green goo at the slime spot and shoot a creature into the tube. Backtrack to the exit of the tube and open up the box.
Package 21

The last package of the zone is behind the Poacher King at the top of the tall structure.
Every Muxxalon Package in Muxxalon HQ
Package 1

Climb up the walls and jump across the platform to the pink fabric and cut through. A box will be waiting for you that contains the Tadtwo card. You can come back to this one if you don't have Knifey's chainsaw yet. It's near the very beginning of the zone, so it's easy for backtracking.
Package 2
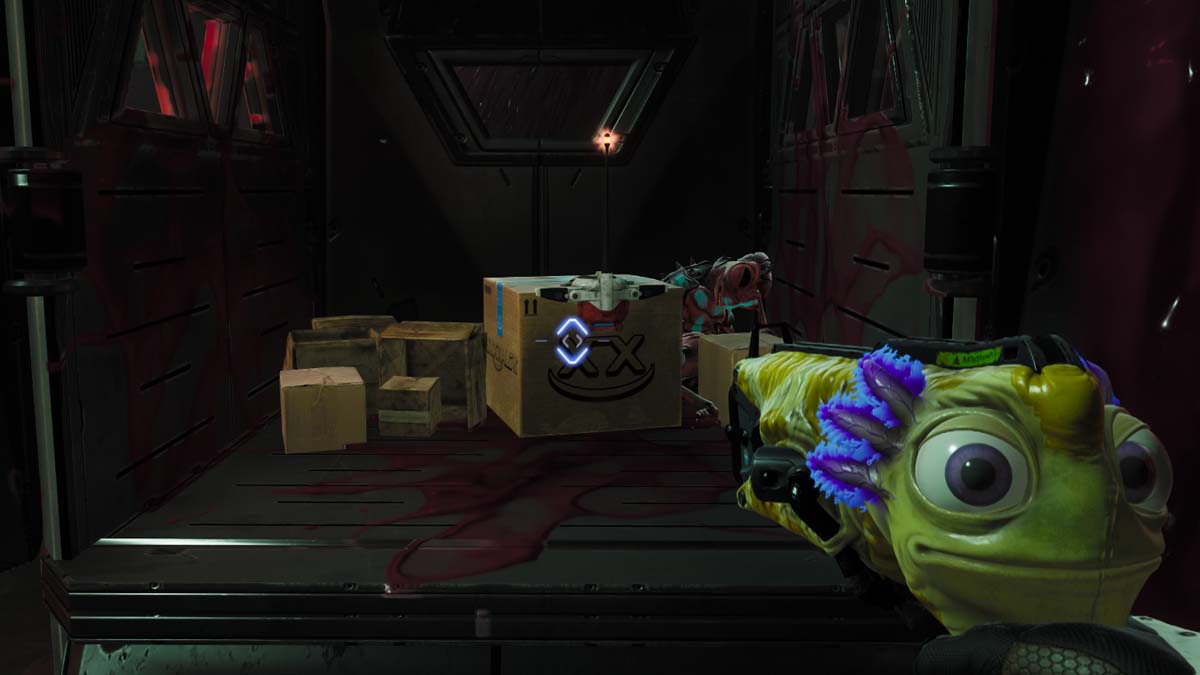
Go to the bottom level and look under the stairs in Access Route A.
Package 3
In the Cargo Loading Wing where you'll need to cut through more pink goo. This one has you play a short minigame where you have the box navigate down to you by hitting three buttons. You may also have to backtrack to this one if you don't have the chainsaw.
Package 4

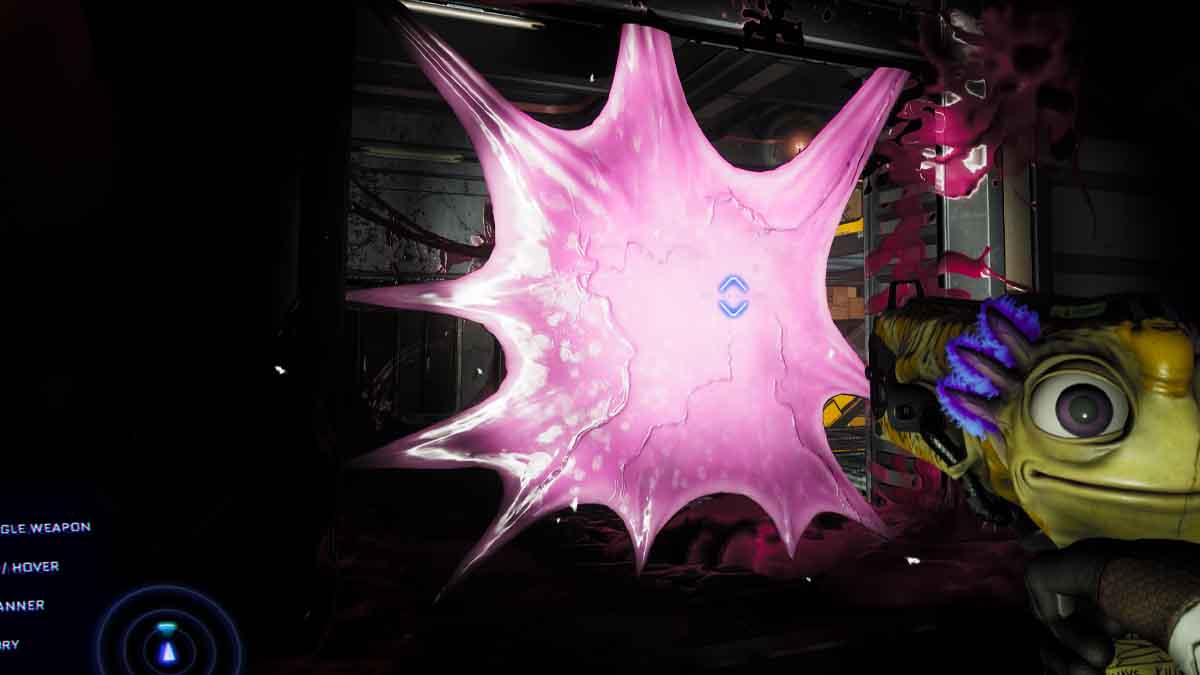
There will be several packages once you get the chainsaw upgrade and head into the Muxxalon Central Chamber. The first of them is on the other side of a pink goo surrounding the central organ.
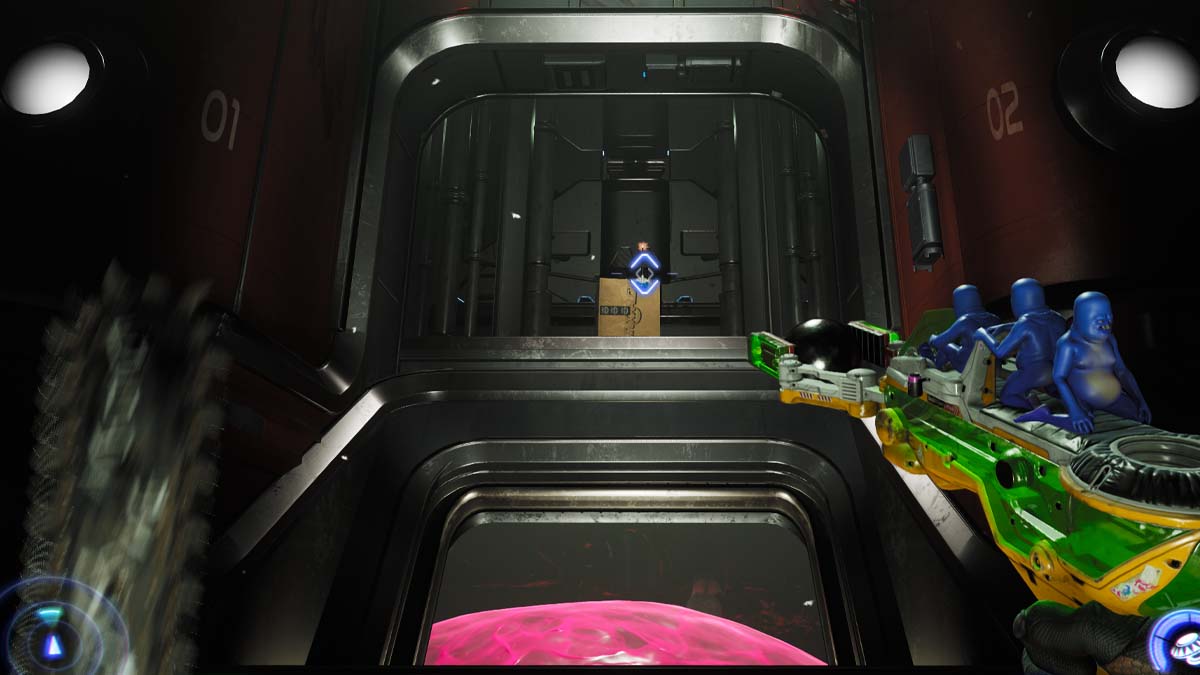
Package 5
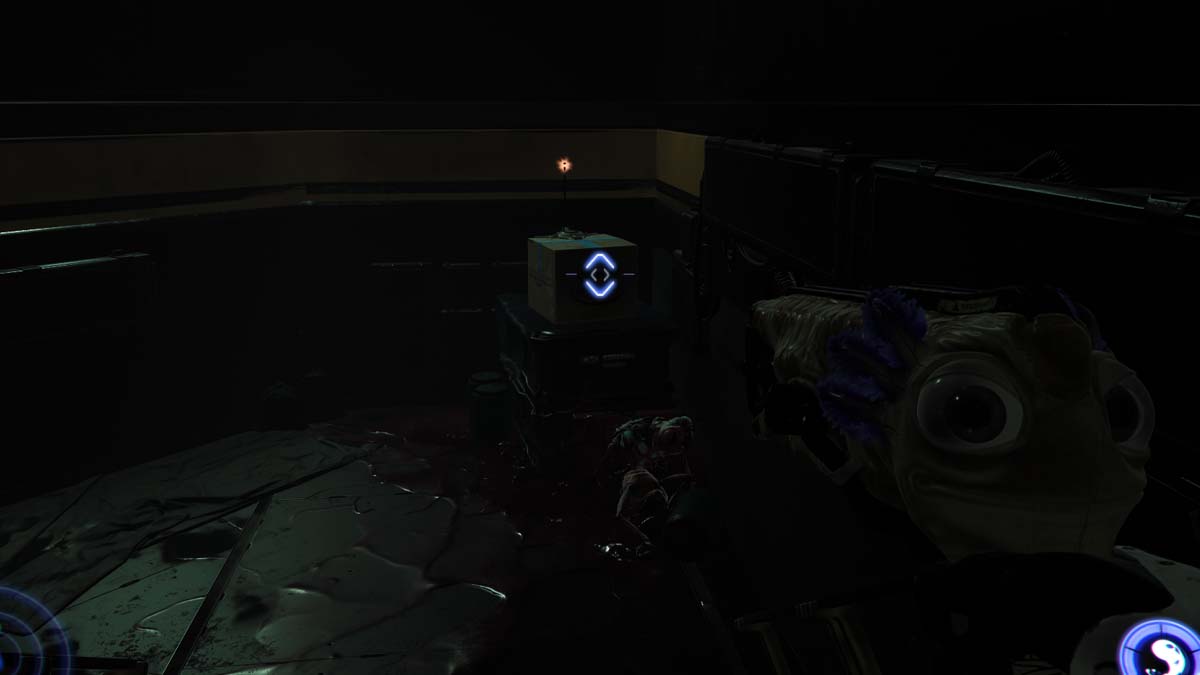
Another package will be on top of a crate inside of another crate with a dead enemy in the Muxxalon Central Chamber.
Package 6

Another package can be found in the Muxxalon Central Chamber by riding the pink goo up to a small platform. You'll see the box's beacon blinking from afar.
Package 7
There will be a small doorway from the Muxxalon Central Chamber that leads into a room where you'll shoot the B.A.L.L. launcher into three holes. This opens up a forcefield allowing you to claim another package. You'll have to slow time on these fans before you use the B.A.L.L.
Package 8
Around the center ring of the Muxxalon Central Chamber you'll come across another box by a vehicle.
Package 9
Look for glowing beacon up top next to the truck in the Muxxalon Central Chamber. You'll use the Knifey chainsaw ride to get up to it. Just scour the top levels until you see the light.
Package 10
Use your jetpack to get on top of the giant pink glob in the middle of Muxxalon Central Chamber and stand on top. You'll see another package beacon glowing on a platform. Shoot a creature into the hole under it to create a Hookfly. Swing across and claim the package.
Package 11
Jump back onto the pink goo and work your way on top of a pipe that had a fan underneath it. Go into this pipeline and slow time on the fan to get by. There is another package next to the fan.
Package 12
Slow time on the fan again, but instead of leaving the way you came in, you'll want to head to a door on the other side. In the room with the conveyor belt, keep shooting the B.A.L.L. into the openings until the emergency door opens. Head through to Package Conveyance and jetpack to the top for another package.
Package 13
Use Knifey to destroy the orange spots on the wall in Package Conveyance and open the door to the next package. Jump straight down into the Muxxalon Central Chamber and turn left. Keep going until you reach the second mechanical door. Inside is another box. You might have to back track to this one if it's your first playthrough. You can skip all of these steps and go right to the door if it's your second playthrough.
Package 14

Use the Knifey chainsaw to fight your way to the next organ by riding it until you get to a new door. Fight your way through this room and you'll come across a box at the end. Keep spamming the waypoint button to lead you in the right direction if you're lost.
Package 15
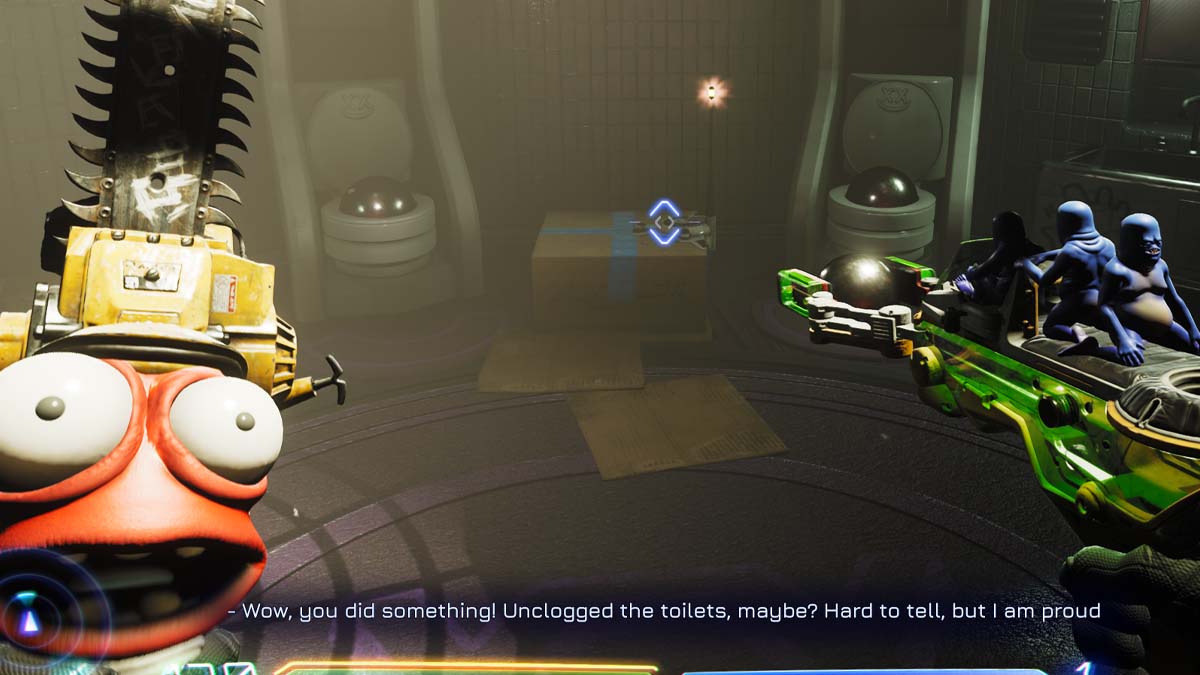
Go through the doorway that leads into the Plumbing Shaft, and then leap across to the bathroom. Use the B.A.L.L. gun to plug the toilets and a box will appear.
Package 16
Jump down a level in the plumbing central chamber. You'll see a package on a ledge. If you went too far, you can chainsaw ride back up and try again.
Package 17
Go back up the plumbing shaft and enter Employee Residences. Go into the Administration Office. Follow the walkway until you come across a button and a spot to use B.A.L.L. Hit the button, hit the targets, and claim the package.
Package 18

Jetpack up to the platforms on the ceiling back in the main room of the package you just grabbed. There will be a button to hit that starts a minigame. You're on a timer that will lead you to the box. Use the goo gun to knock down a few doors, and you'll finish in no time. You'll get a trading card here too.
Package 19
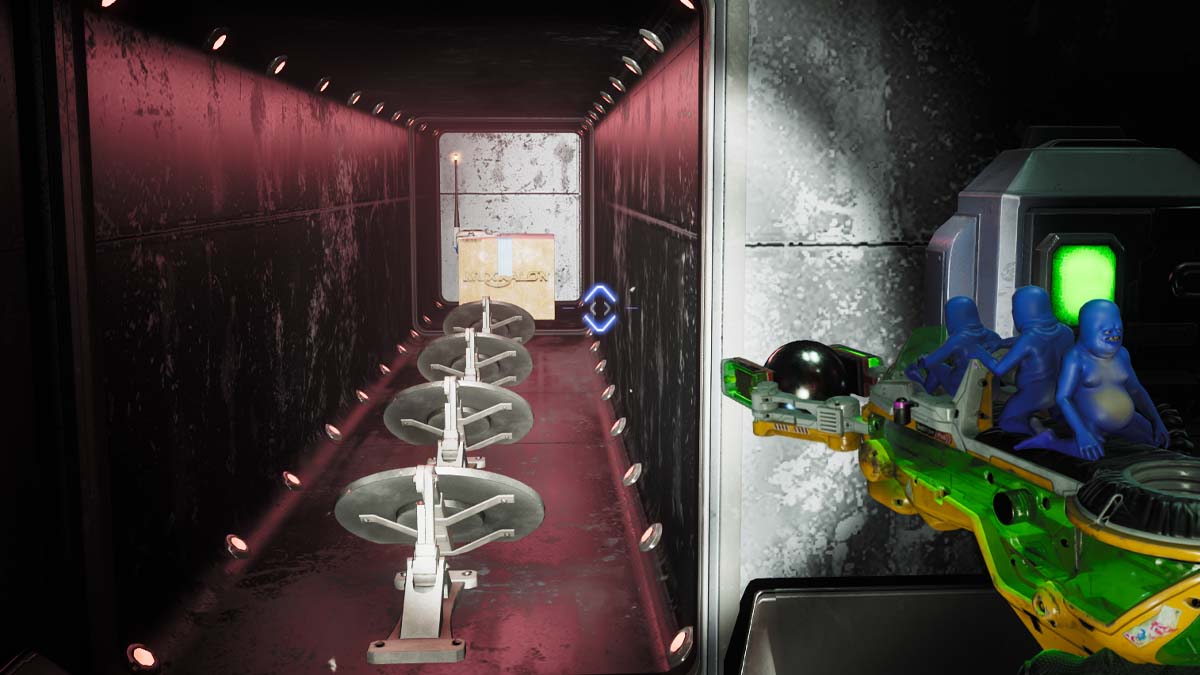
Jump down and take the elevator to the Turbine Room. This room has an organ to destroy if it's your first playthrough, and you'll need to do that to get the fans blowing the right way. The final package will have to be opened by B.A.L.L (you'll see it behind glass). The numbers on the wall indicate the order you have to hit them in. Do that and claim the final package. Just go straight to the Turbine room for your second playthrough.
For more High on Life news and guides, check out High on Life – How to beat Douglas on Pro Game Guides