
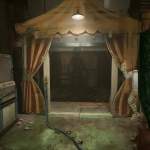
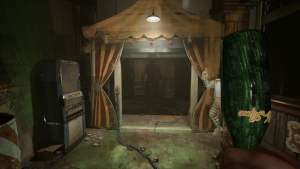
The two MK Challenges in Program 2 of The Outlast Trials occur on a carnival and barn-themed map. This extends to an upstairs portion at the beginning and a big open fair with many blocked doors, making it hard to navigate. Both tasks in the challenges will have you going through these areas, and while the barn is dark, a lot of the carnival is bright. Finding places to hide and loop will require some trial and error, but if you have a Stun Rig or teammates willing to help, you'll map out the place without issue. This is what you have to do in the MK Challenges for Program 2 of Outlast Trials, and some tips on how to do it quickly and efficiently.
Outlast Trials - All Program 2 Grind The Bad Apples MK Challenges – Full Walkthrough
How to complete Punish The Miscreants in Outlast Trials
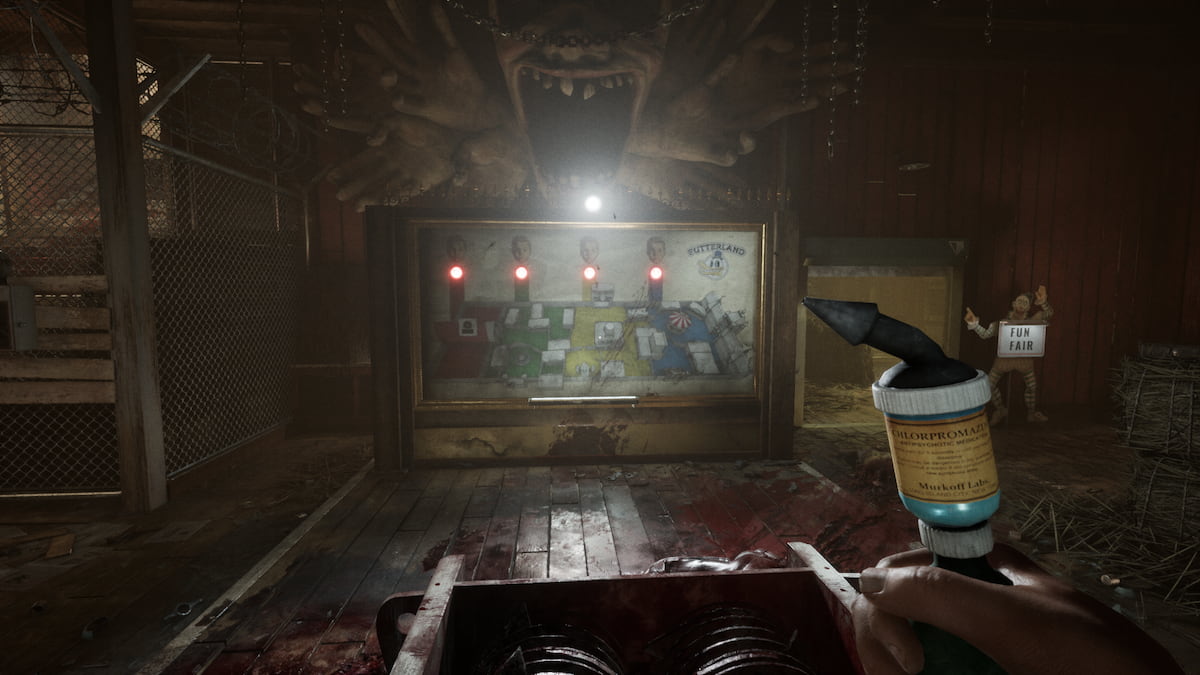
In the first MK Challenge, Punish The Miscreants; you'll have to get dolls from different parts of the map to bring them to the center. You'll see two main ways to go from the starting room—The Barn and the Fun Fair. The barn is easier to navigate and more cramped, but it's pretty dark, so that you can sneak around. There are many trapped and locked doors, so you'll want to crouch before trying to open anything. If you have an upgraded X-Ray Rig, you'll want to mark the patroling enemy for your teammates. You'll also want to either mark locked doors or bash them open so it's easier to run.

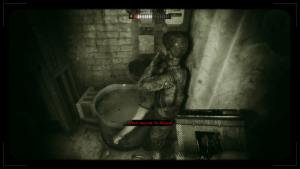

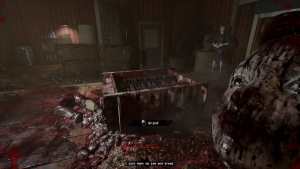
When you've found a child doll, you'll have to use a switch to free them from whatever action they're doing. You can follow the cables attached to them to find the switch, and they tend to be behind the annoying locked and trapped doors. You must press the button, return to the doll, and carry it back to the grinder. A Tier 2 Prescription will make it so you move faster when carrying heavy objects, but you can also use Adrenaline to have the same effect. If you have both, of course, you'll be moving like normal.
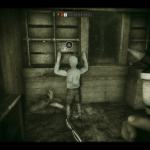
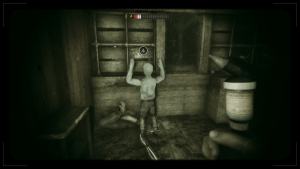
Don't worry if you're having trouble finding the room where the doll is, either because you're hallucinating or the wires go in different directions, don't worry! A symbol will always appear on the doll once you've spotted them, giving you time to gather items, hide, or use some Adrenaline. The carnival area might seem like there is no way to proceed forward sometimes, but if you keep hopping over the attractions, you'll find doors that lead further in. Looking at each area's far left and right sides will tend to have ways to proceed forward as well.
In a group, you'll want one person to loop enemies around while someone else returns the doll. In solo play, you'll be using bottles or an upgraded Blind Rig for the best results. Once the final doll is ground up, you'll travel to the map's beginning to escape. Mother Gooseberry will spawn at this point, directly in the way of the exit, so be sure to give her the run around the grinder like in the tutorial and escape!
Related: All enemy types in Outlast Trials
How to complete Open The Gates in Outlast Trials
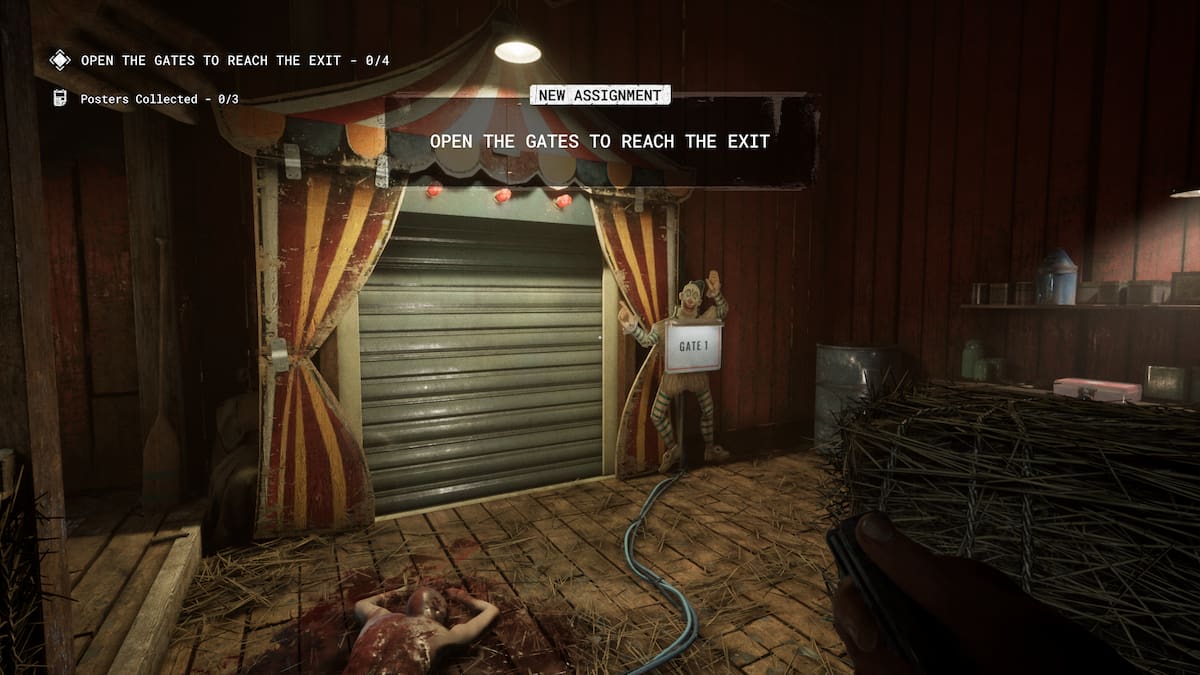
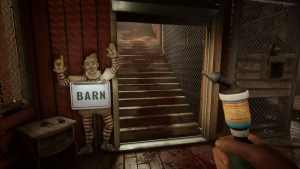
Like the Punish The Miscreants MK Challenge of The Outlast Trials, you'll be on the same map for Open The Gates. The twist here is that there is much less freedom, with every area blocked off until you unlock each gate. This challenge makes learning the map much easier because you're tackling it in chunks before moving on, so you might benefit from telling your friends to play this one first. From the gate, you'll follow the wires to find its power source.
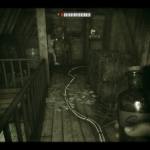
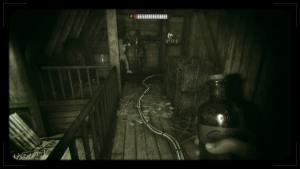
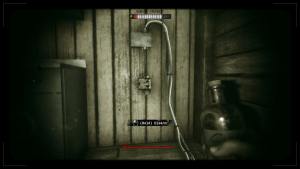
In each area, you'll be backtracking the wires until it splits off in different directions. For some of them, you'll only be taking out two batteries, but others will require three or four batteries to be taken out. They function the same as trapped doors, Left Clicking the little power box where the battery is to disarm it. These batteries can also be used to repower your night vision, so don't forget to use them before moving on. Communicating which ones you've powered off will be important if you're in a group so nobody follows the wires to a dead end.
Related: How to unlock Program X in Outlast Trials
Once you're in the Fun Fair and Carnival areas, the map is more open, and the wires travel even further. You won't be hiding behind the stands in between chases or throwing bottles to distract enemies as much as in Punish The Miscreants, and instead, you can rush a lot of these sections. When disarming the battery, you can be damaged, but there's a cooldown between grabs from enemies, giving you plenty of time to disarm and then run.
Taking lockpicks to open up the locked medical supplies is pretty beneficial here, allowing you to take damage while disarming without worry. The Heal Rig is useful for the same reasons, and your teammates will thank you for the good grade. Once all the gates are powered up, you'll be heading for a new exit this time instead of running back to the start of the map. This will be far into the carnival, where the wires lead back to the final gate. There's even a cardboard cutout you can hide behind while you wait for the exit to open!
For help on the previous MK Challenges and Trials in the Outlast Trials, check out All Program 1 Kill The Snitch MK Challenges in Outlast Trials – Full Walkthrough or How to complete Grind The Bad Apples Program in The Outlast Trials – Full Walkthrough on Pro Game Guides.