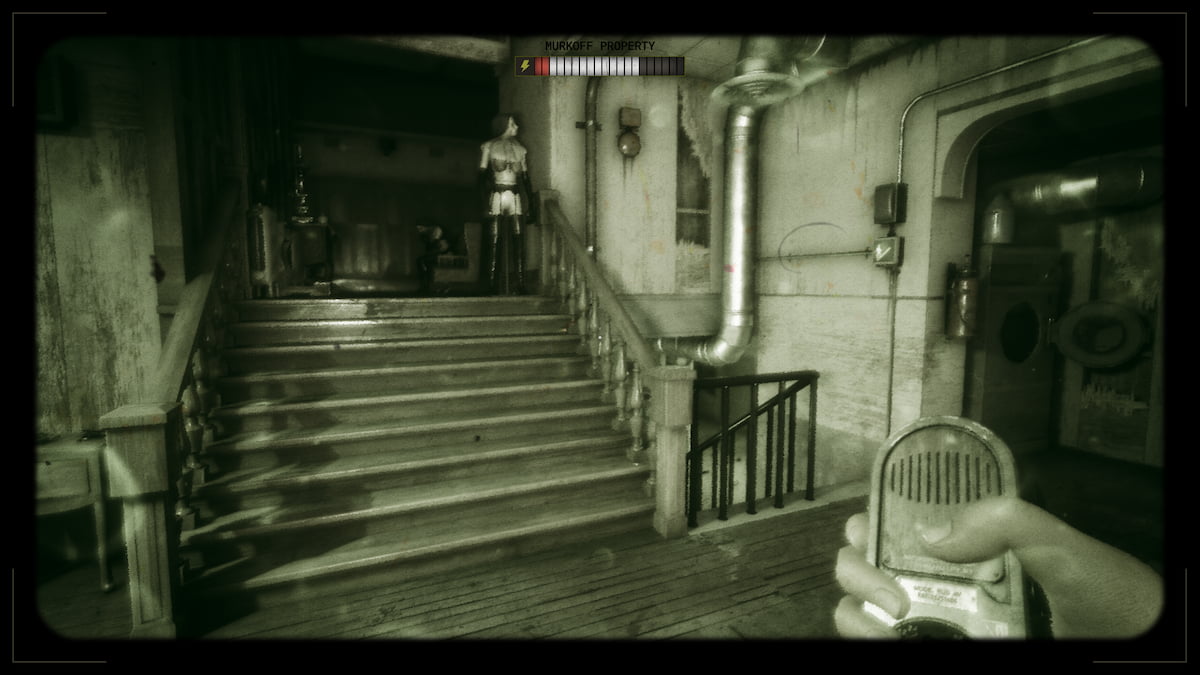
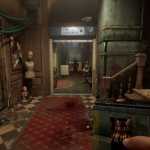
The Outlast Trials Challenges start to amp up the difficulty for Program 3, taking place in an orphanage. The map is small and feels claustrophobic with how little room there is between some areas. There are a lot of loops and places to hide still, but you'll want to coordinate with your teammates just who is distracting enemies like Mother Gooseberry. This is what you'll have to do for both the Feed The Children and Foster The Orphans MK Challenges in Outlast Trials.
Outlast Trials - All Program 3 Cleanse The Orphans MK Challenges – Full Walkthrough
How to complete Feed The Children in Outlast Trials
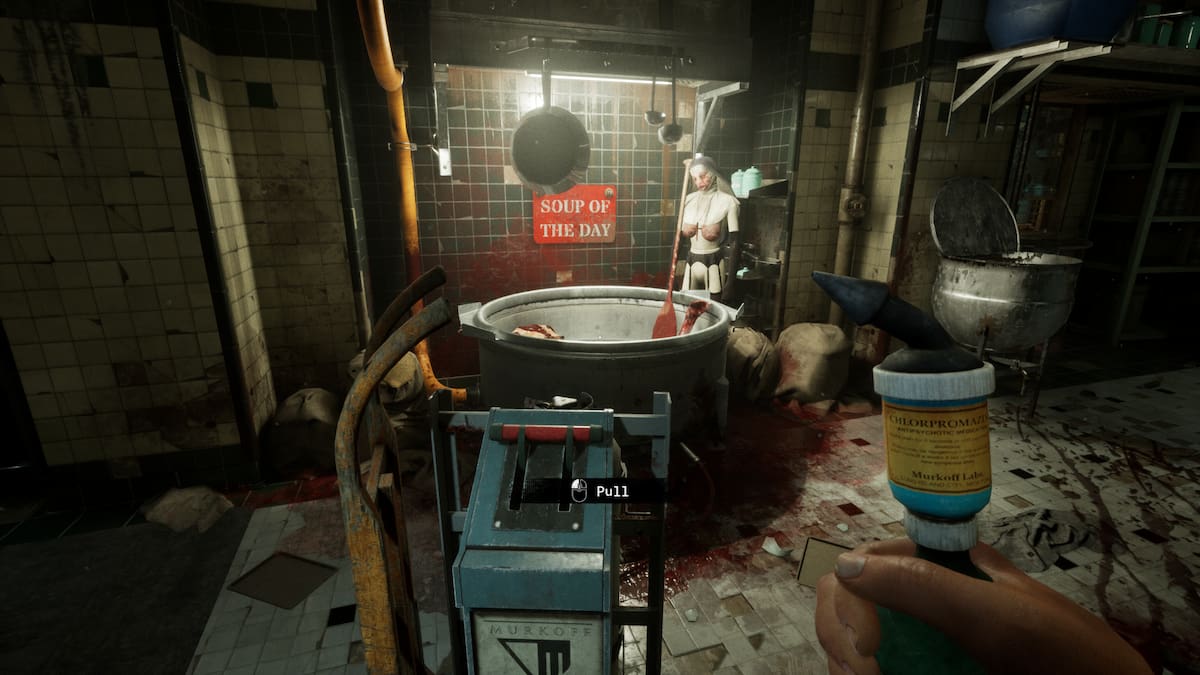
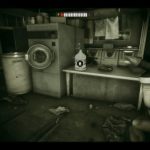
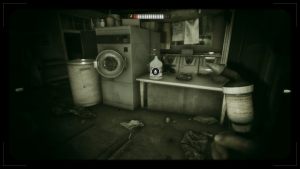
The Feed The Children MK Challenge of The Outlast Trials has you looking for bottles of bleach in two different areas of the orphanage to pour into the soup. These are heavy objects, meaning your movement speed will be slowed down while you're carrying the bottles, and you can't use your items until you drop them first. Adrenaline is one way to increase your speed while bringing them back to the kitchen, but you can also get the Tier 2 Prescription to increase your speed while carrying large objects. In a team setting, you'll want to protect the person holding the bleach with the other people distracting, stunning, or blinding the enemies for them.
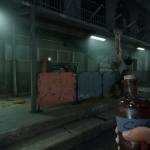
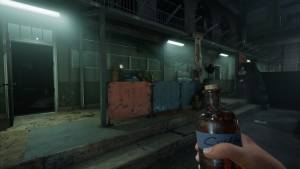
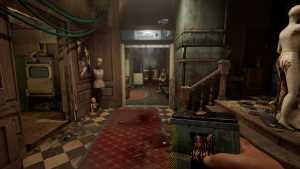
The area on the left leads to an open courtyard with a building on the left and right side where the bleach can spawn. The building on the left has no light until you shift toward the right and has a hole in the bathroom to loop enemies around. The building on the right has a swimming pool and a few rooms surrounding it that lead back into the building on the left. You'll be taking advantage of the holes more than anything if you're looping around whenever you're caught. If you're playing solo, you might want to take bottles with you for these areas.
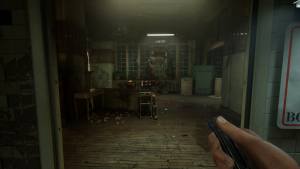
The other area is to the right of the soup and has an upstairs and downstairs area. They both connect at some point, with the upstairs being a dark chapel and the downstairs being a storage area. The chapel is easy to crouch and hide in while carrying bleach, but there aren't many places to go if caught. This can lead to dropping the bleach, finding a place to hide, and returning to a room full of enemies. In a team, this is a lot easier, but in solo, this may require going downstairs to make noise and then going back to the chapel after they are led away.
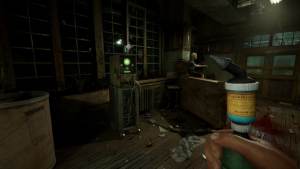
The downstairs area has a lot of items to collect but is very brightly lit, making it hard to grab the bleach and sneak back up. If you unlock some of the doors that lead straight to the stairs, this will make your exit a lot easier, even if you're being chased. Closing every door behind you will give you enough time to bring the bleach close enough to the soup that you drop it, hide, and then pick it back up once the enemies are on their patrol again.
Related: All enemy types in Outlast Trials
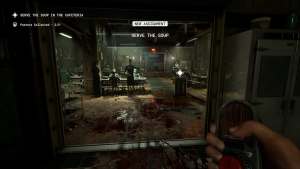
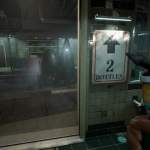
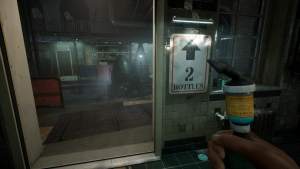
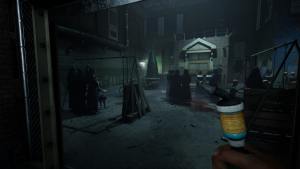
If you leave bleach behind, the symbol will still show up for you, so don't be afraid to drop it, even in the dark. If enough time passes or you're close enough to the bleach, these symbols will show up for you automatically. Once you've collected all the bottles and poured them in, you'll just have to press the button to feed the orphans. The gates will close, Mother Gooseberry will spawn, and you'll have to run to the exit. You can hide before she shows up or run back to the entrance and throw bricks at her as she tries to catch you.
How to complete Foster The Orphans in Outlast Trials
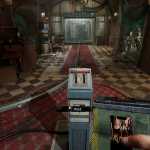
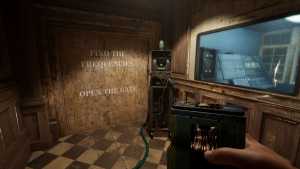
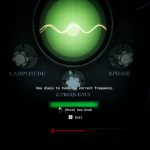
In the Foster The Orphans MK Challenge of The Outlast Trials, you'll have to adjust the frequency of several devices to open up the gate to the exit. The trial activates after pulling the lever, bringing the orphans to the gate. The first device will be to the left of the main gate, and you'll need to adjust the Amplitude, Frequency, and Phase to tune to the correct frequency. Your Blind Rig Upgrades will come in handy here to keep enemies off of you while you work on these machines.
Related: How to complete Grind The Bad Apples Program in The Outlast Trials – Full Walkthrough
After adjusting the frequency of the first machine, the gate to the right of the lever will unlock. From there you need to find more machines on the map. Mother Gooseberry patrols around the map from the start, and you'll have to stand out in the open when you're adjusting the frequency. If you're playing with a group, you can all go for a machine each, but there are more than four enemies on the map. If any of you get spotted, you'll have to loop them until they lose sight of you and try again, but you can resume when you return to the machine.
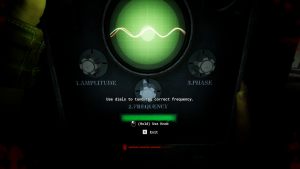
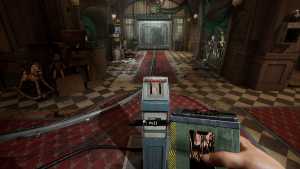
The waves don't have to be exact, leaving a little room for error. If you're pretty close to it matching, sometimes all you'll need to do is let go of your dial, and it'll count for you. If you're close but get caught, ping the machine so your teammates know it's safe to start using the dials. When all the machines are set to the correct frequency, you just need to head back to the orphans on the rail and press the button to open the gate.
For help with the previous MK Challenges in Outlast Trials, check out All Program 1 Kill The Snitch MK Challenges in Outlast Trials – Full Walkthrough and All Program 2 Grind The Bad Apples MK Challenges in Outlast Trials – Full Walkthrough on Pro Game Guides.