


Updated on October 29, 2026: Added Powder Formula, Sancta Irae, Clean Cuts, Soap Slide, and Ride Or Die, refreshed card effects and loadouts, and corrected outdated stats across the tier list.
Not sure which Cards are best in Bridger Western? With only three slots, the right combination matters more than collecting three strong effects. This Bridger Western Card Tier List ranks the best options for gunfighters, melee builds, Shabon users, and vampire hunters, including the latest smoke, stake, and horse cards.
Bridger Western Cards Tier List
⇓ BEST CARDS ⇓

Show Me A Good Time

Quick Draw

Free Runner

Time Heals All Wounds

Too Tired to Fall

Winning Streak

Veteran
⇓ VERY GOOD CARDS ⇓

Tonicmaster

Pyromaniac

FAUX: Violent Tendencies

FAUX: Main Character Syndrome

STURDY

Desperado

Boy With Fists

Demolitions Expert

Lung-shot

Archer's Child

Master Archer

Wrecking Ball

Headhunter

High Noon

Poltergeist

Gunslinger's Grit

Wind God

Soul Cleaver

Anger Issues

Violent Tendencies

Perfectionist

Time Is Of The Essence

Powder Formula

Sancta Irae
⇓ DECENT CARDS ⇓

Evil Eye

Hyperventilator

Steady Hands

Master Practitioner

FAUX: Wrecking Ball

FAUX: High Noon

Faux Tea Time

A True Cowboy

Focused Jockey

Equinophobia

Belmont Family Crest

Can't Lay Off the Tonic

Strong Liver

Seasoned Hunter

Plunder Shot

One With Nature

Silver Wireset

Twenty Meter Radius Steel

Small Cuts

Main Character Syndrome

Total Checkmate

Winged Man

Sneaky Lowlife

Nocturnal

Light Sleeper

Victory Crawl

Master Lumberjack

Tea Time

Flesh Automaton

Clean Cuts

Soap Slide

Ride Or Die
⇓ MID CARDS ⇓

Master Angler

Merfolk

Narcoleptic

Strong Presence

Silver Prodigy

EXECUTIONER

Secret Technique

Snake Eater

Danger Sense

Coin Roller

Ice Skates
Cards are a separate character-power system built around mostly passive effects and buffs. The game currently allows a maximum of 3 Cards equipped at once. These Cards are not random tiny stat bumps glued on top of the game. They are closer to a mini-build system: you get limited slots, selective choice, and effects that often lean into specific weapons, mobility patterns, PvP matchups, or utility tools.
Because you only get three, the real game here is not “take strong cards,” but “stack effects that push your chosen loadout into a sharper identity.” With all that taken into consideration, here's how the cards compare for combat, taking their build requirements and synergies into account. Specialist cards can outperform their overall tier in the right setup; fishing and exploration cards rank lower here because this list prioritizes fighting.
NOTE: Some Cards interact directly with Stand abilities. Demolitions Expert boosts Killer Queen and 20th Century Boy explosive moves. Winged Man applies its 15% midair damage bonus to Stand abilities as well. Boy With Fists stacks with Winged Man for massive melee burst. Keep these cross-system synergies in mind when building around a specific Stand.
RELATED: Ultimate Bridger Western Tier List
Best Cards in Bridger Western Ranked
| Card | Passive | Pros & Cons |
|---|---|---|
| Card 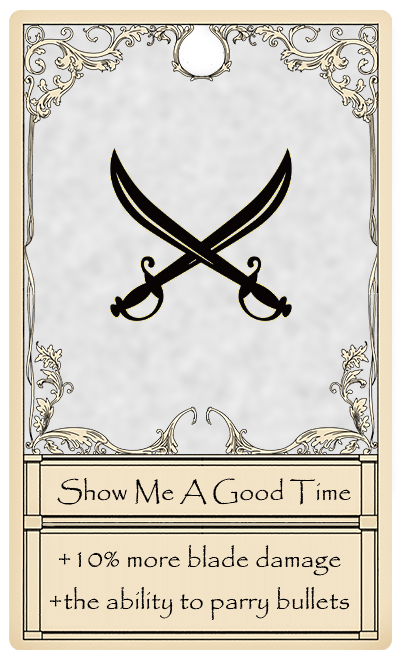 Show Me A Good Time | Passive Sabre attacks deal 10% more damage. Gain projectile parries with 0.45-second parry frames on slash/equip. Standless users receive 12% less stamina drain. | Pros & Cons
|
Card  Quick Draw | Passive Equipping your primary revolver briefly enters Quickdraw: increased fire rate, accuracy, and damage at the cost of mobility. Standless users have a shorter cooldown. | Pros & Cons
|
Card  Free Runner | Passive Gain 20 stamina and replace combat roll with a slide that deals damage and briefly stuns on collision. Side and back dashes also perform an additional acrobatic roll. | Pros & Cons
|
Card 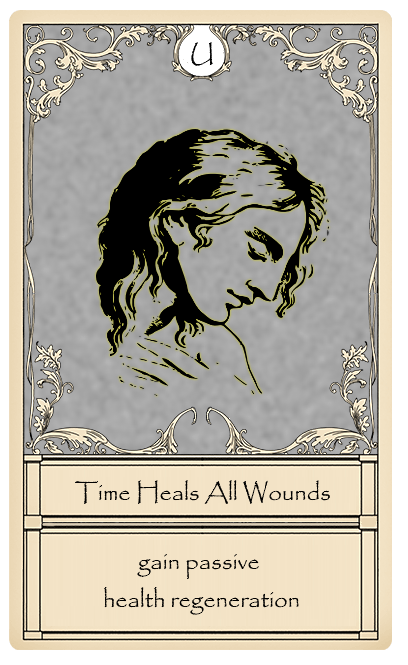 Time Heals All Wounds | Passive Passively regenerate 1 HP per second. | Pros & Cons
|
Card 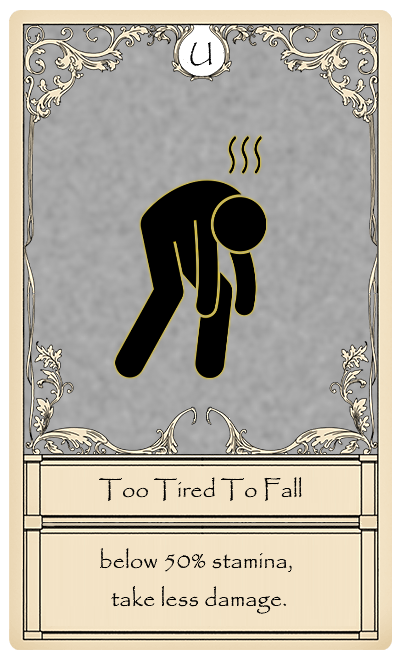 Too Tired to Fall | Passive Gain 20% damage reduction while below 50% stamina. | Pros & Cons
|
Card  Winning Streak | Passive Consecutive shots on the same target build 10% bonus damage per stack, up to five stacks (50%). Stacks expire after 4 seconds unless refreshed. | Pros & Cons
|
Card 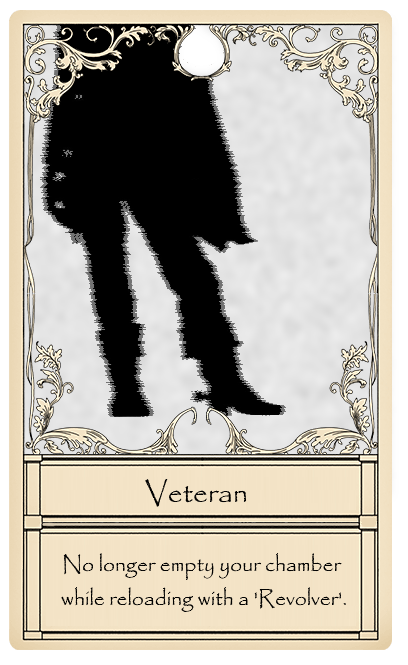 Veteran | Passive Reloading a revolver preserves the bullets still in its chamber. Revolvers fire 40% faster in fan-firing mode. | Pros & Cons
|
Card 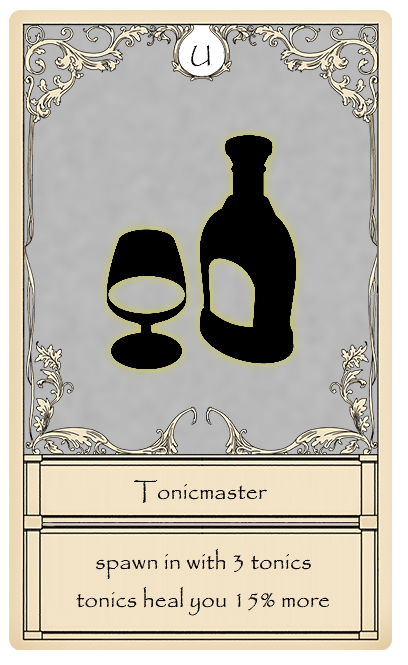 Tonicmaster | Passive You spawn with 3 tonics upon death/leave. Your tonic cap increases from 5 to 10. Tonics heal you 15% more. After drinking, you throw the bottle, dealing damage and applying a disorienting effect on hit. | Pros & Cons
|
Card  Pyromaniac | Passive Fire created by you no longer damages you. Fire created by you deals 25% increased damage. Applies to molotov fire, Magician's Red fire, and flame arrow fire; TWAU gasoline does not count. | Pros & Cons
|
Card  FAUX: Violent Tendencies | Passive Press J or use the tool for an axe kick costing 15% stamina. On hit, deals roughly 20 damage and downslams the target. On execute, refills stamina, reduces current cooldowns by 10 seconds, and reduces non-global skill cooldowns by 30%. | Pros & Cons
|
Card  FAUX: Main Character Syndrome | Passive Press N or use the card tool to enter a stationary counter pose. A successful counter evades the attack, restores a portion of missing HP, and removes the card's cooldown. A missed counter briefly stuns you in a Weakened state. | Pros & Cons
|
Card 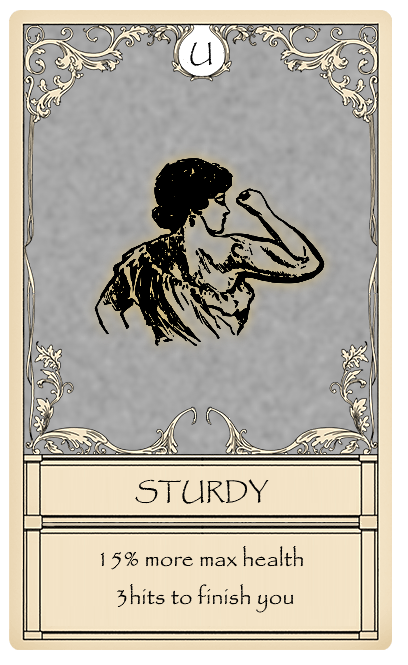 STURDY | Passive Gain 5% maximum health and require three finishing hits. Status damage such as poison, burning, and drowning can still bypass that finishing protection. | Pros & Cons
|
Card 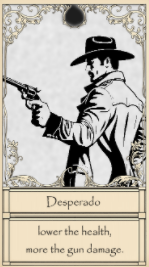 Desperado | Passive Gun damage scales with missing health: -15% at full HP, about +10% at half HP, and about +25% at 1 HP. Scaling is halved on non-revolver weapons; bows do not benefit. | Pros & Cons
|
Card 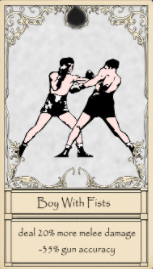 Boy With Fists | Passive Deal 20% more melee damage, with a further standless benefit noted on the Trello. Lose 35% gun accuracy. Applies to gun bashes, Free Runner slides, and dagger/saber slashes. Stacks with Winged Man. | Pros & Cons
|
Card  Demolitions Expert | Passive Deal 15% more explosive damage and take 65% less damage from your own explosives. Also supports explosive Stand setups such as Killer Queen and 20th Century Boy. | Pros & Cons
|
Card 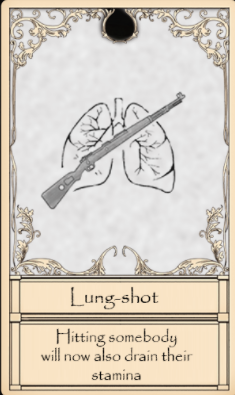 Lung-shot | Passive Primary and secondary weapon hits drain the target's stamina; shotguns apply a small drain per pellet. Standless users drain around 9% more stamina with most guns. | Pros & Cons
|
Card 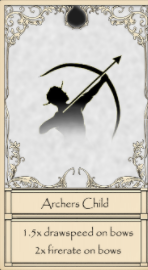 Archer's Child | Passive Increases bow draw speed by 1.5x. Increases bow fire rate by 2x. | Pros & Cons
|
Card  Master Archer | Passive Gain the ability to shoot three arrows at once with bows. In exchange, bows have 25% slower draw speed and 35% reduced damage. | Pros & Cons
|
Card  Wrecking Ball | Passive Gain the ability to wield Wrecking Balls. Charged direct hits with Wrecking Balls apply a 2-second half-screen blindness effect. Wrecking Balls have 80% of normal Spin ball speed and give +10% walk speed while charged instead of regular Spin's +15%. Cannot be traded; bought after completing the Wrecking Ball Quest. | Pros & Cons
|
Card  Headhunter | Passive Your bullets pierce protective hats that would have otherwise reduced or stopped them. | Pros & Cons
|
Card 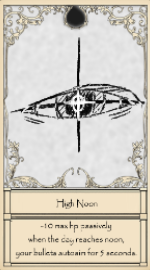 High Noon | Passive Lose 10 max HP. At noon, your bullets auto-aim for 5 seconds. | Pros & Cons
|
Card 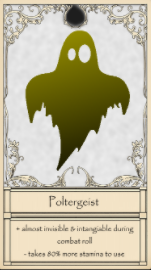 Poltergeist | Passive Become almost invisible during combat roll, at the cost of 60% more stamina per roll. | Pros & Cons
|
Card  Gunslinger's Grit | Passive Killing someone restores 22% of your HP. | Pros & Cons
|
Card  Wind God | Passive Reduces dash/slide cooldown. Lose 10 max HP. | Pros & Cons
|
Card  Soul Cleaver | Passive Sabre attacks gain a larger hitbox and deal 10% increased damage. In exchange, you deal only 50% gun damage. | Pros & Cons
|
Card  Anger Issues | Passive Taking a hit grants a 3% damage boost, stacking five times for up to 15%. Stacks last 4 seconds; another hit refreshes the timer. | Pros & Cons
|
Card  Violent Tendencies | Passive Press J or use the tool to stomp; costs 10% stamina. On an execute, refill stamina and reduce current cooldowns by 10 seconds. | Pros & Cons
|
Card  Perfectionist | Passive Deal 1.1x damage while at full HP. Deal 0.9x damage if you are below full HP. | Pros & Cons
|
Card 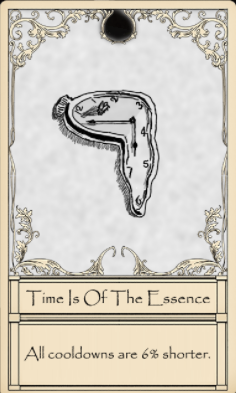 Time Is Of The Essence | Passive All cooldowns are 6% shorter. | Pros & Cons
|
Card 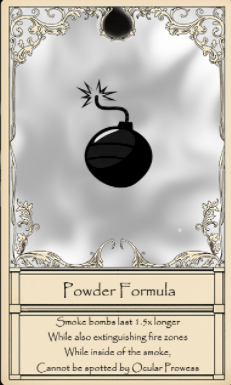 Powder Formula | Passive Smoke bombs last 1.5x longer, extinguish fire zones, and hide you from Ocular Prowess while you are covered by the smoke. Also lets smoke created by Boku No Rhythm conceal its user from Ocular Prowess. | Pros & Cons
|
Card 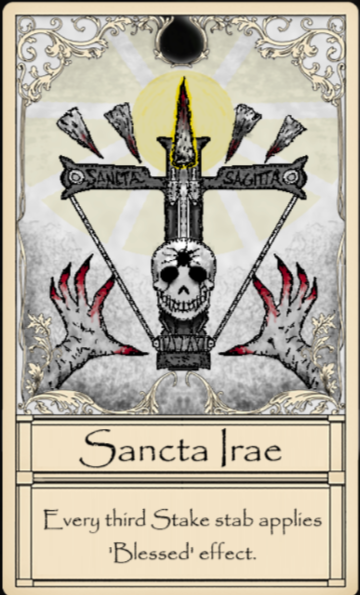 Sancta Irae | Passive Every third Stake stab applies Blessed. Against vampires, current notes list a 1-2 second stake delay, a 25-damage explosion, and a 6-second execute window if the target falls below the execute threshold, plus a 6-second burn listed at 15 damage. On a blessed human, notes list 25% universal damage resistance, 50% less blood gained when hit, automatic silver infusion for otherwise non-silver shots, and 45 HP healed over 10 seconds. The initial stake hit reduces the net healing. Provisional: The Trello explicitly flags these details for retesting. The third-stab trigger is shown on the card; the numerical effects may change. | Pros & Cons
|
Card  Evil Eye | Passive Increases Ocular Prowess duration by 50%. Increases Ocular Prowess cooldown by 50%. | Pros & Cons
|
Card  Hyperventilator | Passive Decrease max stamina by 20. Increase stamina regeneration speed. | Pros & Cons
|
Card  Steady Hands | Passive Reduce passive Spin charge drain by 25%. | Pros & Cons
|
Card  Master Practitioner | Passive Unlock spiraling Spin pitches: a thrown steel ball rapidly orbits a small area like a mini buzzsaw. | Pros & Cons
|
Card  FAUX: Wrecking Ball | Passive Requires Wrecking Ball and cannot be traded; obtained through the Wrecking Ball quest. Impacts release 12 slightly homing satellites, dealing 2-3 damage each (3 on a critical hit). Direct Wrecking Ball hits deal 35% less damage. | Pros & Cons
|
Card 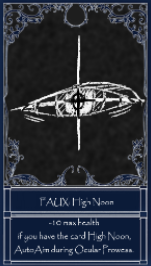 FAUX: High Noon | Passive Lose 10 max HP. If you also have High Noon, gain Auto Aim during Ocular Prowess, but its duration becomes significantly shorter. | Pros & Cons
|
Card  Faux Tea Time | Passive Requires Tea Time and keeps tea's cooldown shortened outside its normal time window. Adds faster brewing and a portable teapot, and increases tea buffs by 50%. Drinking forces walking without an additional speed penalty. | Pros & Cons
|
Card 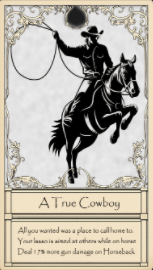 A True Cowboy | Passive While on horseback, your lasso aims at other players. Deal 17% more gun damage while on horseback. | Pros & Cons
|
Card  Focused Jockey | Passive Using Ocular Prowess while mounted boosts your horse's speed stat, up to 25, for its duration. | Pros & Cons
|
Card  Equinophobia | Passive Horse bashes no longer consume all of the horse's stamina. Deal 20% more bash damage. | Pros & Cons
|
Card 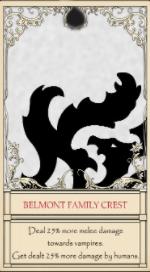 Belmont Family Crest | Passive Deal 25% more melee damage to Vampires. Take 25% more damage from humans. | Pros & Cons
|
Card 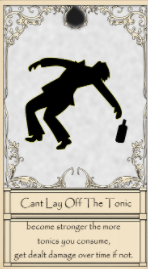 Can't Lay Off the Tonic | Passive You become stronger the more tonic you consume. If you do not keep consuming tonic, you take damage over time. Consuming tonic also makes you throw the bottle, dealing damage and applying a disorienting effect on hit. | Pros & Cons
|
Card  Strong Liver | Passive Tonic side effects are lessened. Mitigates effects such as dizziness, letting you drink more before falling unconscious. | Pros & Cons
|
Card 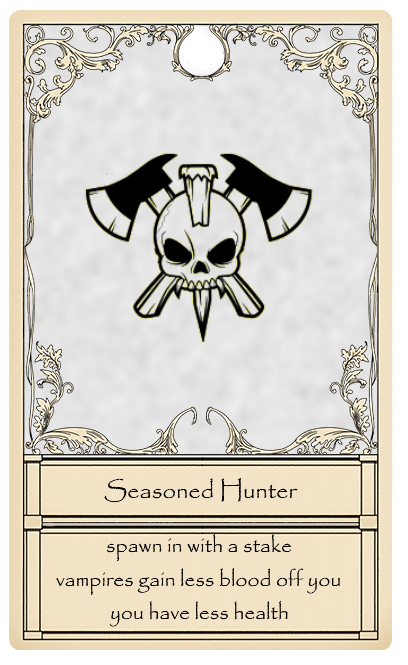 Seasoned Hunter | Passive Spawn with a Wooden Stake. Vampires gain 45% less blood from you; lose 10 maximum HP. | Pros & Cons
|
Card  Plunder Shot | Passive Coin gun damage is reduced to 0.1x. In exchange, the coin gun fires a 10-15 coin shotgun-style volley. The cost remains per shot, not per coin. | Pros & Cons
|
Card  One With Nature | Passive Gain a bonus based on the server's season: Summer: +10% speed; Winter: +7.5% damage resistance; Spring: +7.5% damage; Autumn: 2x knockback. | Pros & Cons
|
Card 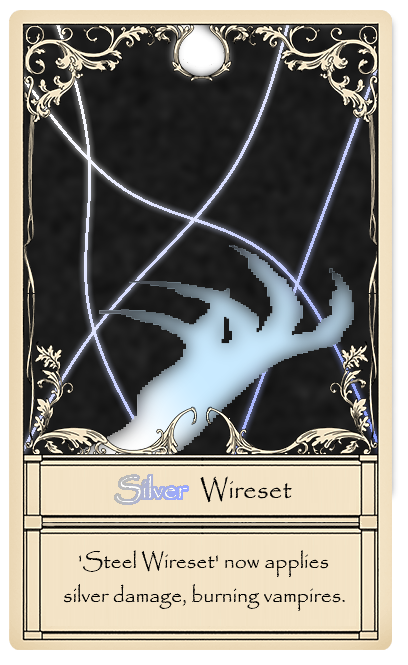 Silver Wireset | Passive Convert Steel Wireset to silver damage, reducing its damage from 15 to 7.5. | Pros & Cons
|
Card 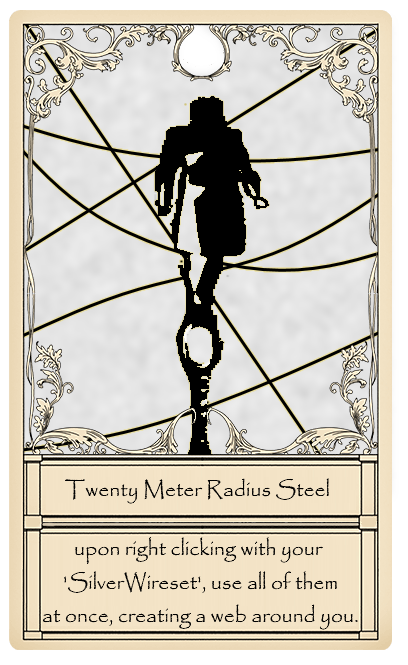 Twenty Meter Radius Steel | Passive With Silver Wireset, right-clicking uses them all at once to create a web around you. | Pros & Cons
|
Card 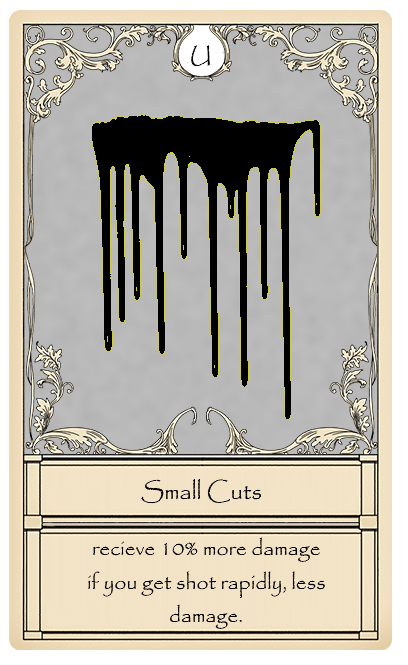 Small Cuts | Passive Take 10% increased damage, but closely spaced repeated hits deal less damage to you. | Pros & Cons
|
Card  Main Character Syndrome | Passive Press B or use the card tool to pose for 5 seconds and accelerate health regeneration. You remain stationary and take 1.5x damage; getting hit does not cancel the pose. | Pros & Cons
|
Card 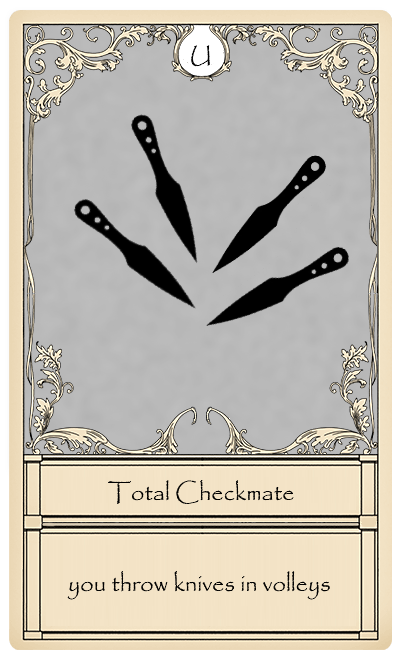 Total Checkmate | Passive You throw knives in volleys. | Pros & Cons
|
Card 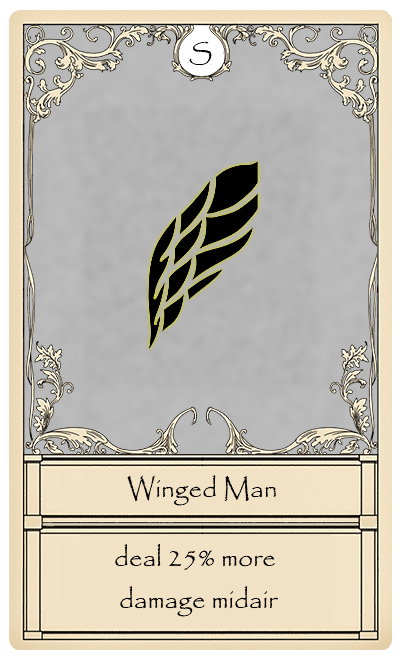 Winged Man | Passive Deal 15% more damage while your character is airborne. Applies to Stand damage and abilities, but piloting an airborne Stand while your character stays grounded does not count. | Pros & Cons
|
Card 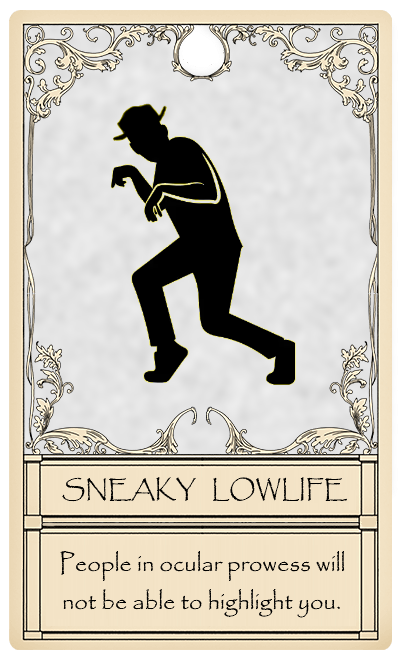 Sneaky Lowlife | Passive Ocular Prowess highlights cannot detect you. Gain Moolah Pickpocket; using it adds 5 bounty. Lose 10 maximum HP. | Pros & Cons
|
Card  Nocturnal | Passive Your vision pierces through the dark. Gain Night Vision. | Pros & Cons
|
Card  Light Sleeper | Passive Recover from being knocked down faster by roughly 2 seconds. | Pros & Cons
|
Card  Victory Crawl | Passive Gain the ability to crawl while knocked down instead of remaining stationary and ragdolled. | Pros & Cons
|
Card Master Lumberjack | Passive You can swing axes faster. | Pros & Cons
|
Card  Tea Time | Passive Tea cooldown drops from 7 seconds to 1 second between 3 and 5 PM in-game. Receive twice as many teas when brewing. Drinking forces walking without an additional speed penalty. | Pros & Cons
|
Card  Flesh Automaton | Passive Taking lethal damage three times removes a limb each time, then triggers warning noises and an explosion. | Pros & Cons
|
Card 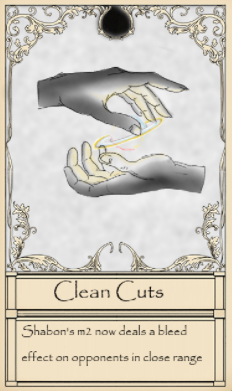 Clean Cuts | Passive Shabon's M2 applies bleed to opponents at close range. | Pros & Cons
|
Card 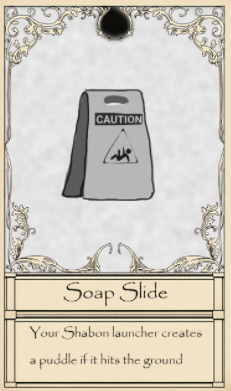 Soap Slide | Passive Your Shabon launcher creates a puddle when it hits the ground. | Pros & Cons
|
Card 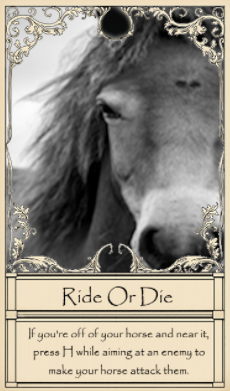 Ride Or Die | Passive While dismounted and near your horse, aim at an enemy and press H to order your horse to attack them. | Pros & Cons
|
Card  Master Angler | Passive After bait bonuses, fishing chance multipliers are 1.15x Legendary, 1.1x Epic, 1x Rare, and 0.75x Common. Stacks with bait, but duplicate copies of the card do not stack. | Pros & Cons
|
Card  Merfolk | Passive You can breathe underwater. | Pros & Cons
|
Card  Narcoleptic | Passive Remain downed for 5 additional seconds, then heal 50 HP when you get up. | Pros & Cons
|
Card  Strong Presence | Passive Hostile events and encounters will no longer ambush you. | Pros & Cons
|
Card  Silver Prodigy | Passive Increases Silver Dagger base damage from 8 to 9. Does not stack with Boy With Fists. | Pros & Cons
|
Card 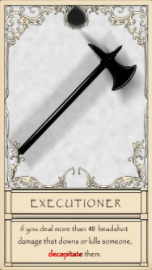 EXECUTIONER | Passive If you deal more than 40 headshot damage and that hit downs or kills, you decapitate them. | Pros & Cons
|
Card  Secret Technique | Passive At 40% HP or lower, your running ability changes; standless users receive a slightly faster version. | Pros & Cons
|
Card  Snake Eater | Passive Standing still for 5 seconds turns you partially invisible and makes stamina regenerate faster. Note: Your name and gang tag remain visible to other players. | Pros & Cons
|
Card  Danger Sense | Passive Coveted, extremely rare card. Has no function per the official Trello. | Pros & Cons
|
Card 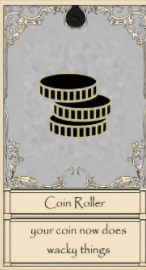 Coin Roller | Passive Changes how your coin behaves. Currently disabled. | Pros & Cons
|
Card 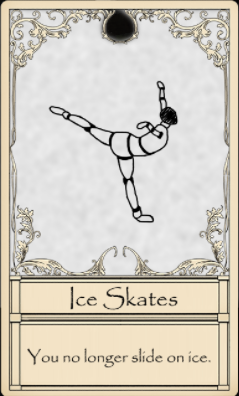 Ice Skates | Passive You no longer slide on ice, including seasonal ice and ice created by White Album. | Pros & Cons
|
Other Trello entries: FAUX: Nocturnal reveals players and mobs behind solid objects during Ocular Prowess, making it a useful scouting and wallbang option. Barrier Engulf is also listed, but its text entry has no effect description, so it remains unranked here.
RELATED: Bridger Western Stand Tier List
How to Get Cards in Bridger Western
Humans receive a free choice of one of three cards when reaching Tier 2, reaching Tier 3, and completing Tier 3 at 350 EXP. For additional rolls, visit the Mud Witch. Wrecking Ball and its FAUX variant have their own quest route.
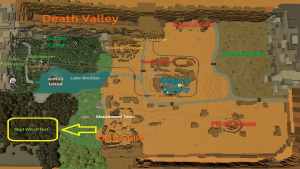
In order to roll cards in Bridger Western, you will need to visit the Swamp area. Specifically, the Mud Witch’s Hut. The Mud Witch is one of the most important NPC vendors in the game, as that's where you'll find many important items, including cards. You obtain them from the Mud Witch in the Swamp by paying 150 Moola for a fortune reading. This is what you need to do, step-by-step:
- Head to the Swamp (the lower left corner of the map).
- Find the Mud Witch’s Hut.
- Pay her 150 Moola for a fortune reading.
- She will show you three cards, all facing down.
- You can turn one for free and place it in any slot you want, if you want.
- If you don't like the card, you can pay 50 Moola to flip an extra hidden card, and another 50 to flip the third one.

NOTE: You can equip a maximum of three cards at once, and you cannot store extra cards. If you want to equip a new card, you’ll need to replace one of the three already equipped cards.
RELATED: Bridger Western Weapons Tier List
Best Card Loadouts in Bridger Western
Because cards can completely change how your build plays, the best loadouts are usually not just three individually strong cards thrown together. The strongest setups combine damage, survivability, mobility, or utility in a way that supports one clear game plan. Here are some of the best card combos to build around in Bridger Western.
| Loadout | Why It Works |
|---|---|
Best All-Rounder Loadout
| This is the safest general-purpose loadout because every card gives value in almost every fight. You get better movement, passive sustain, and extra durability exactly when your stamina starts getting low. It is perfect if you want a build that works without needing a specific weapon, Stand, time window, or matchup. Optional defensive swap: Use Light Sleeper over Too Tired to Fall if knockdown recovery is your biggest problem, but keep Too Tired to Fall for broader durability. |
Best Saber / Melee Loadout
| This is the loadout for players who are done pretending they care about guns. You stack blade/melee damage, gain a bigger saber hitbox, and still get bullet-parry utility from Show Me A Good Time. The gun drawbacks are brutal, but they barely matter if your whole plan is to close distance and delete people up close. |
Best Revolver Loadout
| Quick Draw strengthens your opening revolver burst, Veteran improves fan-firing and reload efficiency, and Winning Streak rewards keeping shots on the same target. Watch your spacing during Quickdraw because the stance costs mobility. Sustain swap: Replace Winning Streak with Gunslinger's Grit for 22% healing after kills, or Time Heals All Wounds for recovery that does not depend on an execute. |
Best Mounted / Ocular Prowess Loadout
| This is the dedicated horseback pressure setup. Focused Jockey gives you stronger mounted chase windows during Ocular Prowess, A True Cowboy adds real gunfight value while riding, and Evil Eye makes each Ocular Prowess activation last longer. It is not as universal as the standard combat loadouts, but it is the cleanest pick for players who actually fight from horseback. Damage alternative: Replace Evil Eye with Equinophobia for stronger horse bashes that do not empty its stamina. Choose Ride Or Die instead if you often fight dismounted beside your horse. |
Best Mobility / Chase Loadout
| This loadout is all about tempo. Free Runner and Wind God make your movement much harder to pin down, while Hyperventilator helps you recover stamina faster between short bursts. You give up some durability and stamina cap, but in return you become much better at chasing, disengaging, repositioning, and forcing bad aim from opponents. |
Best Low-HP Damage Loadout
| This is a nasty clutch loadout for players who are comfortable fighting while hurt. Desperado rewards missing health, while Anger Issues adds a short stacking damage boost as you take hits. Too Tired to Fall helps you survive when stamina starts running dry. Risky, but very scary if you know how to play around the edge instead of panicking. |
Best Tea Utility Loadout
| This is more of a build-around utility setup than a pure PvP stat loadout. Tea Time and Faux Tea Time let you lean hard into Tea cycling, while Time Heals All Wounds adds passive sustain on top. It is not as universally strong as the meta combat setups, but when the Tea engine is online, it can be extremely annoying to outlast. Best used if you specifically want to build around Tea rather than raw damage. |
Smoke / Boku No Rhythm
| Powder Formula extends smoke cover and conceals you from Ocular Prowess while covered, including Boku No Rhythm smoke. Free Runner helps reposition, and passive healing rewards the space you create. Smoke can also clear fire zones, but it does not make you immune to incoming attacks. |
Close-Range Shabon
| Clean Cuts adds bleed to close-range Shabon M2 hits, while Free Runner helps you get into range and Too Tired to Fall reduces damage when stamina runs low. Soap Slide is an optional swap for launcher-focused play; do not assume an undocumented puddle stun or damage value. |
Stake / Vampire Hunter
| Build around the third-stab Blessed trigger, using mobility to stay close and regeneration to recover between engagements. Seasoned Hunter is an optional swap for a starting stake and reduced vampire blood gain, at the cost of 10 maximum HP. Sancta Irae's detailed effects and A-tier placement remain provisional pending retesting. |
Bridger Western Cards Tier List FAQs
The best universal Cards are Time Heals All Wounds, STURDY, Free Runner, and Too Tired to Fall. These are strong because they improve health, sustain, stamina, or movement without locking you into a specific weapon type. If you want safe, consistent value, these are some of the best picks.
Quick Draw and Veteran are top choices for revolver builds, while Winning Streak rewards consecutive shots on the same target with up to 50% extra damage. Desperado suits low-HP revolver play but penalizes full-health damage and has halved scaling on other guns. Gunslinger's Grit restores 22% HP after a kill.
Show Me A Good Time is one of the best melee and blade Cards because it boosts blade damage and lets you parry bullets. Other strong options include Boy With Fists, Free Runner, and Too Tired to Fall. These Cards help melee builds hit harder, close the distance, and survive longer in close-range fights.
Archer's Child is the core bow pick for 1.5x draw speed and 2x fire rate. Master Archer adds three-arrow volleys in exchange for slower draw speed and reduced damage per arrow. Use both for a dedicated bow setup, or keep a slot for Free Runner or Time Heals All Wounds.
Sancta Irae is a promising stake-focused anti-vampire card, applying Blessed every third stab, though its detailed effects are currently flagged for retesting. Seasoned Hunter supplies a stake and reduces blood gained from you, while Belmont Family Crest and Silver Wireset offer more specialized anti-vampire options. These are human loadouts for fighting vampires, not cards equipped by vampires.
Free Runner is one of the best utility Cards in the game because it gives extra stamina and replaces your combat roll with a slide. A True Cowboy, Poltergeist, and Tonicmaster are also strong utility picks depending on your build. These Cards are valuable because they improve mobility, survivability, or overall consistency.
One of the best combos is High Noon with FAUX: High Noon, since it makes Ocular Prowess much more dangerous. Another strong combo is Silver Wireset with Twenty Meter Radius Steel, which upgrades Steel Wireset into a stronger anti-vampire trap setup. In general, the best combos come from stacking Cards that support the same mechanic.
Demolitions Expert supports explosive Stand attacks, and Winged Man grants 15% extra damage while your character is airborne, including Stand damage. Airborne Stand piloting does not count if your character remains grounded. Powder Formula also lets Boku No Rhythm smoke hide its user from Ocular Prowess.
No. Cards are only available to human players (Inlaw and Outlaw alignments). If you are playing as a Vampire, you cannot equip or use Cards.
Coin Roller is listed as disabled. Danger Sense's archived Trello entry describes it as a rare collector card with no function, so it is retained at the bottom of the list rather than treated as a useful combat pick.
RELATED: Bridger Western Fishing Guide – How To Fish, Drops & Cooking
Still here? Thanks for reading to the end! Hopefully, now you know everything there is to know about the best cards in Roblox Bridger Western, thanks to our Card Tier List. For any other issues with the game, our complete Bridger Western guide hub can assist you with nearly every obstacle you encounter!


