
After unlocking and investigating the miniature hot-air balloon in Sherlock's room on the upper floor of Stonewood Manor, Jon will suggest that you head over to the eccentric neighbor's house to see if he knows anything about your Mother's death. To find the house, exit the manor and head right. It's just down the path with a hot-air balloon floating in the backyard above the house.
Featured: How to solve The Master of Disguise Case in Sherlock Holmes Chapter One
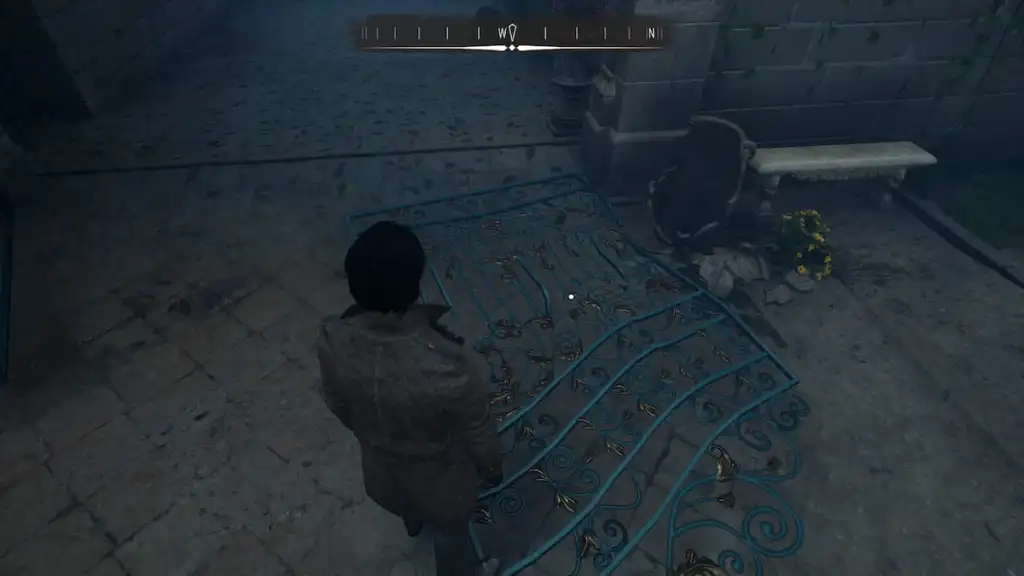
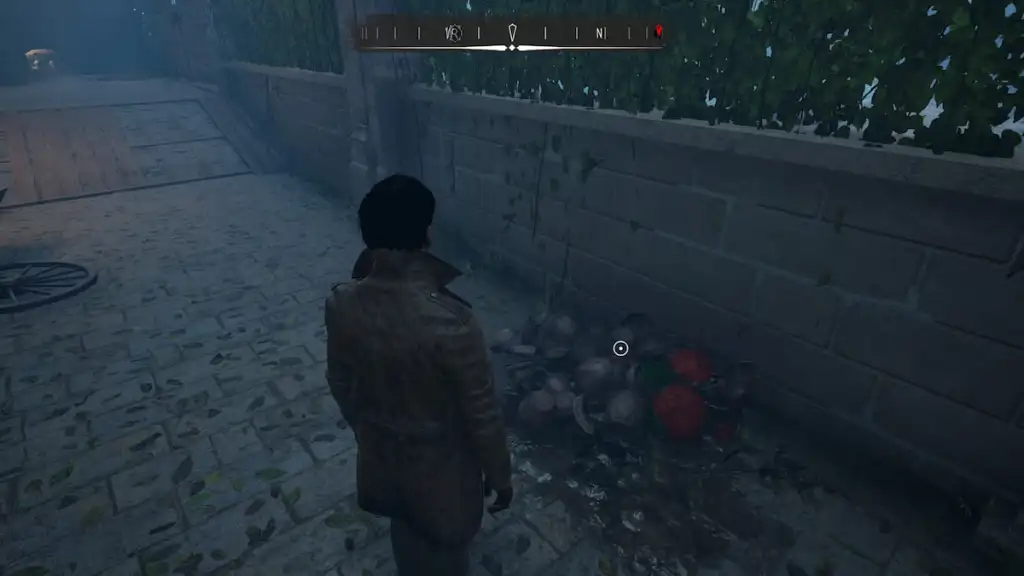
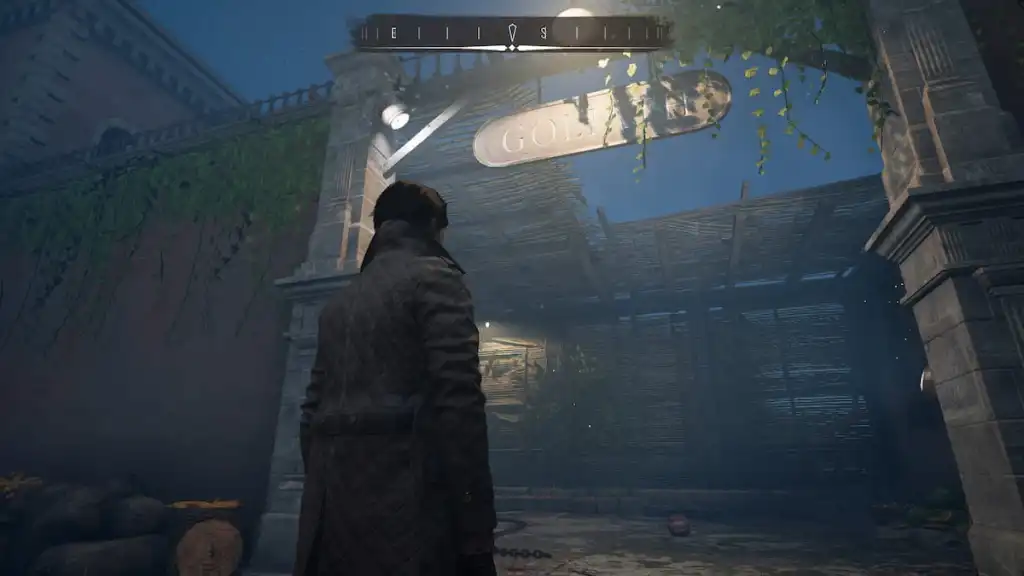
To officially begin this case, approach the house to find a group of people gasping about the destroyed front gate—interact with it and then move up the driveway to find some smashed pots on the right.
Keep following the driveway to find Theodore Gilden's mangled body.
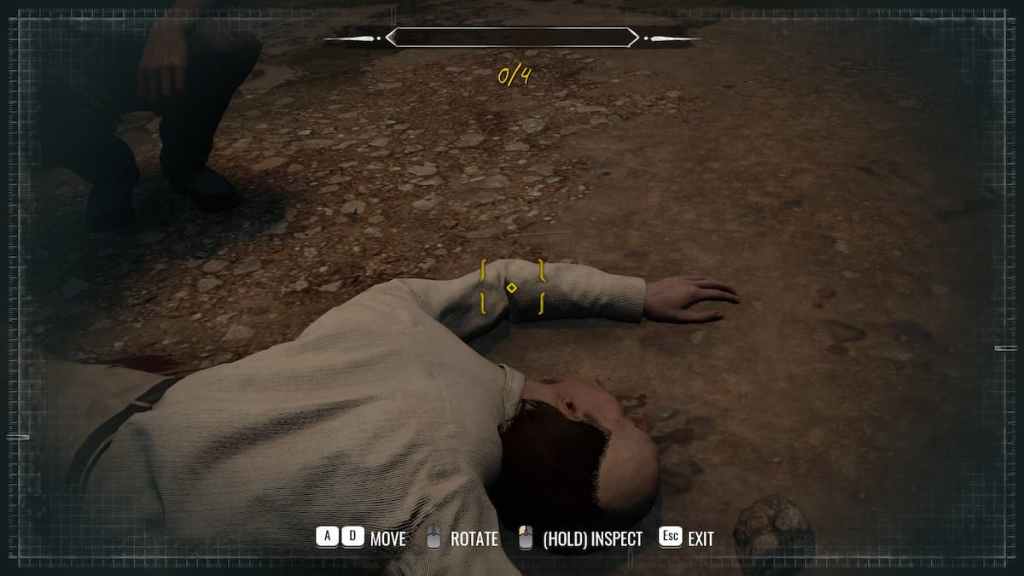
Interact with the body and investigate the following:
- Left Arm/Neck Area.
- Missing pinky finger, right hand.
- Trampled right leg.
- Belt from dressing gown.
After you're done with the body, move to the elephant (Goliath) cage behind him. Investigate the area to find small pieces of information about Goliath's daily life (food, toys) but you're looking for the broken chain, blood splatter, and bladed weapon. After you investigate these items, Jon will prompt you to take a photo. Snap a picture with your camera to proceed.

Jon Challenge: At this point, Jon will issue a Jon Challenge for you to find out more about the elephant. It's optional, but if you choose to do so, head to the Cordona Chronicle archive before the case ends and use the evidence gained in Goliath's cage to complete the challenge.
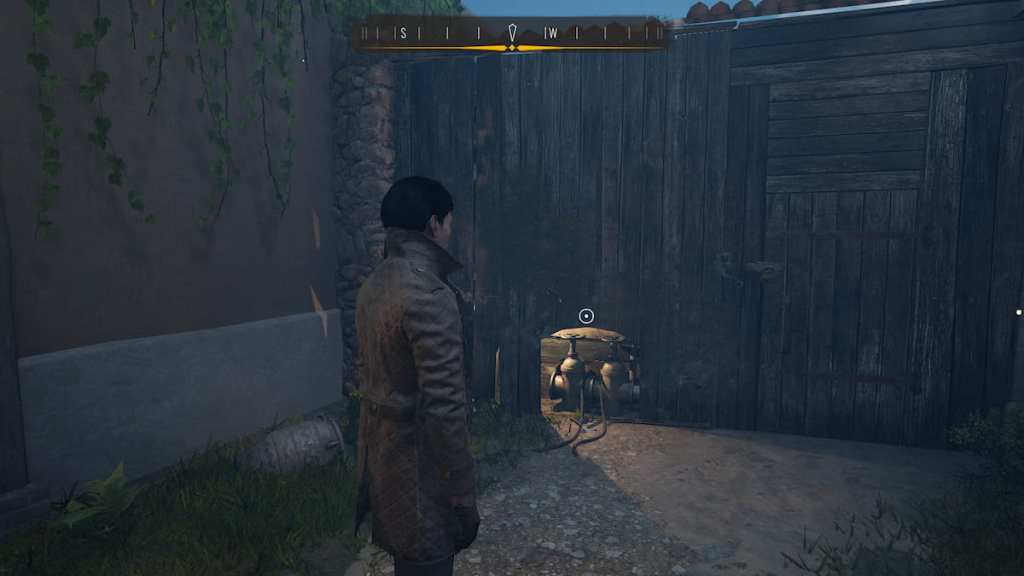
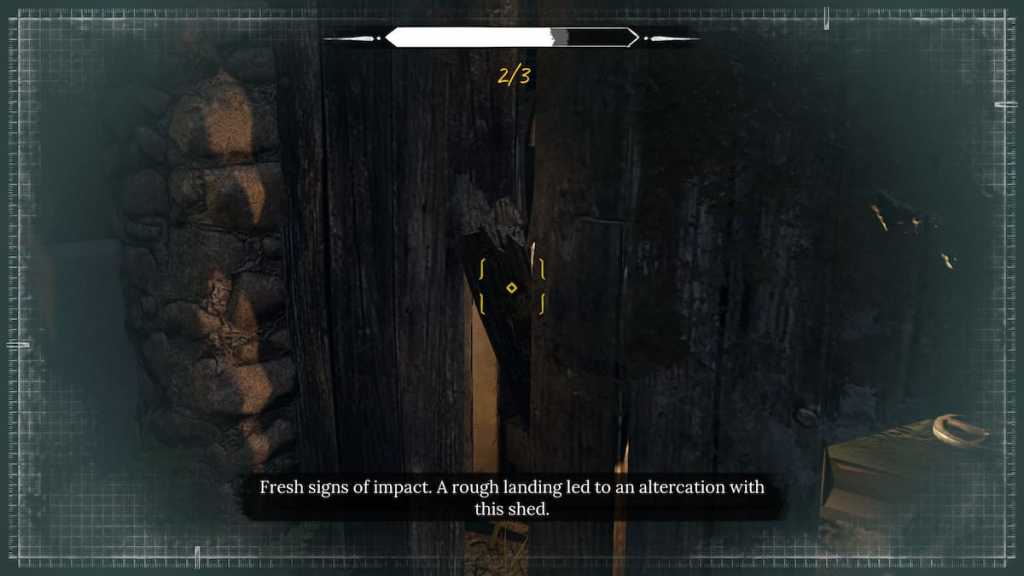
Exit the cage and head back down the driveway—you'll find a small shack on the left. Investigate the shack to find a dulled knife, a coal fuel tank, and some broken boards to indicate a third party was present during the events.
Move back toward Goliath's cage to find a floating node. Interact with it in order to reconstruct the events as follows:
- Inside cage—Goliath breaking chain and lifting Gilden.
- Outside cage—Goliath dragging Gilden.
- Driveway near shack—unknown third party watching through gate.

Return to the front of the house where you found the broken gate and speak to the still gasping crowd, they'll reveal that they saw Goliath heading toward Greek Bridge, which is right down the road if you head left from exiting the driveway.
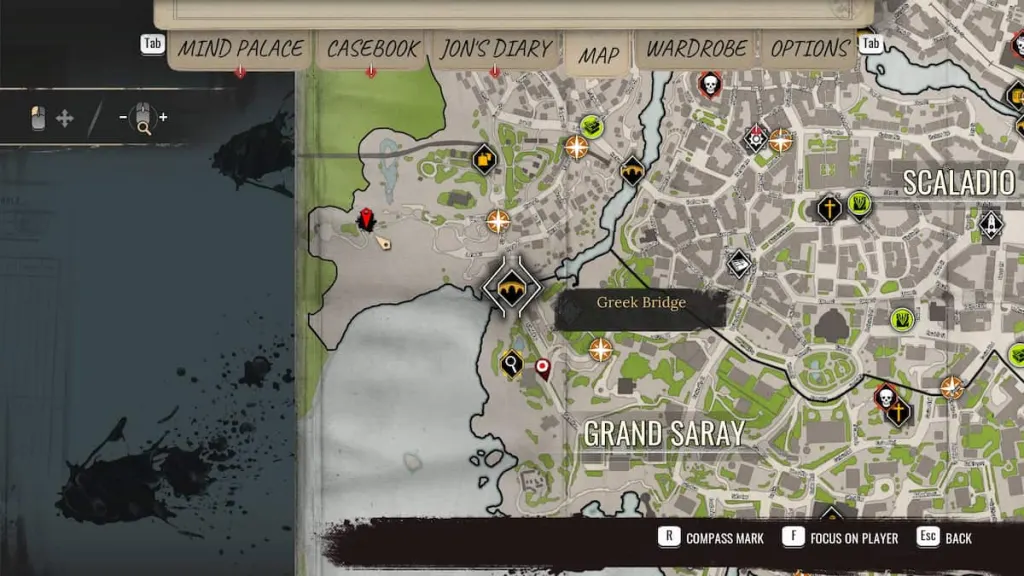
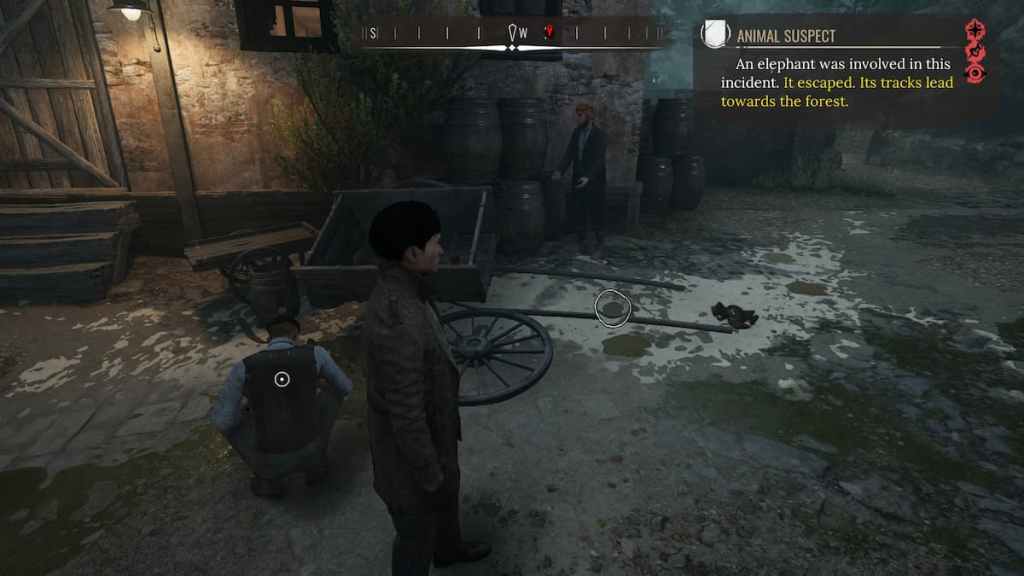
Cross the bridge and progress until you come across someone with a broken cart. Enter Sherlock's Concentration Mode to find Goliath's tracks and a trail leading into the forest. Stay in Concentration Mode and follow the path.
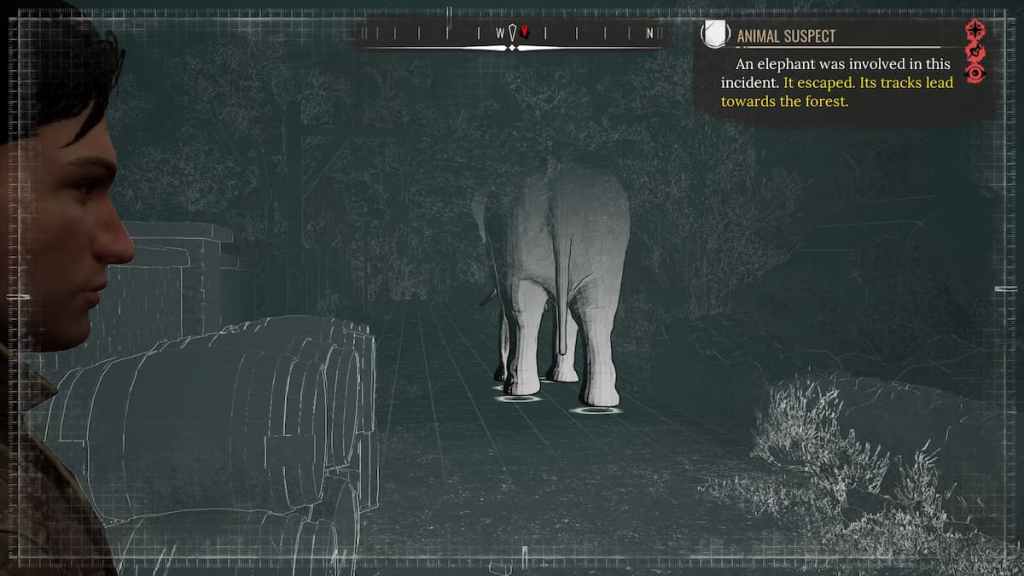
Eventually, the path will lead you to a body of water where Goliath seemed to stop and drink. Look on the land to the left of the water and you'll find a Dressing Gown that matches the same material as the belt left on Gilden's body.
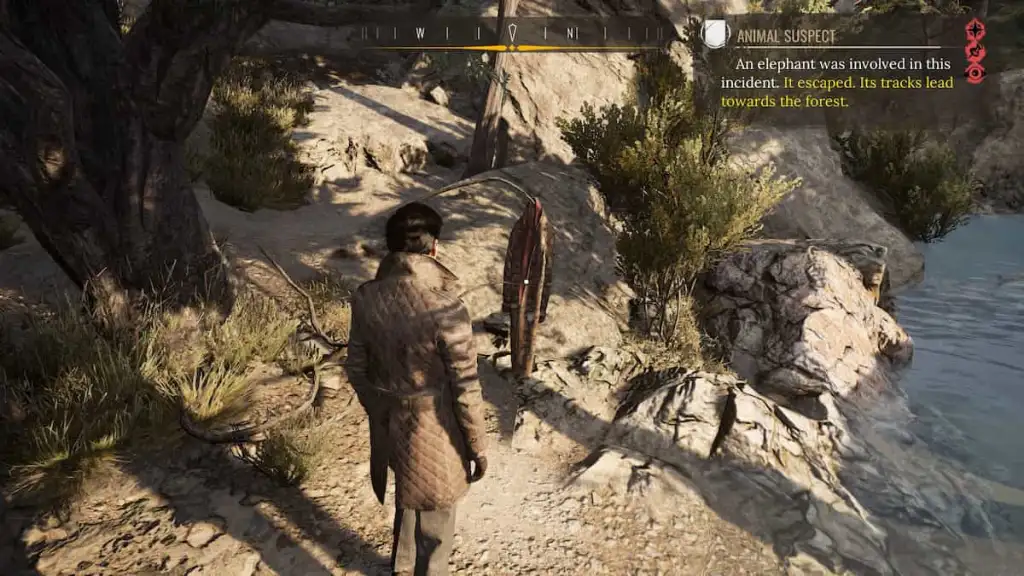
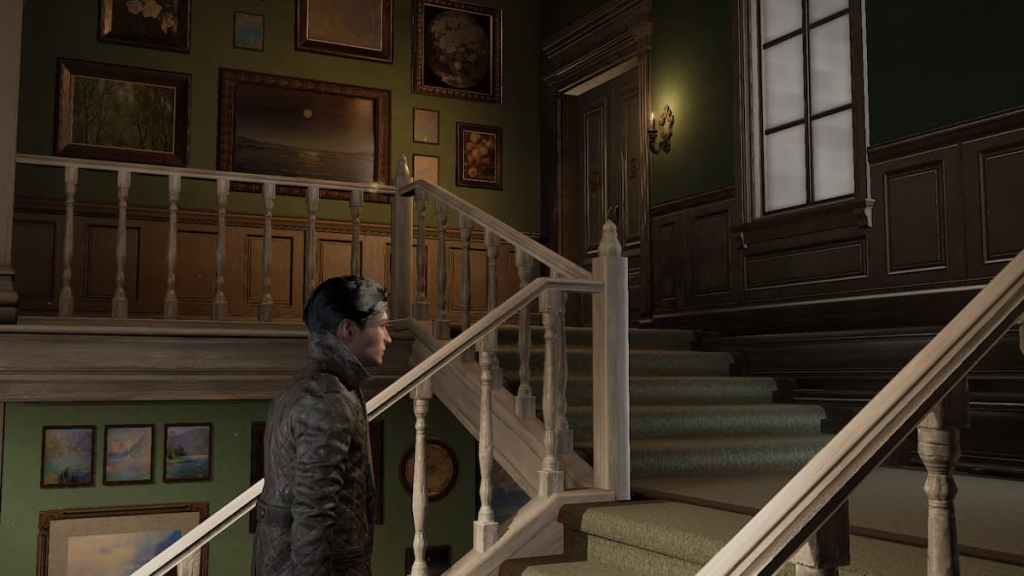
Investigate the gown, you'll find a key and a letter in the pockets. From here, head back to Gilden's House to speak with his daughter, Imogen, who you'll find upstairs in the room to the left.
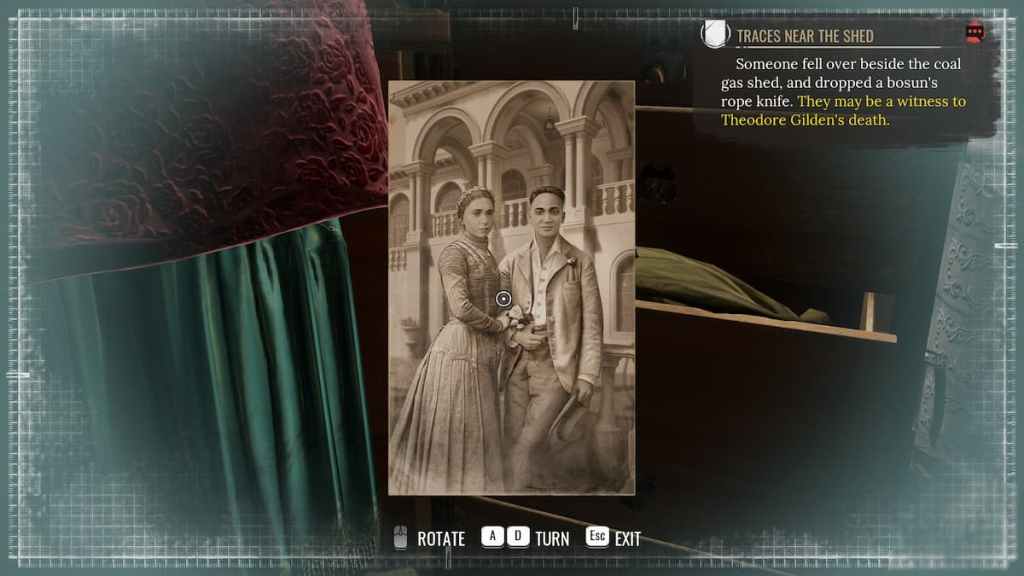
Take a look around her room to find a pile of luggage and clothing—investigate it to find a photo of Imogen and her lover, Paul, along with the half-packed luggage and the first book in the Bazookaeology Trilogy.
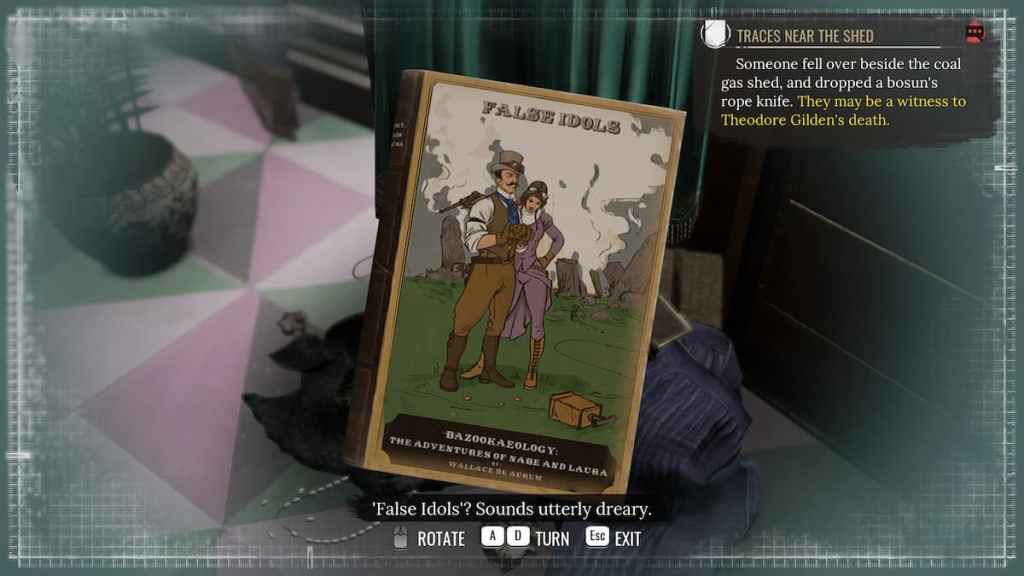
Jon Challenge: At this point, Jon will issue another Jon Challenge for you to find all three books in The Bazookaeology Trilogy, which you will find scattered across the locations in this case only. Once the case is over, you will not have another opportunity to find these books.
Imogen doesn't have much to say yet. Head to the other side of the upper floor to find Theodore Gilden's study. You can find many pieces of information in the study that show Theodore's admiration for Goliath but start by entering Concertation Mode to investigate the chair by the window.

The most important items in the room are the Ivory Baths plans on the desk to the side and the items on Gilden's main desk. After investigating the plans, take a photo and move to Gilden's desk.
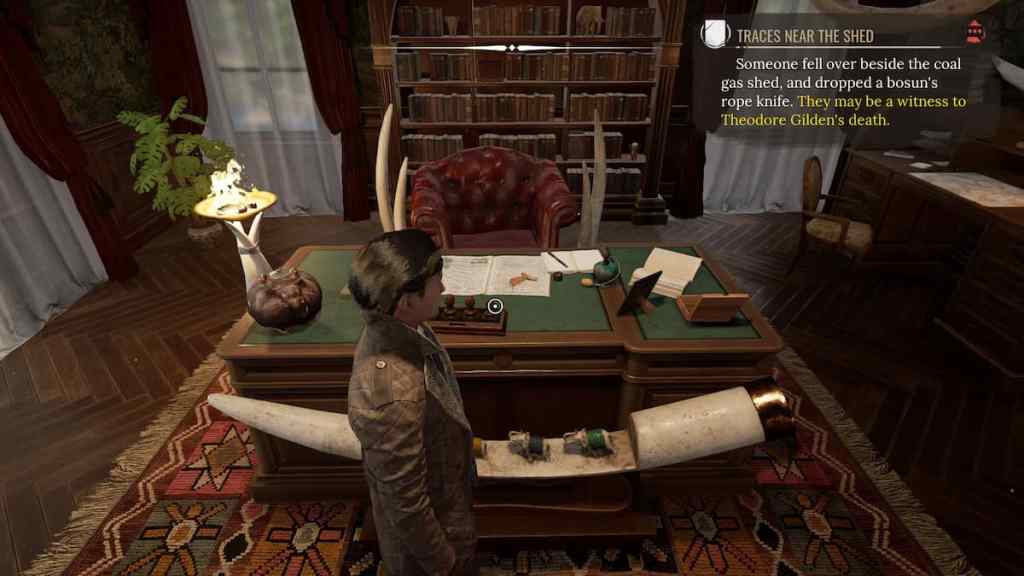
Investigate the desk to find a couple of photos, Gilden's Wooden Pinky, and most importantly, an Elephant Perfume Vial. After you've searched the study, return to Imogen to finally speak to her about the evidence you've gathered thus far.
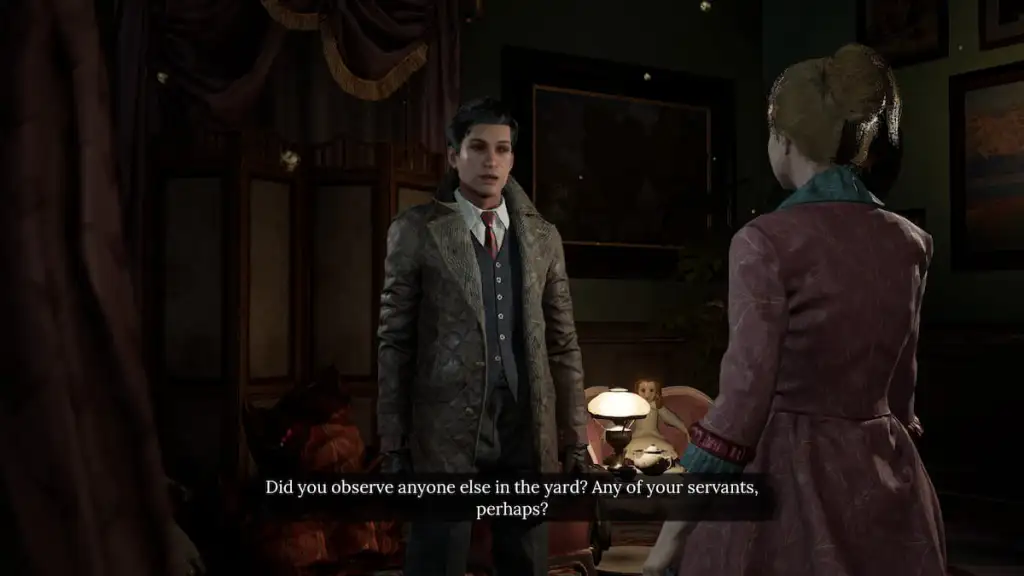
She isn't very talkative because of Goliath on the loose, but you can still get some information. Speak with her about the photo of her lover, the luggage, and matters pertaining to Goliath. The most important things she'll tell you are the location of her lover, Paul Perks, and the name Arthur Swift. Once you've exhausted her dialogue, you can move to the next area of investigation—the Salacia Yacht Club.
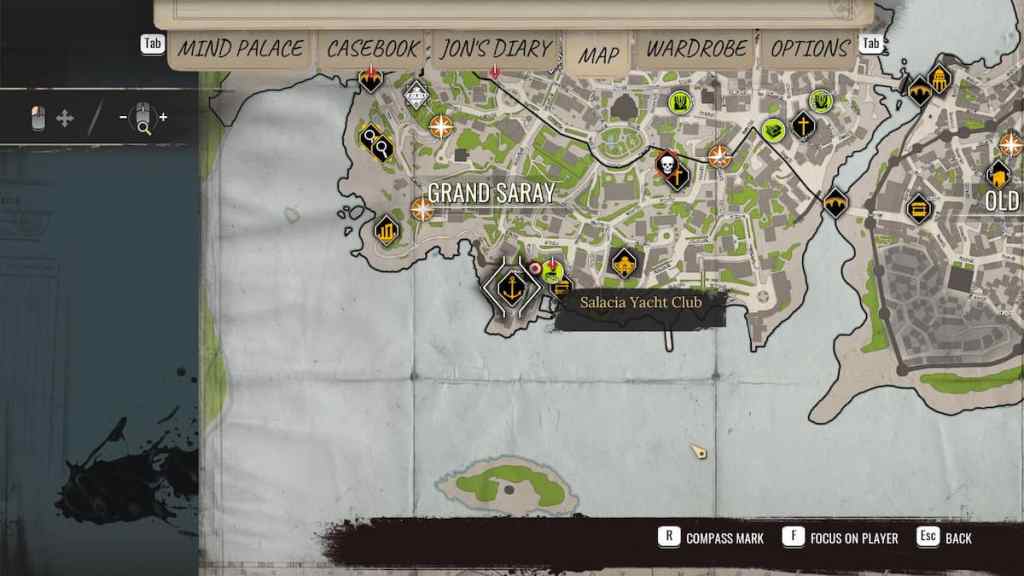
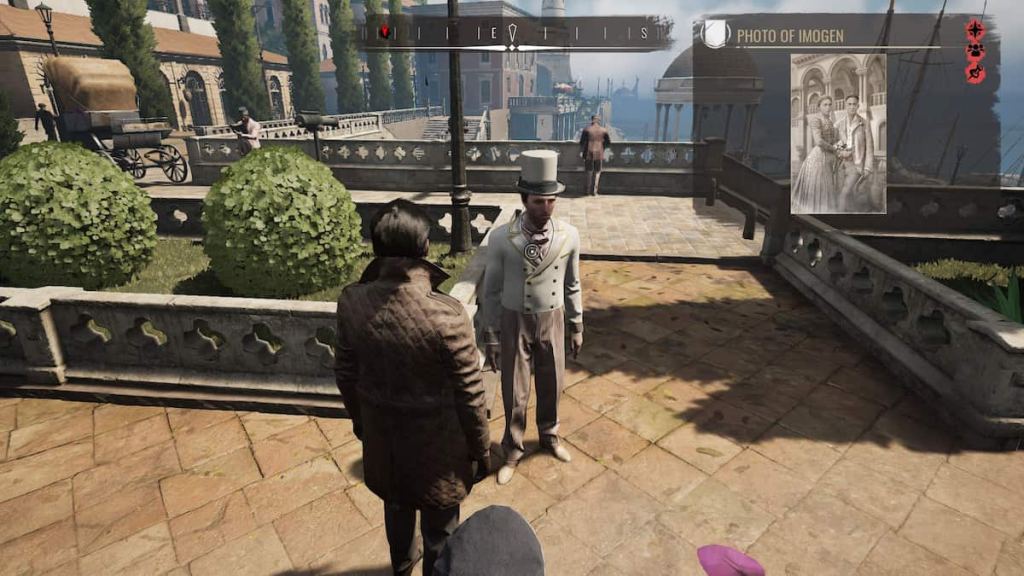
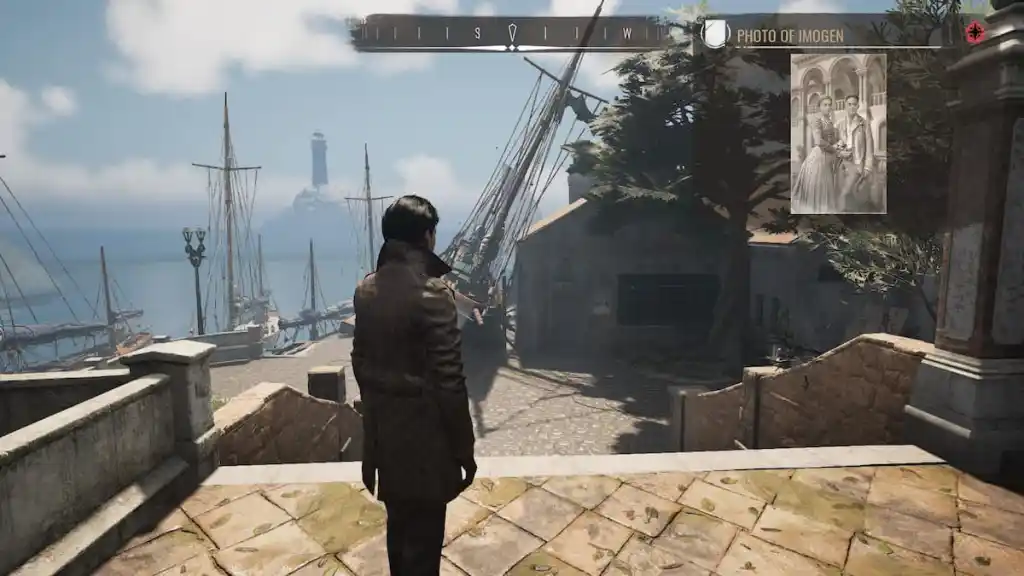
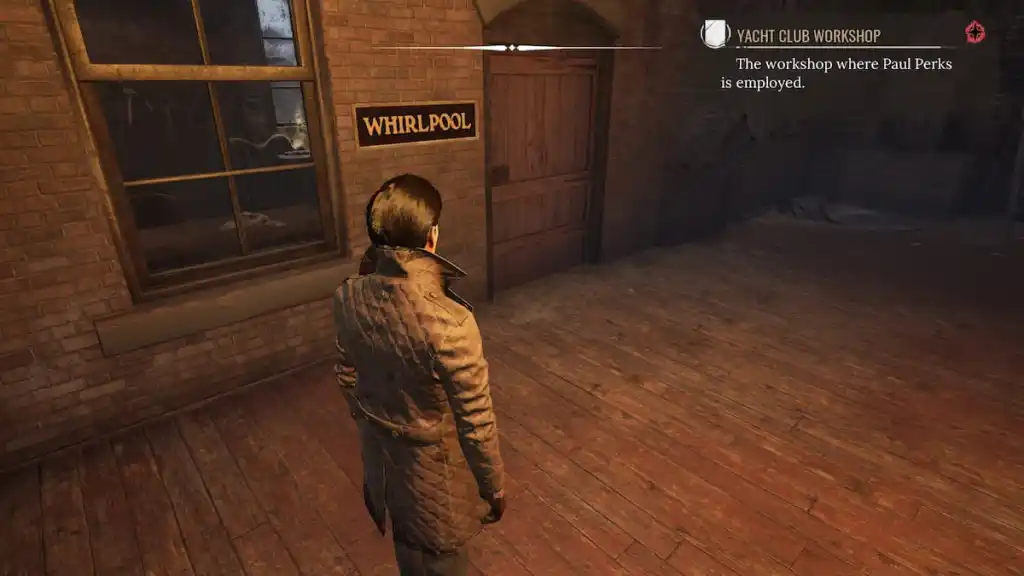
Once you've arrived in the area of the yacht club, pin the photo of Paul and Imogen and speak with any Upper Class-looking individual—they'll point you to the workshop.
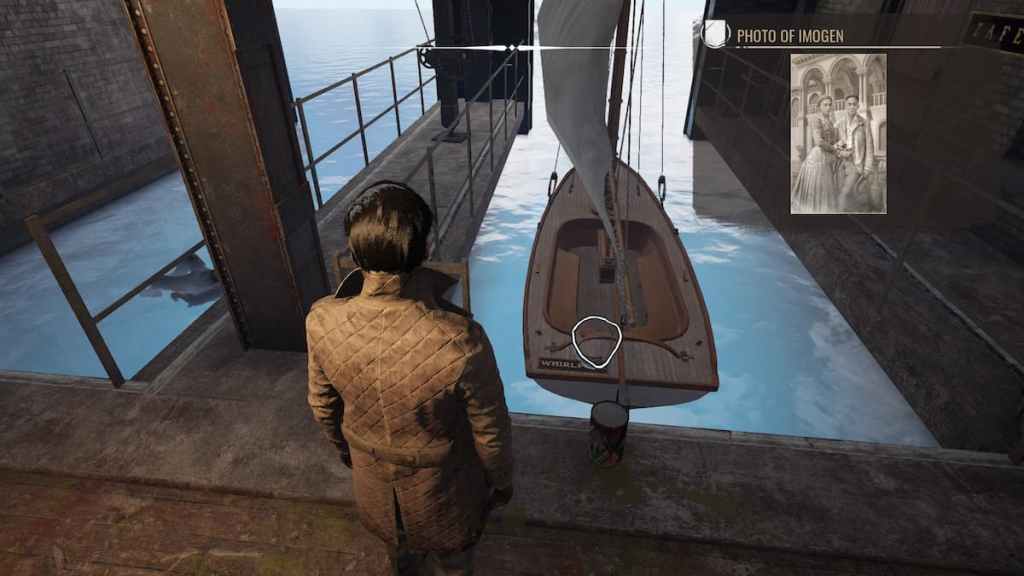
Enter and move to the far right corner in the back of the room to find Paul's Boat, the Whirlpool, which has been repaired recently. After you've investigated the boat, look right to find the Storage room and enter it.
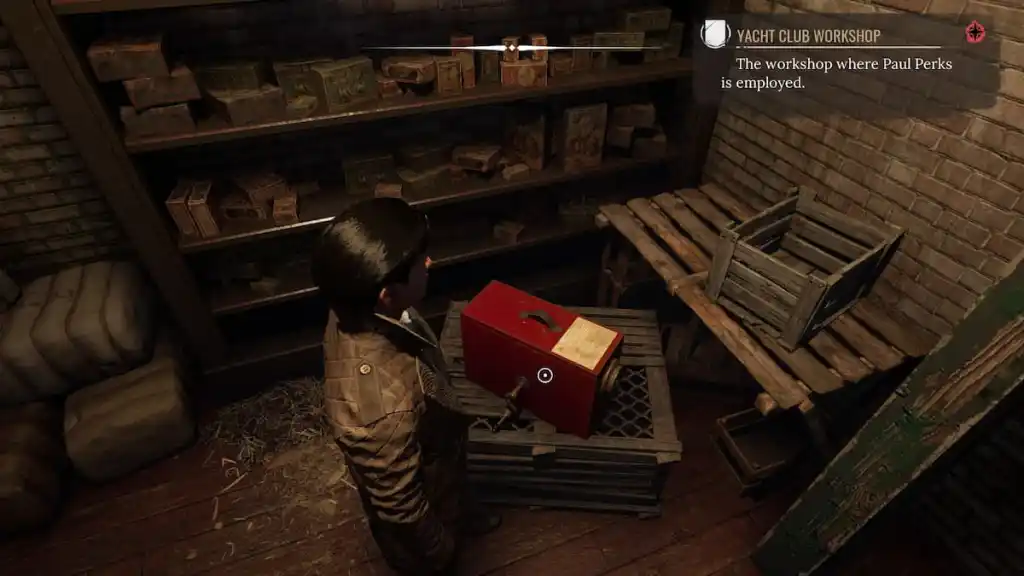
Inside the Storage Room, you'll find a red foghorn along with the second book in the Bazookaeology Trilogy for your Jon Challenge (on a shelf on the right side of the room).

Exit the storage room and move along the same wall to find Paul's Whirlpool Office. You can't get inside yet. First, interact with the bloody bandages in the window, then turn around to examine the workbench before continuing.
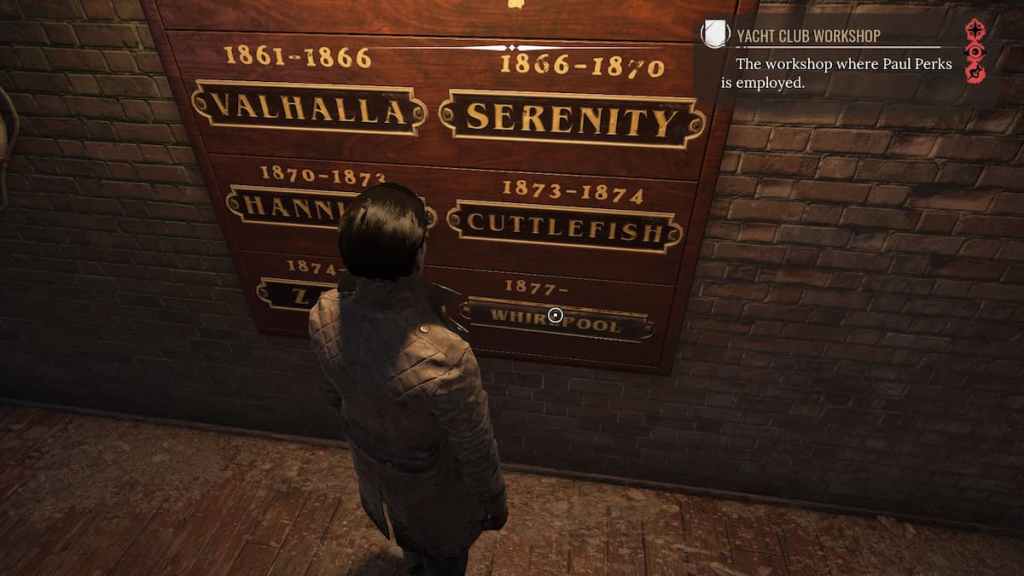
On the wall between the Storage Room and Paul's Office, you'll find a large plaque celebrating past Yacht Club Champions. Interact with the Whirlpool Panel to pull it off, then look on the back to find the key to Paul's Office.
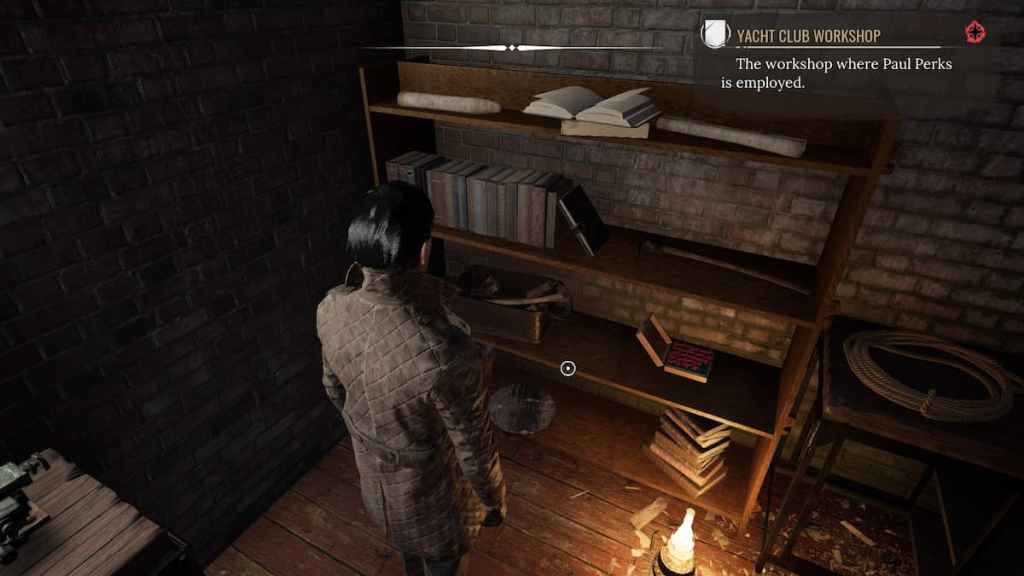
Enter Paul's Office and investigate. Search the shelf to the right to find Animal Tranquilizers and a stack of books relating to elephants.
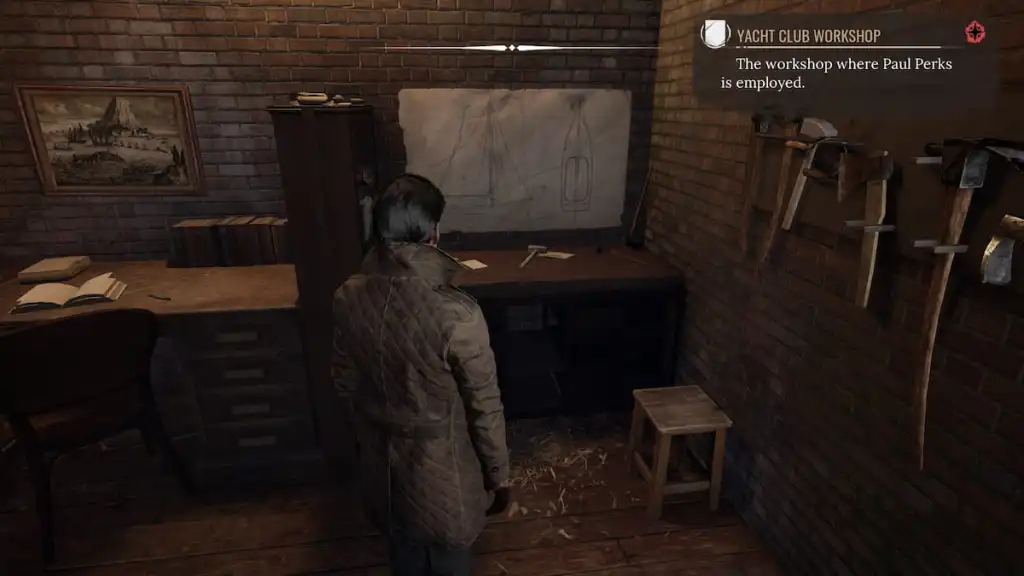
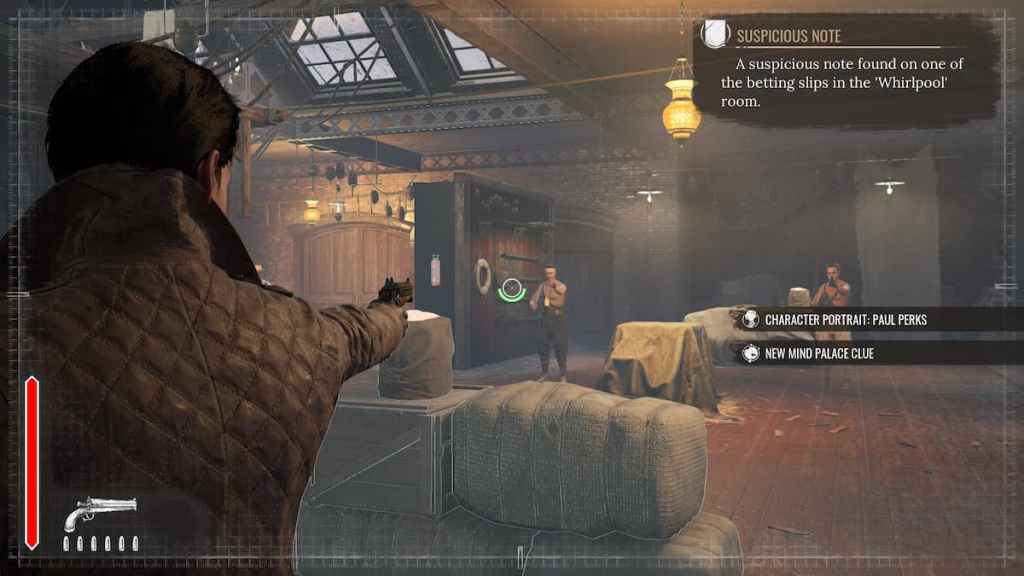
Now move to the right of the room and investigate the workbench next to Paul's desk to find a betting slip that indicates some shady business dealings, along with a threatening note from Theodore Gilden.
Go back to the storage room and interact with some tea tins on the back wall to find that Paul has been smuggling drugs using the Yacht Club as a front. Upon exiting the Storage Room, you'll be confronted face-to-face by a firey Paul.
Speak with them and you'll be able to observe and profile, after which, you'll be interrupted by a gang of enemies—deal with them accordingly.
After the fight, go to Paul's Office to finish your conversation and present relevant evidence. Exhaust these options to gain some information about the tenuous relationship between Paul and Theodore Gilden, Paul's opinion on Goliath (and why he has darts), and Imogen and Paul's plans to leave the country.
Related: All Bandit Lair Locations in Sherlock Holmes Chapter One
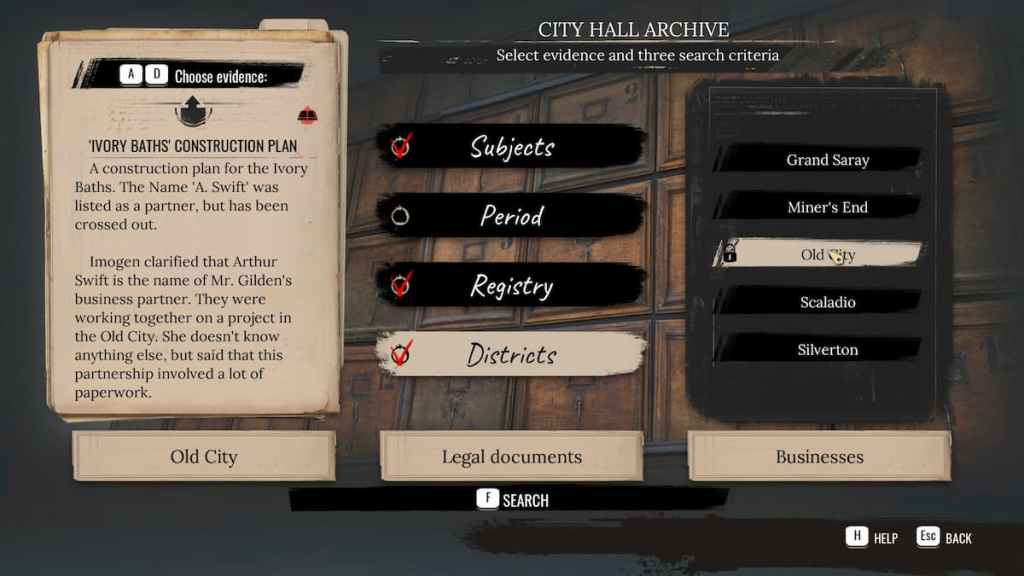
Now it's time to find Arthur Swift. Start by heading to the City Hall Archives with the Ivory Baths Construction Planned pinned. When you get there, you'll want to cross-reference the following:
- Districts—Old City.
- Registry—Businesses.
- Subjects—Legal Documents.
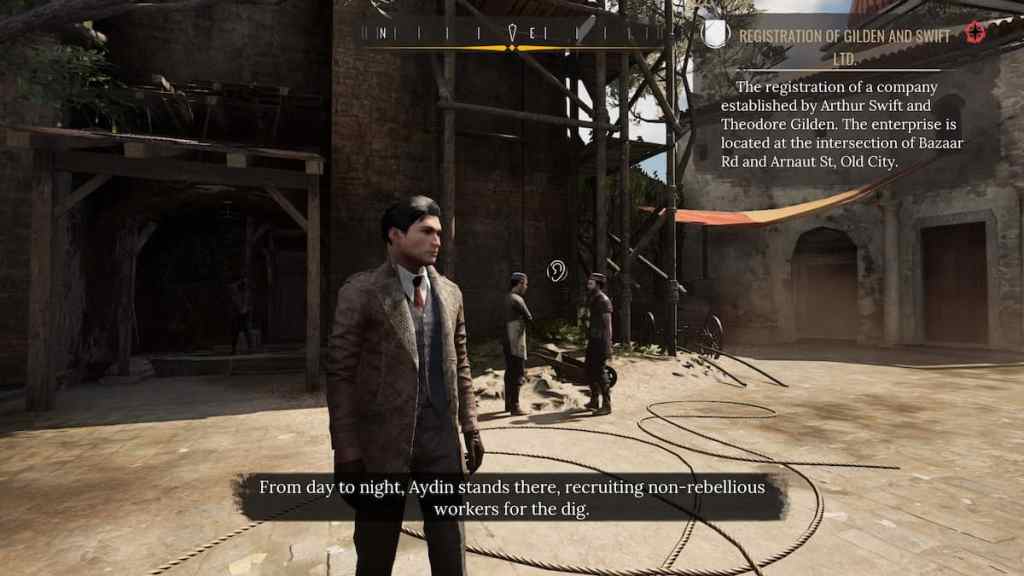
Searching these criteria will lead you to a dig site address at the intersection of Bazaar Rd and Arnaut St in Old City.
When you arrive you'll find a guard at the door and two workers conversing to the side that you need to eavesdrop on.
Interact with the ear icon and keep the following phrases:
- Pro-British
- Old City Marketplace
- Neck Scar
Using this information, head to the Old City Marketplace, where you'll find someone who will help you get into the dig site, but you'll have to change into a worker's disguise first. If you don't have a worker's disguise, there's a clothing trader right in the marketplace.
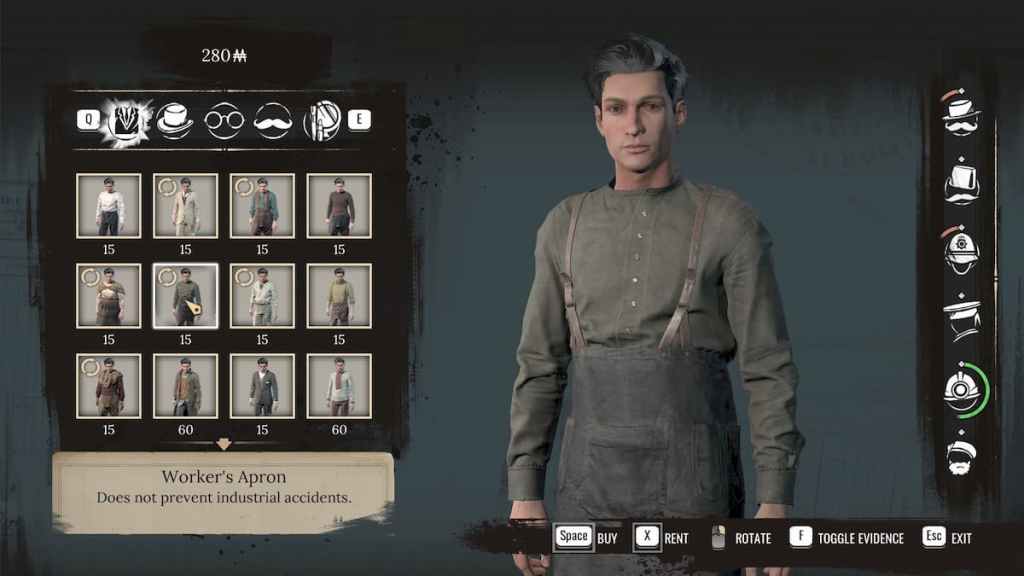
Find a secluded spot to change and then speak to a man in a blue shirt in the center of the market.
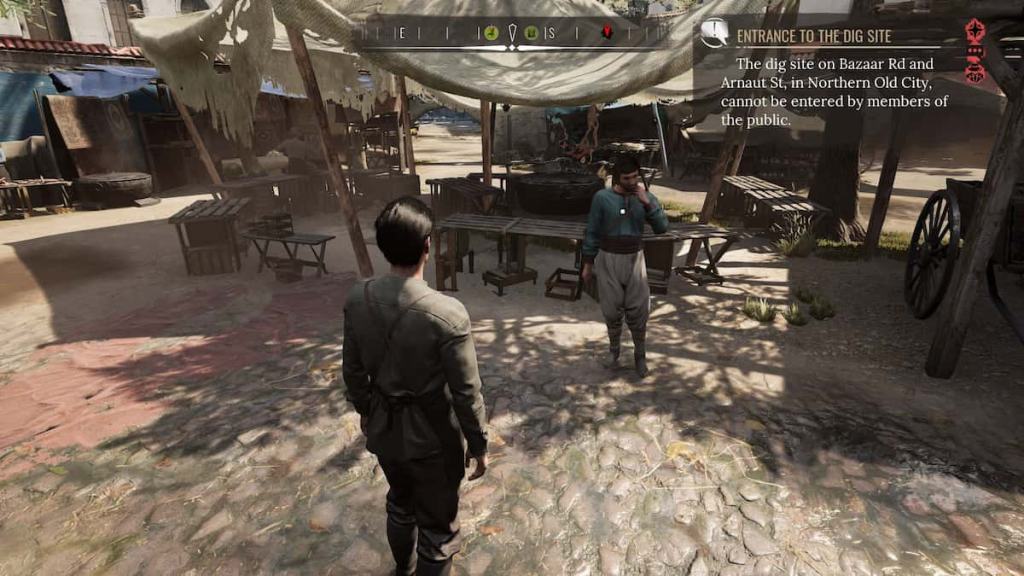
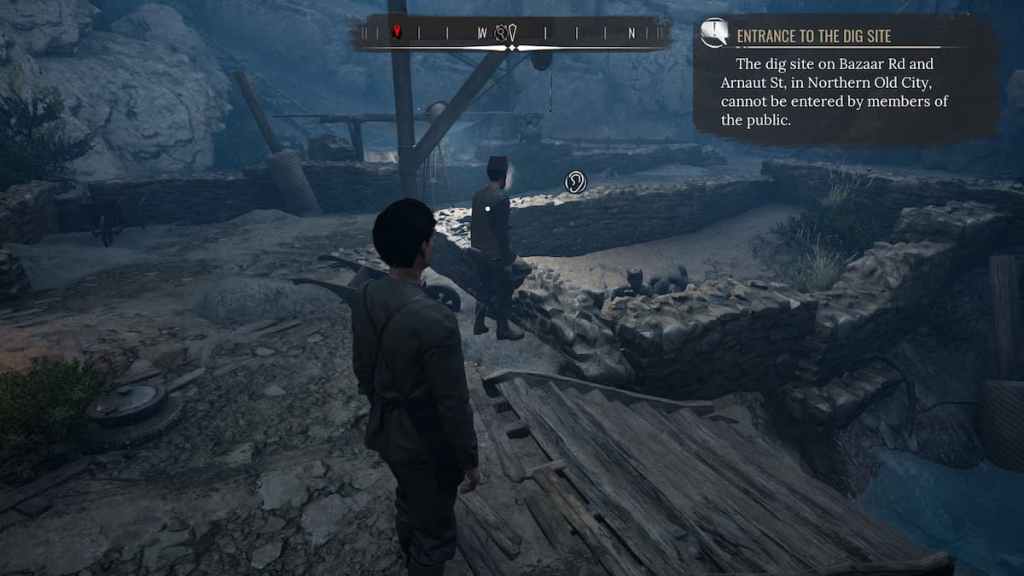
He'll ask you a series of questions and you have to tell him you're Pro-British to continue successfully. Afterward, head back to the dig site, where the guard will allow you to proceed through the door without issue. Once inside, follow the path down until you find Arthur Swift.
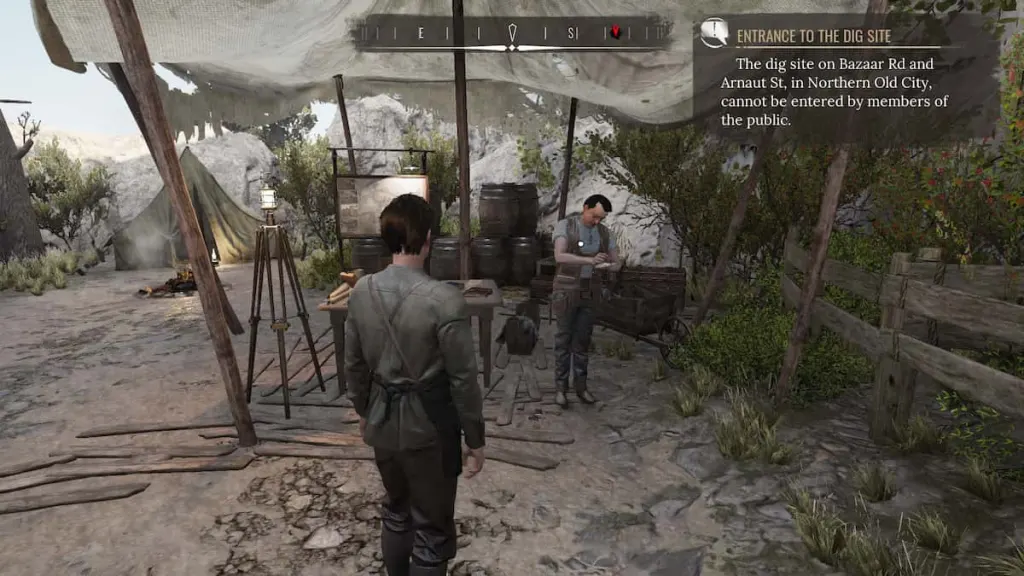
Speak with Arthur and observe him thoroughly to find an interesting blemish on his elbow that may place him at the scene of Gilden's death. After you speak to him, he'll send you away. Take a look at the board behind him to grab some clues:
- Dig Plans
- Photos
- An article in the corner
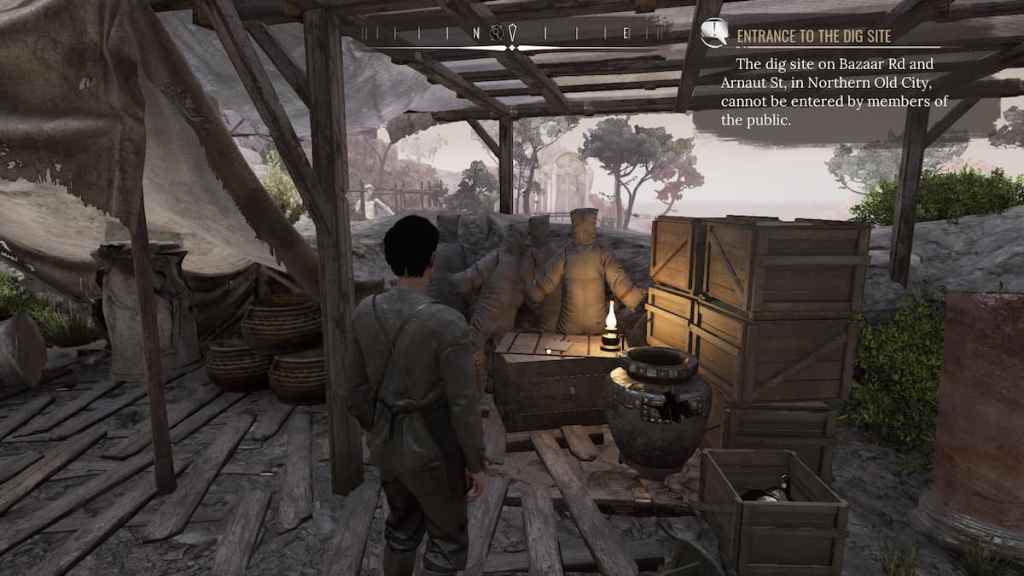
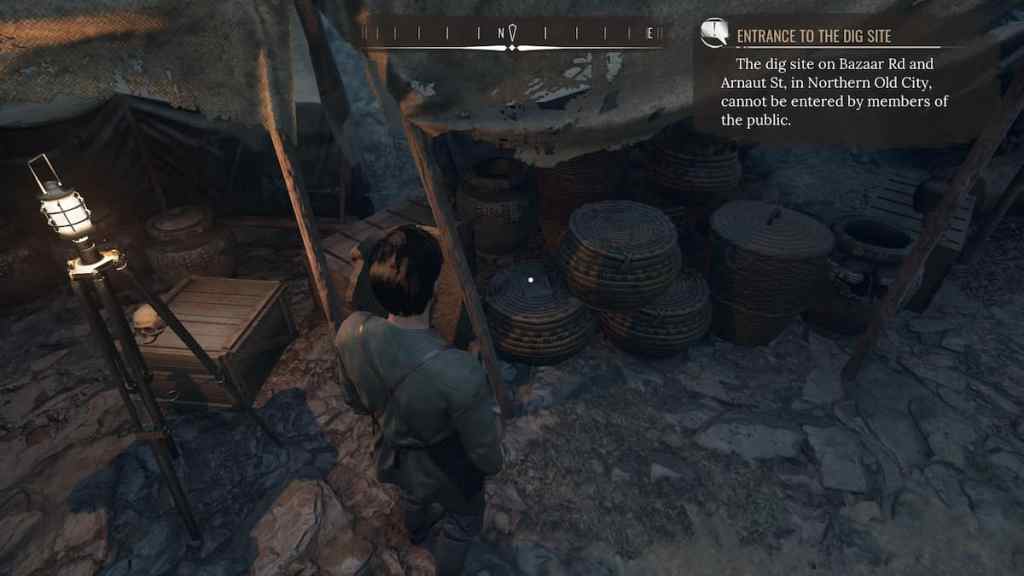
Look to the left of the board to investigate a few straw dummies and a crate of special oilcloth. From here move further into the dig site to find the third and final book in the Bazookaelogy Trilogy among some baskets under a tent.
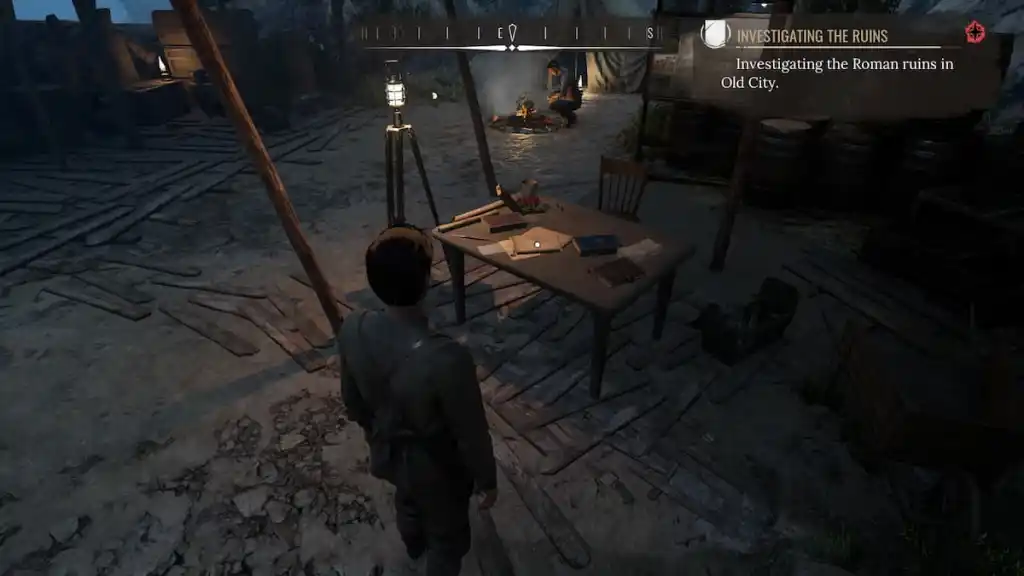
Move up the stairs on either side of the tent to find a section of ruins, where you'll find a downed statue to investigate.
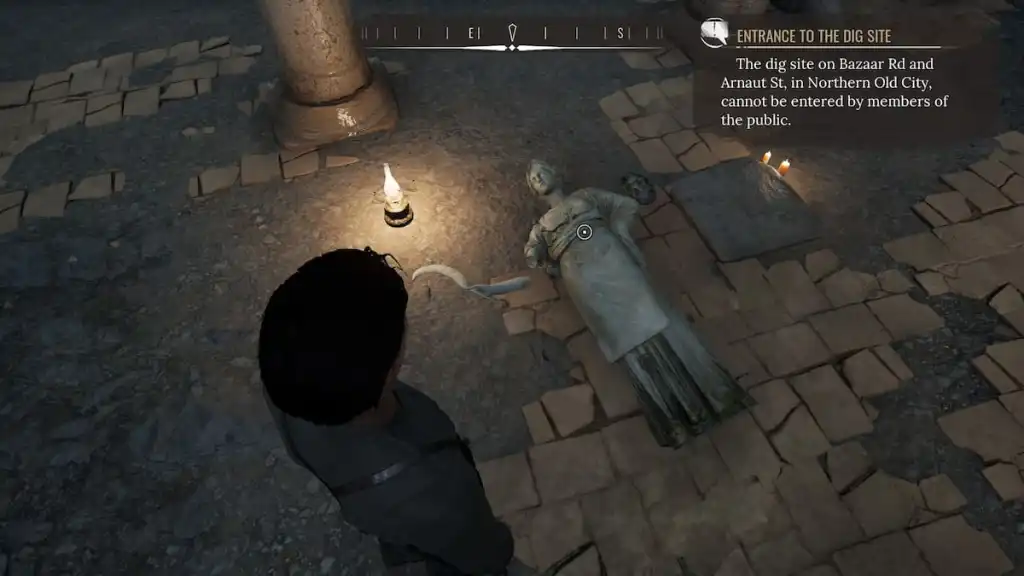
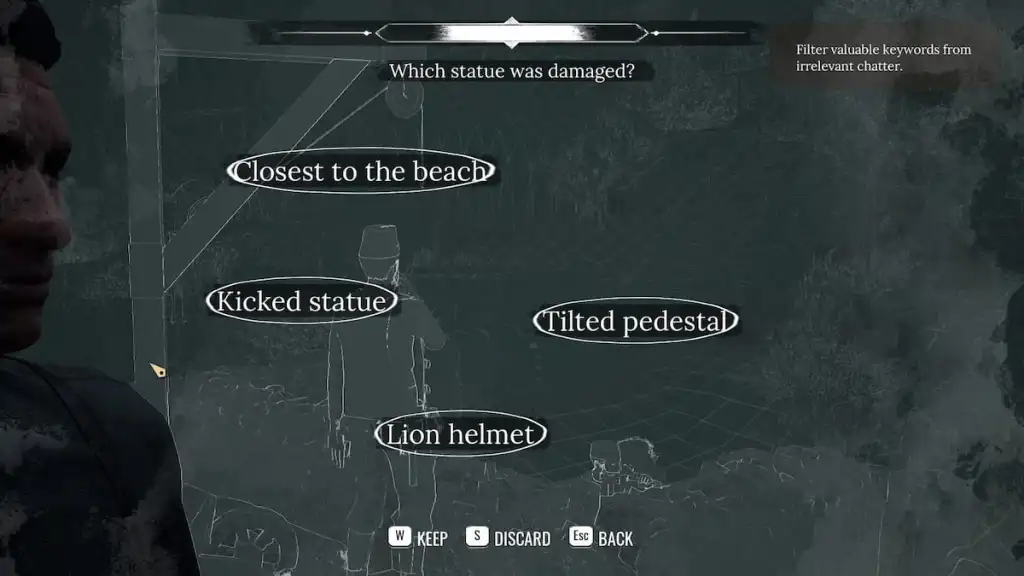
To continue, investigate the sickle, head, and platform. From here, head back down into the dig site where you'll find two workers conversing—eavesdrop on them.
To successfully eavesdrop on these workers, interact with the ear icon and choose to keep the following phrases:
- Closest to the beach.
- Kicked statue.
- Tilted pedestal.
- Lion helmet.
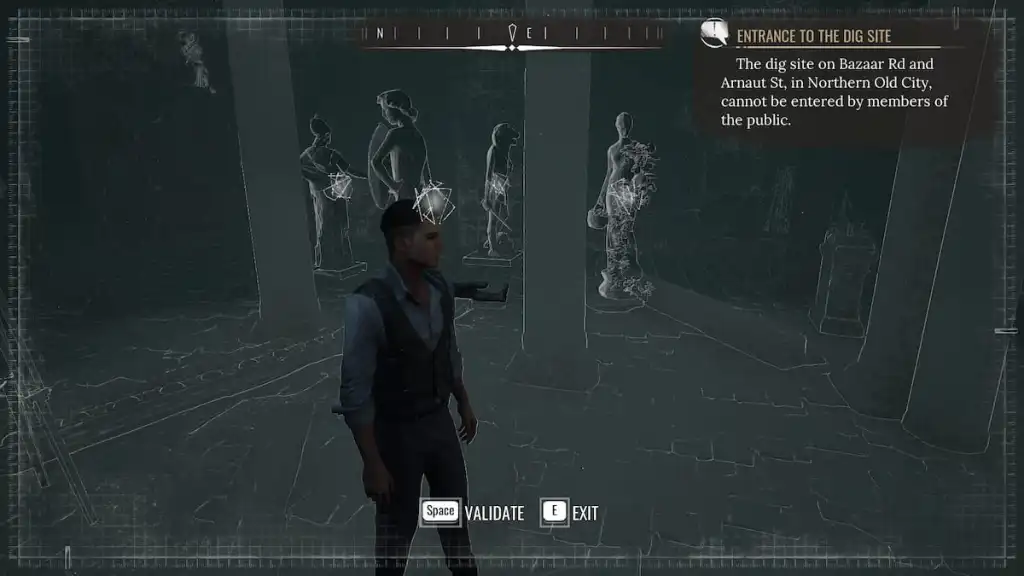
Now return to the ruins where you should find a node to begin a reconstruction of the scene. Use the information you overheard from the workers and the compass at the top of your screen to help you reconstruct the scene as follows:
- Female with sickle—face east.
- Male with Lion Helmet—face south.
- Female with basket—face west.
- Male with shield, no mask—face north.
After successfully recreating the scene, activate Sherlock's Concentration Mode to reveal a path—follow it down to a mound of dirt.

Interacting with the mound of dirt will cause a cutscene where Arthur scrambles up to check your findings. Now that he's away from his tent, you can explore his workstation to gather more evidence.
There you'll find a box of Animal Tranquilizer darts, a book on elephants, and a notebook that reveals some interesting information about his thoughts on Gilden. After you investigate the workbench fully, Arthur will catch you snooping, at which point Sherlock reveals his identity and you can ask Arthur about the evidence you've collected.
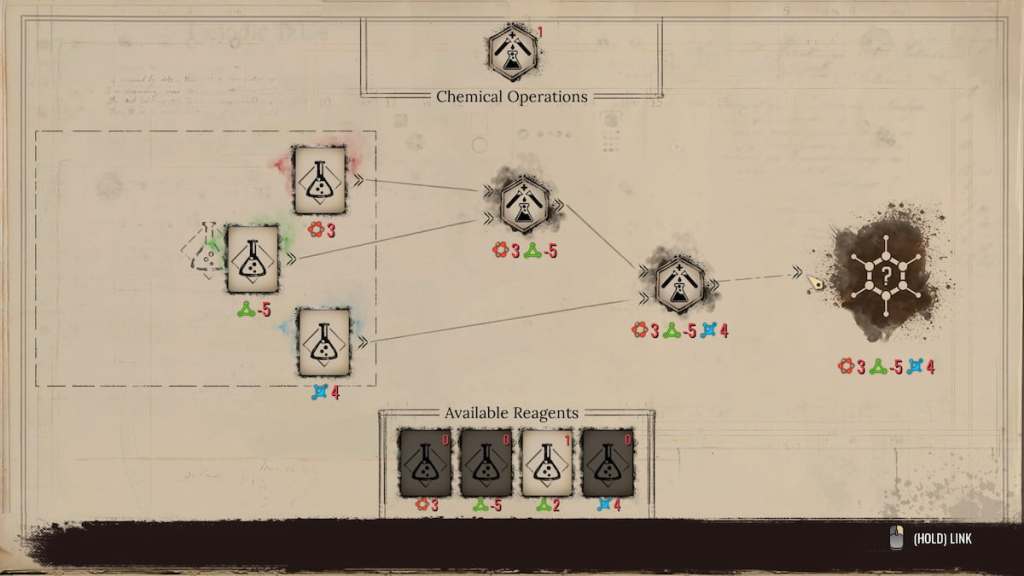
From here, examine the Elephant Vial you grabbed from Gilden's Study and start a chemical analysis (see screenshot below for assistance). And be sure to grab some of the oilcloth in the nearby crate before leaving the dig site.
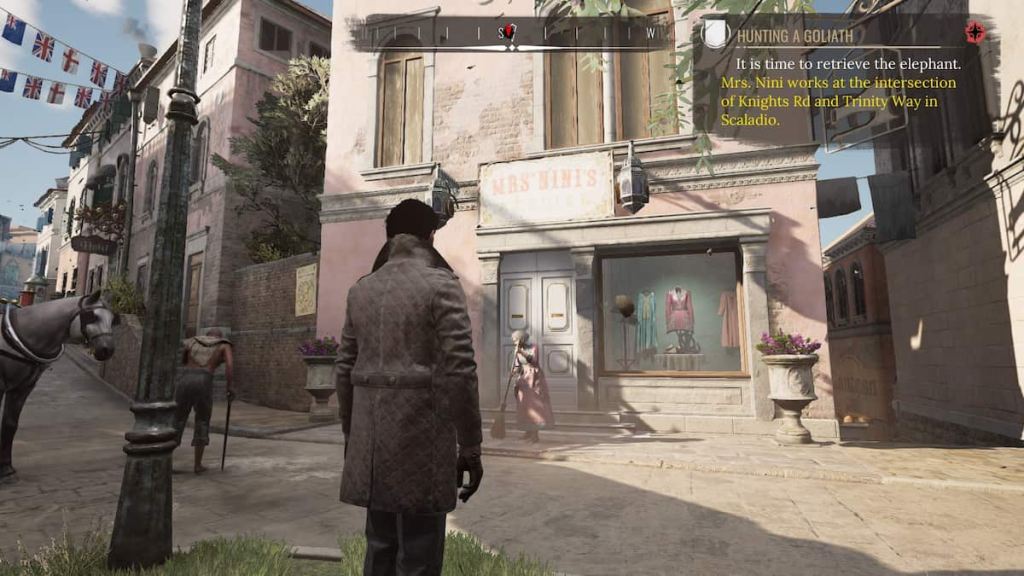
Travel back to the Yacht Club and grab the Red Foghorn from the storage room in the back corner. Then go visit Mrs. Nini's Atelier near Trinity Way and Knights Rd in Scaladio and speak with Mrs. Nini, run through the dialogue, and get the Elephant Doll.
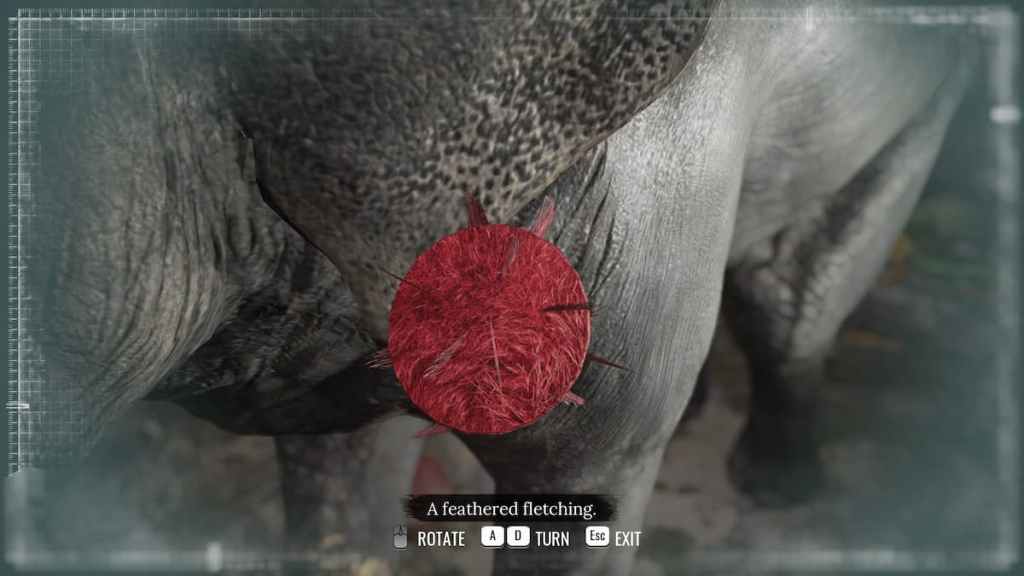
Let's bring it home. Go back to Gilden's House and use the Coal Fuel Tank at the shack to inflate the doll. After a cutscene, Goliath will appear back in his cage. Go investigate him for the final pieces of evidence before you come to your conclusions, the most important piece is the dart in his neck.
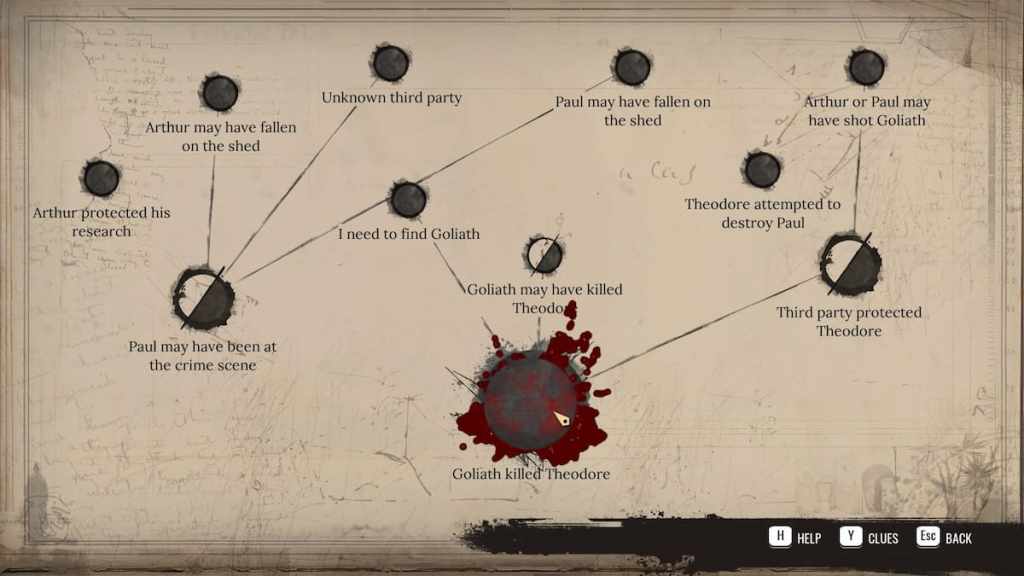
Enter your Mind Palace and link the clues as follows:
- Fatal Battering—Mr. Gilden owned a wild animal.
- Bosun's knife—Damage to the shed.
- Theodore threatened Paul—Theodore attacked Paul.
- Damage to the shed—Paul has a fresh bruise.
- Trying times—The partnership ended.
- Damage to the shed—Arthur has fresh bruises on his elbow.
- It was mating season—Everyone blames Goliath.
- Fatal battering—Poisoned dart.
- Both Arthur and Paul own darts—Poisoned dart.
You will have three split deductions based on the evidence you've gathered and this case isn't clear-cut as to who's exactly guilty, outside of Goliath. Choose between Arthur or Paul as the third party who provoked Goliath at your discretion, and provide your conclusion to Imogen to finish this case.
For more guides and secrets in Sherlock Holmes Chapter One, check out How to solve the Ghosts of the Past Case in Sherlock Holmes Chapter One, or Who is Jon in Sherlock Holmes Chapter One? and stay tuned to Pro Game Guides for continued coverage on all of your favorite games!