
Lost in the Sands is the first quest in the Golden Slumber World Questline, an important series that helps unlock plenty of underground ruins and exploration mechanics in the Sumeru desert.
In this World Quest, a merchant from Monstadt named Bonifaz will ask you to search for his associate, Nachtigal, who accompanied a researcher and his two mercenaries deep into the desert.
How to unlock the Golden Slumber Sumeru World Questline in Genshin Impact
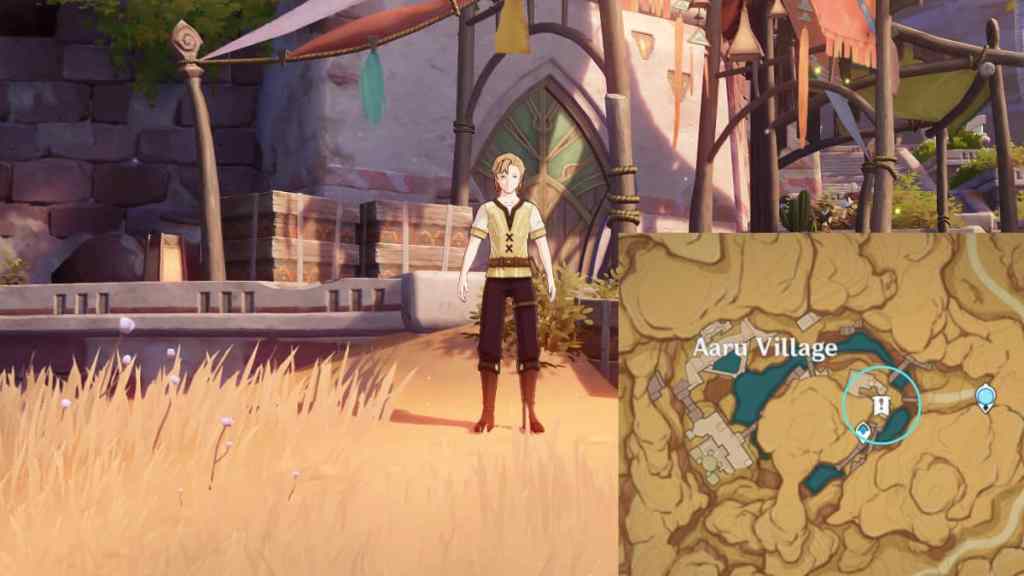
To unlock this World Quest, you must head to the Sumeru desert through Caravan Ribat. Once you reach Aaru Village, you'll spot an NPC named Bonifaz with a blue exclamation mark over his head. Interact with him to initiate the Golden Slumber World Questline and the first quest in the series Lost in the Sands.
How to complete the Lost in the Sands Sumeru World Quest in Genshin Impact
The first part of this quest is pretty straightforward:
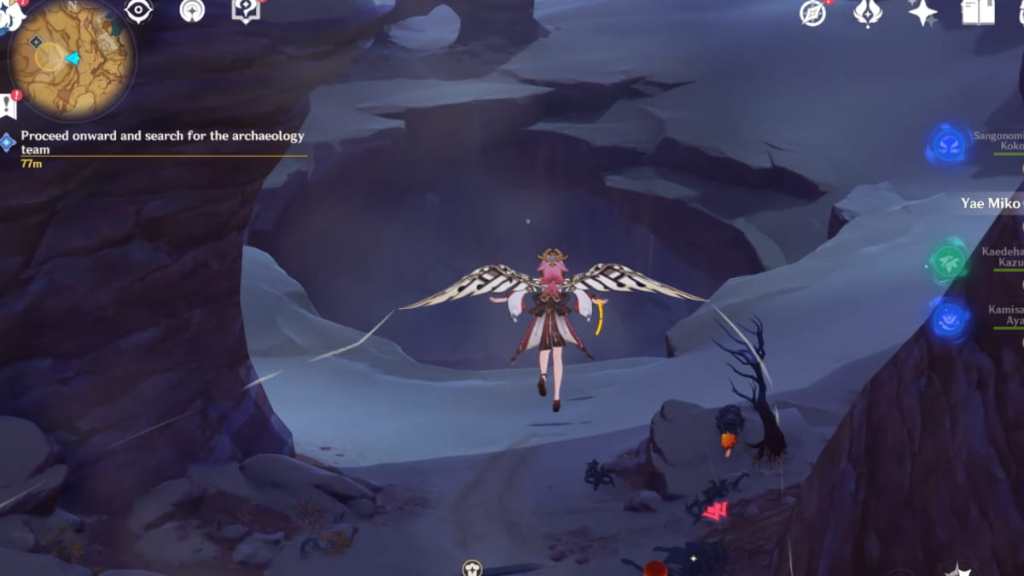
- After speaking with Bonifaz, follow the quest marker toward various checkpoints until you eventually reach a giant sinkhole.
- Glide down to speak with various NPCs and follow them toward an ancient ruin.
- While running through the long corridor, activate the hidden Teleport Waypoint.

You'll find a locked gate at the end of the corridor with a Loose Sand Pile in front of it (pictured above). Use any Anemo character to apply Anemo to the sand, revealing a mechanism. Interact with the mechanism to activate it and unlock the gate.
Related: Genshin Impact Join the Eremites and Embrace a Wonderful New Life! World Quest guide
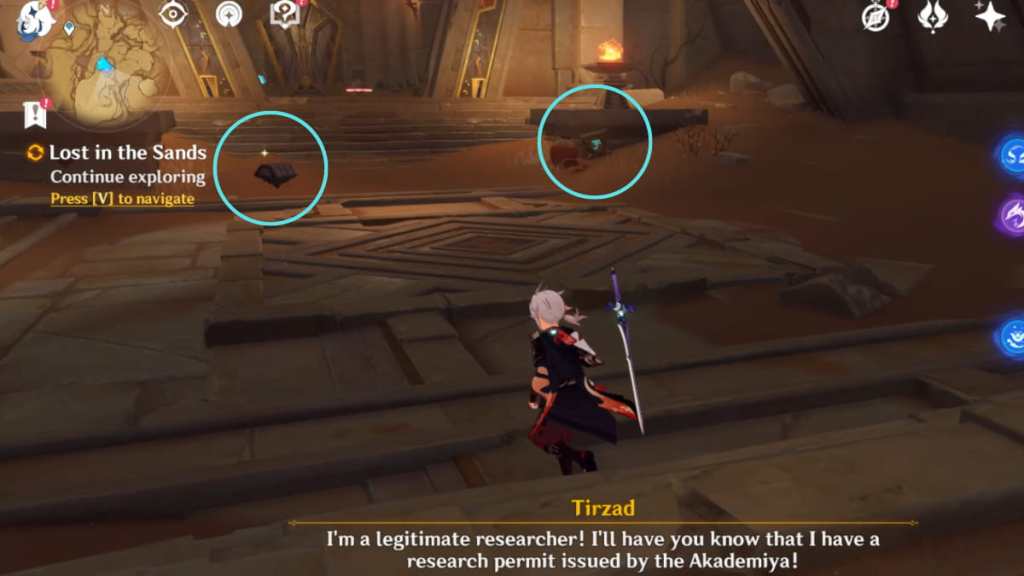
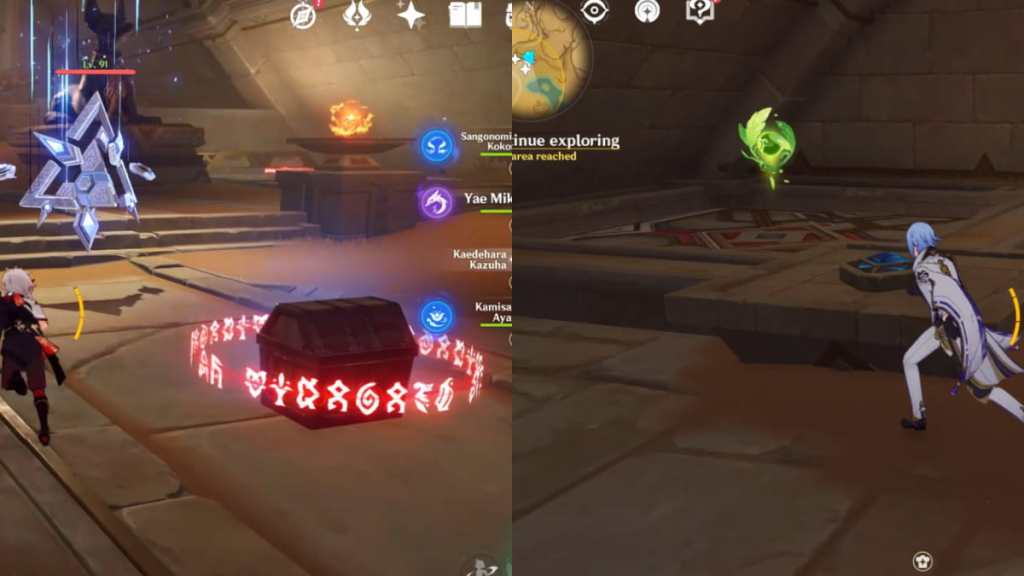
Upon entering the ruin, a Primal Construct will spawn. Defeat it to open the gate leading further underground. Additionally, you can loot an Exquisite Chest on the left after using Anemo to remove the Loose Sand Pile and a Sacred Seal on the right. After looting, head further into the ruin. Although it's optional, we highly recommend following the Seelie as it will guide you to the path required to proceed with the quest.
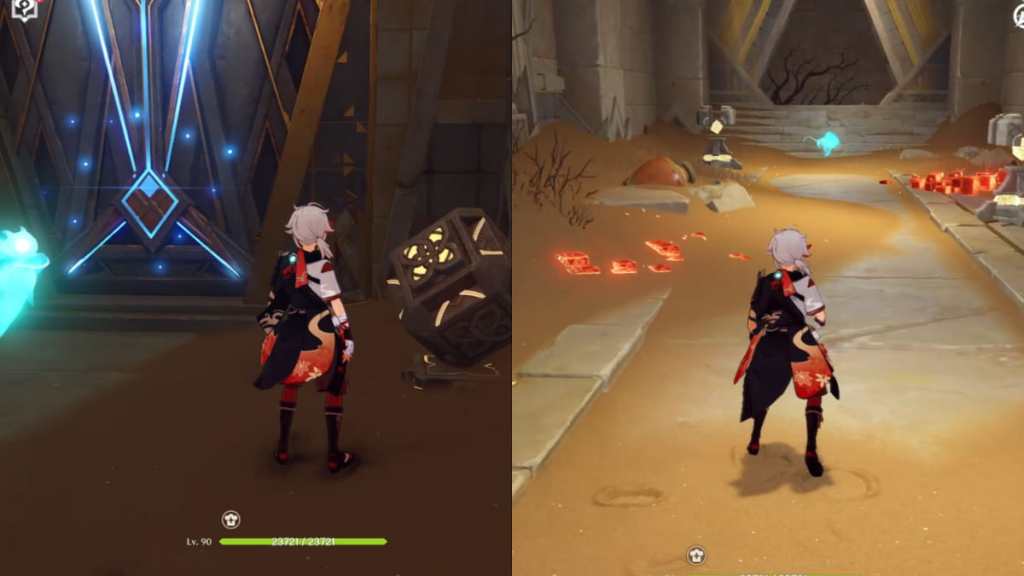
Make sure to interact with the mechanism to unlock the gate so you don't get stuck at a dead end. The Seelie will eventually lead you to a room with mechanisms that shoot out Pyro, but you don't have to worry as they won't deal major damage. Once the Seelie settles in its Court, run straight ahead to find a room with a locked Chest.
A Primal Construct will spawn as you approach the locked Chest. Defeat it to unlock the Exquisite Chest for you to loot. Then head straight ahead and turn left to find a Dendroculus floating above an elevator. Step onto the center of the elevator and interact with it to activate it. It will take you one floor down, where you must solve a Pyro Torch puzzle.
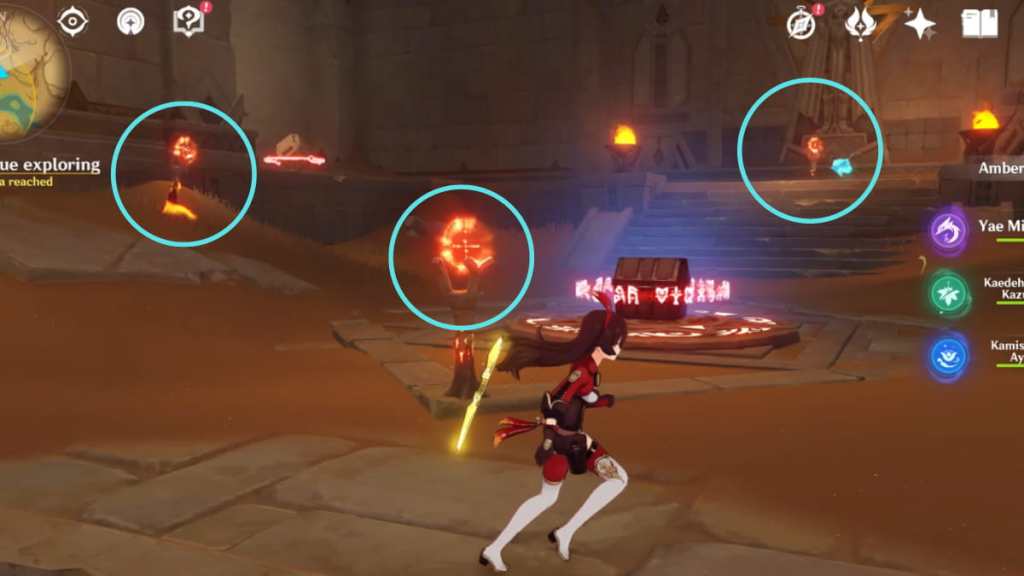
There are four Pyro Torches in the room, which can be activated in any order. However, start by activating the three pictured above on the room's north, west, and south sides. The one on the right is a Ghost Torch that you need to activate with the help of the floating Tri-Yana Seed.
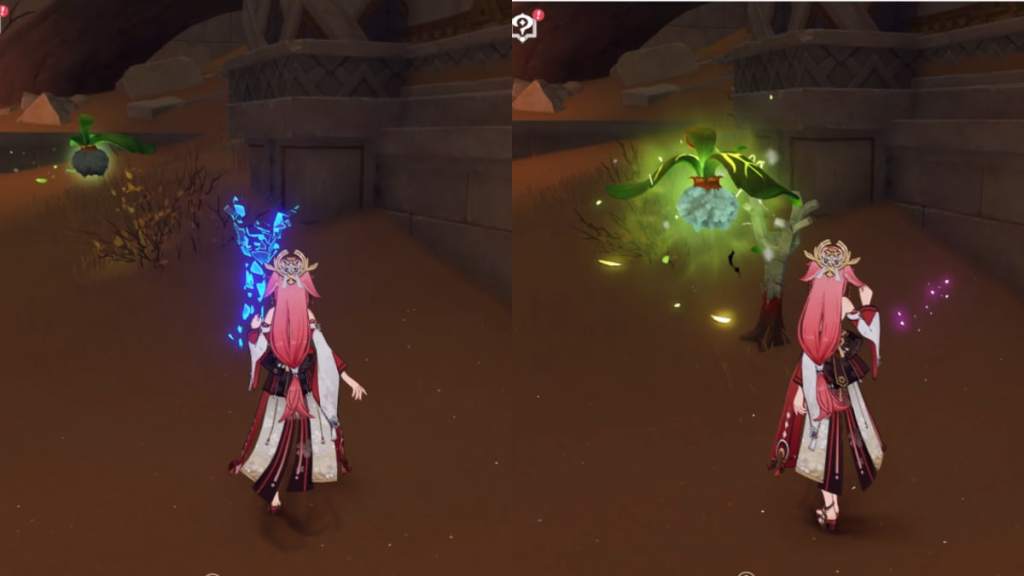
Wait until the Tri-Yana Seed is beside the Ghost Torch, and then attack it with any Electro skill. This will force the Torch to revive, allowing you to activate it using Pyro. Once all four Torches are activated, an Exquisite Chest will spawn at the center of the room. Next, you must follow the Seelie waiting for you at the edge of the room. It will lead you to the front of a locked gate, which you can unlock by interacting with the mechanism.
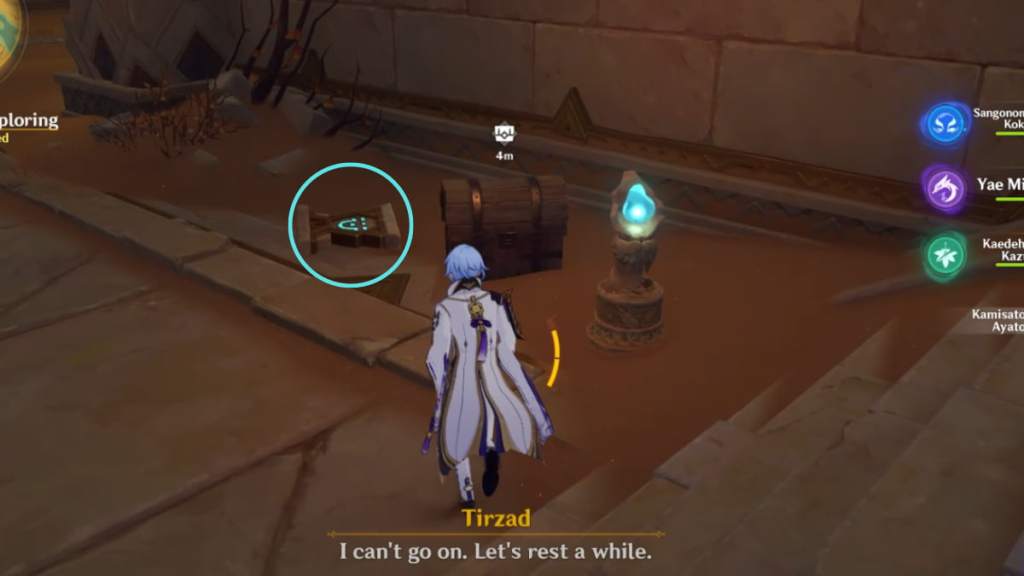
Keep following the Seelie until it reaches its Court. Pick up the second Sacred Seal beside the Common Chest. Once that's done, keep going forward until you're automatically roped into a conversation with Jeht, Tirzad, and Jebrael.
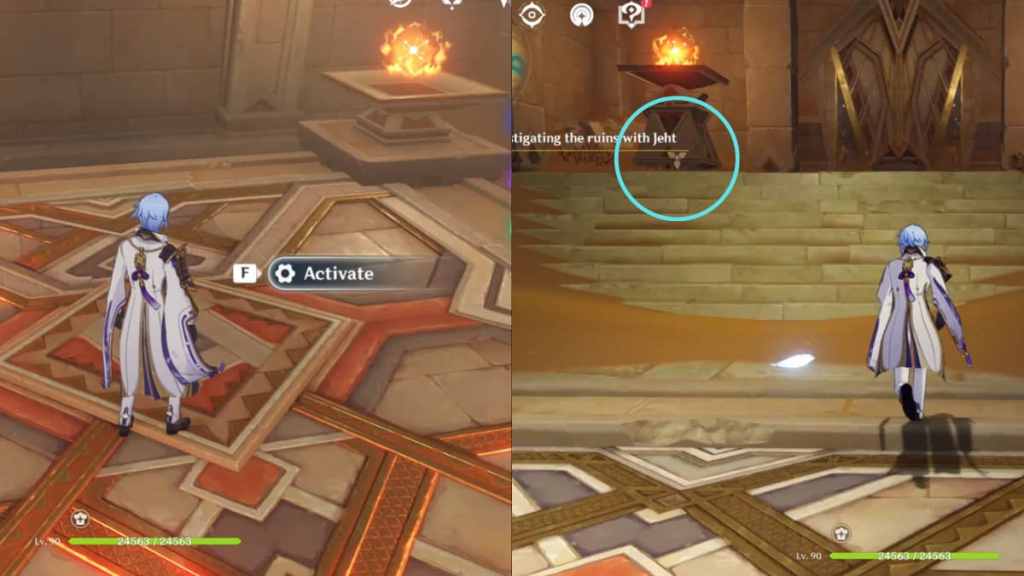
Head to the side and climb the stairs to find an elevator. Step onto the center and interact with it to Activate. The elevator will take you to a higher floor, where you'll find a small machine above a staircase. Interact with the machine to make friends with it and unlock the Wonders of the World Achievement called Close Encounters of the Which Kind? After that, use the elevator again to return to the previous floor, where Tirzad and Jebrael are waiting.
After speaking with the party, you'll obtain the Scarlet Sand Slate from Tirzad, which is necessary to explore many of Sumeru's desert ruins. Then use the elevator to go back to the upper floor, climb the stairs, and interact with the Control Unit to unlock the gate. Once inside, you'll be greeted by another friendly Seelie. Follow the Seelie until it reaches its Court.
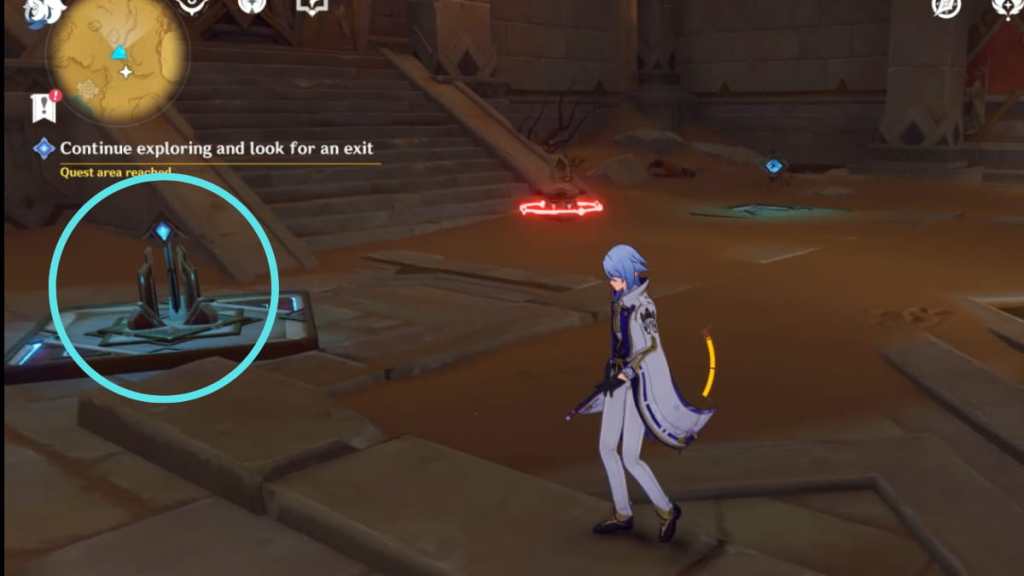
After parting ways with the Seelie, keep following the path until you see a blue light straight ahead (pictured above). In the next room, you need to solve a Replicator Keystone puzzle.
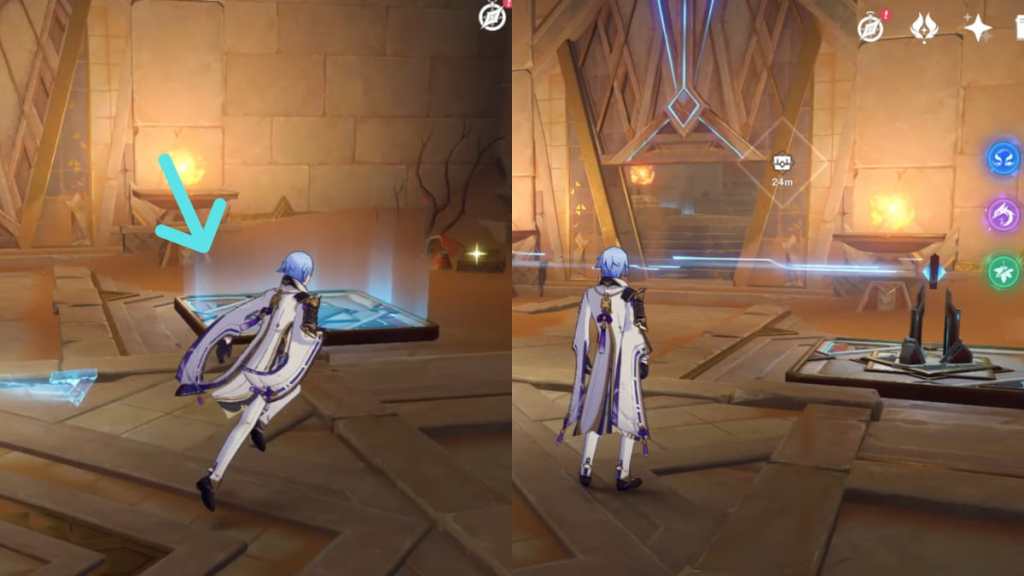
To solve it, you need to approach the Forged Prismal Light (floating blue triangle) so that it's floating around you. Then step onto the Replicator Keystone (glowing platform) to force it to transform into a device. The device will connect with the opposite side through a blue line, unlocking the gate in front. Enter the gate to loot an Exquisite Chest. Then defeat the Primal Construct to proceed with the next puzzle.
The logic behind this puzzle is the same as the previous one. Approach the Forged Prismal Light so it's floating around you, then step onto the Replicator Keystone platform to reveal a device. There are two Prism Lights and platforms, so you need to reveal two devices. Then interact with the device on the left to rotate it twice or until a blue line forms, unlocking the Control Unit at the center.
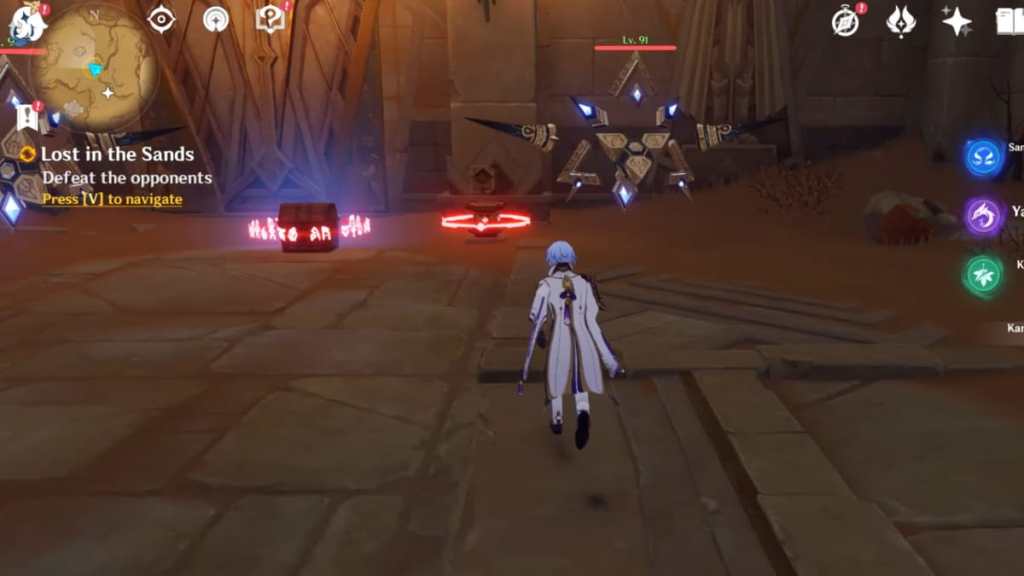
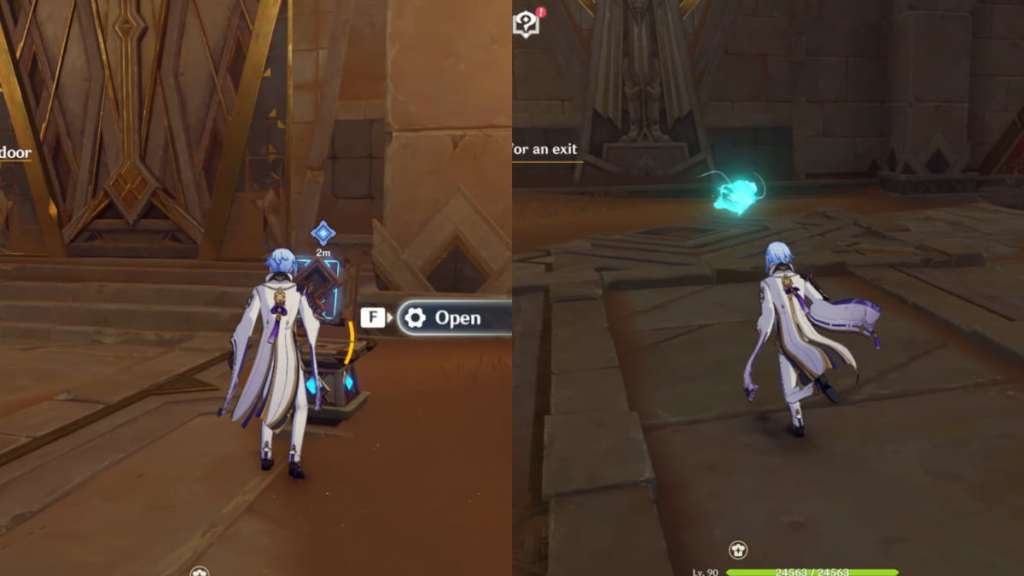
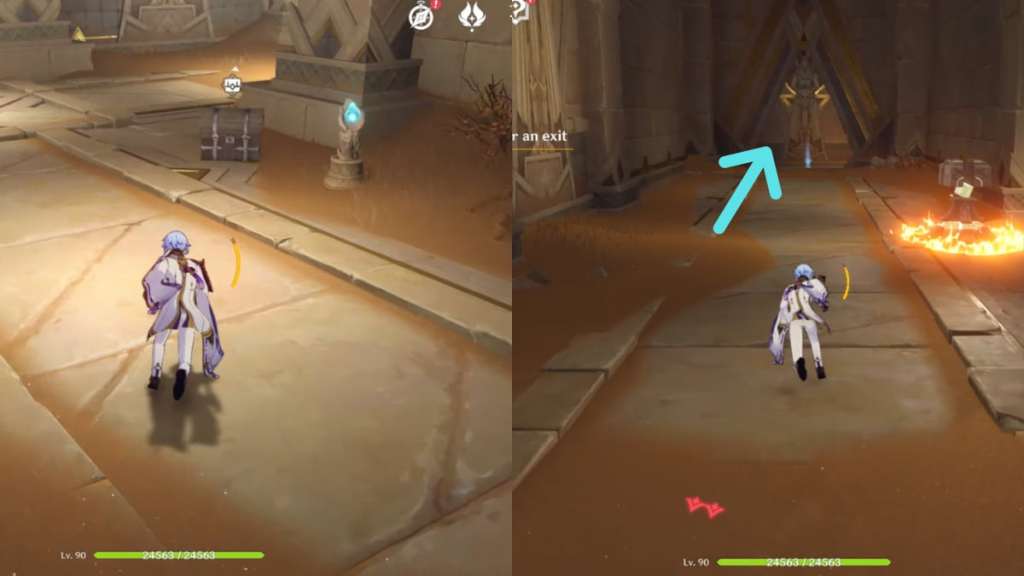
Interact with the Control Unit to open the gate in front of it. Then enter the room and defeat the Primal Constructs to unlock an Exquisite Chest and another Control Unit, which you need to interact with to open the gate leading toward the exit.
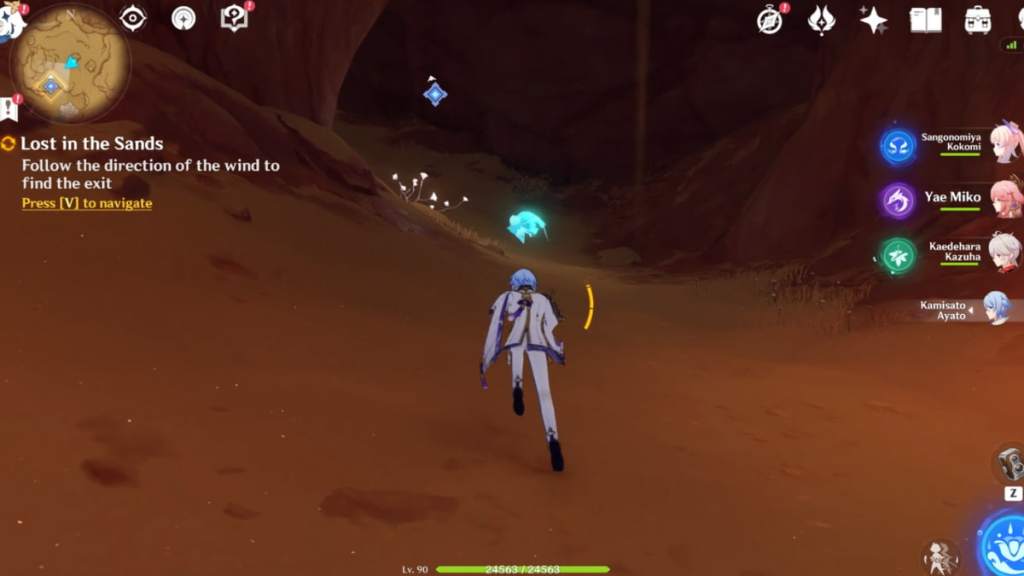
On the last leg of your exploration, you'll reunite with Nachtigal, Cyrus, and the rest of the team, and must follow the path toward the exit. You'll find a Seelie in the vicinity—follow it to exit the ruin and complete the World Quest. You'll unlock the Wonders of the World Achievement called Exploration in the Desert, and automatically unlock the next quest in the Golden Slumber questline, An Introduction to Indoor Archaeology.
Check out our Genshin Impact Secret of the Scorching Desert Mysterious Ruins Domain walkthrough to explore another puzzle-field ruin in the desert.