Open 50 Doors is a point-and-click puzzle game you can find and play for free at Cool Math Games. As the name suggests, you’ll need to complete 50 increasingly tricky puzzles to open the door and finish the game.
This involves clicking, dragging, and otherwise manipulating items on the screen. I love this style of game but did find a few of the levels particularly tricky, so if you’re stuck, read on for my full Open 50 Doors walkthrough.
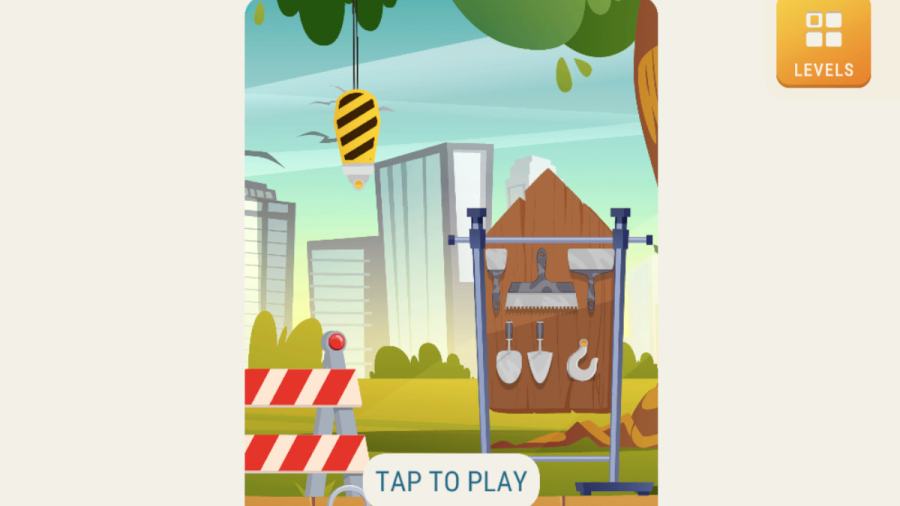
Open 50 Doors Guide - Cool Math Games - Full Walkthrough
The game itself actually walks you through Level One (pictured above) while also explaining the basic mechanisms of the game in the process. Simply do what the hand on-screen tells you to do, which is click the hook (which adds it to the rope) and then drag the rope and hook down to the ground. This pulls up the first door, which you simply need to click to complete level one.
Open 50 Doors - Levels 1-10
Level 1: See above.

Level 2: Click the can (2a) which will spray the key into existence. Click the second can (2b) to do the same with the door, then click the door to complete the level.

Level 3: Select the banners, and they’ll drop down. Simply drag the word Key (3a) onto the door to open it.

Level 4: Click each of the seven dwarves in any order (4), and they’ll stand on each other’s shoulders. Wait a few moments, and a key will appear from the top dwarf, who will open the door.

Level 5: Burst every balloon by clicking it, after which a key will appear on the ground, and the level will be complete.

Level 6: Click the elevator button (6a) and go to level 2. Drag the picture down (6b) and click the key to take it. Click the elevator button again to get to level 3, then click the lever (6c). Press the button once more, and you’ll go to level 1 again, where the lasers have disappeared. Use the key in the lock to complete the level.

Level 7: Select the broken bulb (7a) to remove it, then click the bucket (7b) to knock it over and reveal a working bulb. Click the bulb, which will go into the light, then select the barrel (7c) to move it and use the light switch behind it. With the chicken gone, click the eggs to hatch them and get the key, which you can click to open the door.

Level 8: Click the pirate hat to reveal the hook, then drag the hook onto the line (8a). Click the attached hook, which drags the boat to the door. Click the door to open it.

Level 9: Select the lamp (9a) to place it on the ring above, then click the matches (9b) to light it, revealing a lever (9c). Click the lever to fix it to the mechanism (9d), then again to complete the level.
Related: Best Games on Cool Math Games

Level 10: Click the boomerang (10a), which will fly up and remove the nut (10b). Click the left-side bushes (10c) to reveal the nut, then the right-side bushes (10d) to reveal a squirrel. Click the nut (10e) to give it to the squirrel and take the sword it drops, opening the tent.
Open 50 Doors - Levels 11-20

Level 11: Click the shower curtain (11a) to move it left, then click the red faucet (11b). Click the curtain again to move it back to the right position, click the tap (11c) to fill the path, and then take the key from the rubber duck to complete the level.

Level 12: Select the cloth (12a) and drag it all across the mirror (12b), cleaning it (a noise will sound when you’ve done it enough, and it will look like the image above). Click the cleaned mirror, which will slide left, revealing the door. Click the door to move on.

Level 13: Choose the centurion’s helm (13a) to place it on the soldier. Once he has gone, click the horse-head helm (13b) to place it on the horse’s body, and then finally click the doorway (13c) to complete the level.

Level 14: Click the three weights to add them to the bar, giving you the key. Click the key to move to level 15.

Level 15: Drag the door pieces to the bottom left (15a), top right (15b), and top left (15c) to rebuild the door, then click the key (15d) to open it.

Level 16: Click the anvil (16a) to smash the bottom right pumpkin, then click the saw (16b) to get the wand from the tree (it drops down from 16c). Click the wand to make a carriage, then click the carriage door to complete the level.

Level 17: Select the clothes basket (17a) to tip it over and reveal the key. Drag all the clothes left, revealing the door handle (17b), which you can click to fix the door, and then click the key (17c) to get out.

Level 18: Click every part of the image (I started with the plants and plant pots, but I don’t think it matters) until every part of the image is colored in. Select the doorknob last to complete the level.

Level 19: Press the mouth (19a) to make it open, then the top nut (19b) to put it in the mouth. Click the mouth again, destroying the nut, then do the same process with the second nut (19c), which gets you the brown key. Use it to unlock the bottom lock, then do the nut trick again with the third nut (19d), clicking the broken nut on the ground to unlock the middle lock.
Finally, do the same process (open mouth, click nut, click mouth, use key) on the final nut (19e) to finish the level by clicking the door once all three locks have gone.

Level 20: Double-click the leaf pattern below the dotted lines, then the top-left, middle-left, top-right, middle-bottom (so it looks like the right image above), then finally, the right side of the pattern to reveal the keyhole, then just press the key to move on.
Open 50 Doors - Levels 21-30

Level 21: Click the cord (21a) to insert it into the tablet, powering it up. Drag the arrow on screen (21b) to unlock it, then click the right arrow on each photo until you see a door. Click it to move on.

Level 22: Here, you need to separate the colors so that each tube contains a single color. I completed it by clicking the tubs in the following order:
- 1 to 4 and 2 to 4
- 1 to 5, 2 to 5, and 3 to 5
- 1 to 2 and 3 to 2
- 1 to 4 and 3 to 4
- 3 to 5, click the key, then click the door.

Level 23: This is spot the difference. Click the man’s beard to make it into a mustache, then click his hat. You need to keep clicking them until they match the poster behind him (see image above). Once you have, click the door to continue.

Level 24: Click the man’s glasses (24a), and two hands will appear on the clock (24b). Click the clock, and the day will turn to night, then click it again to see the closed sign flip to open. Now, you can simply click the door to complete the level.

Level 25: Swipe each section of the door left until they all match. The pattern I completed it with is almost complete in the image above, where all I had to do was drag the bottom section to match the rest and complete the level.

Level 26: Click the mime twice to find he is sad because he has lost his beret. Get his beret from the tree (26a), then drag him right to reveal the door. Click it, and he will go through, then click it again to complete the level.

Level 27: Drag the dog up onto the robber, who will run away and leave the safe code behind. Now, you just need to click the buttons on the safe in that order (NNSWEW) to open it and finish the level.

Level 28: Drag each planet from left to right, and they’ll appear on the strings above. Once you’ve won all four, the level is complete. The order you do it doesn’t matter; just be sure to drag each one all the way to the right of its slider.

Level 29: Click the spade (29a) to dig a hole, then click the wheelbarrow (29b) to move it fully into the picture. Click the seed bag (29c) to plant a seed, the watering can (29d) to grow it, then select the beanstalk to climb it. At the top, click the treasure chest to complete the level.

Level 30: Click the white cloud to flip it around, revealing the key (30a). Double-click the brake (30b) to remove it, then click the cloud (30c) to move it off stage. Do exactly the same with the brake and cloud behind it, then click the key to finish up.
Open 50 Doors - Levels 31-40

Level 31: Click the backpack to reveal the tools, then click the glass cutter (31a) to make a hole and the hammer (31b) to smash the case. Click the key in the broken case to advance.

Level 32: This one is about timing. Hold the left mouse button to make the drill bit go up, and let go when it is right below the brown line. Get it right, and the drill bit will move right to the next line. But if you get any wrong, you’ll have to start again. Once you’ve got all six in a row without any mistakes, the key is finished, and the door opens.

Level 33: Click the potion (33a) to make the knight grow, then click the knight to make him jump and reveal the key. Click the key to move on.

Level 34: Drag the cannonball (34a) up so that it smashes the lantern (34b), then click the candle inside it to light it. Now drag the cannonball onto the canon (34c) to tilt it to face the door, and finally, drag the candle down to the fuse (34d) to fire the canon and break down the door.

Level 35: You need to click two images to swap them until you’ve recreated the correct picture, a bit like a jigsaw puzzle. The order you swap them doesn’t matter, but the image needs to look like the one above to progress before you move one final piece (all that’s left to do is swap the top two central pieces).

Level 36: Click the jack (36a) to jack up the car, then click the wheel (36b) to fix it to the car. Click the tires again to drop the car down, and click its hood (36c) to open it up. Click the cupboard (36d) to open it, then click the battery inside to add it to the car, moving the car forward. You can now open the petrol flap (36e), add the funnel (36f), fill the car with gas (36g), and drive away. Job jobbed.

Level 37: Potter! Starting anywhere on the white dotted line, drag the mouse around the luggage trolley with the left button held down to reveal the image (I wasn’t that accurate, and it still worked). You now need to click the numbers 9, then 3, then 4, with the 9 being hidden behind the red suitcase (just click the suitcase, and you’ll hear a noise, so you’ll know you’ve clicked it).

Level 38: Click the purple suitcase to put it on the converter belt, pull the handle to put it in the machine, and then click the button for an X-ray shot. You should see the key inside, so simply click it to complete the level. It was purple for me twice in a row, so I presume it always is. But if it isn’t for you, use the same process on the other two suitcases to find the key.

Level 39: You need to spot all of the differences (there are eight to click on the left half of the picture, all marked above). Once you’ve clicked them all, the two images will become one, and you’re done.

Level 40: Click the colored item in the unicorn's hands to get a close-up of it, then press down the buttons on it so that they match the pattern of apples in the tree. In the image above, I just need to click the marked button to finish the puzzle.
Open 50 Doors - Levels 41-50

Level 41: This is a cheeky one! All you actually have to do is drag the two doors open to complete the level. I lost a good while clicking buttons and levers…

Level 42: Click the trash can to get the clue, then click the middle door, left door, middle door, and middle door again to advance.

Level 43: Turn the light off by clicking the switch (43a), and then drag the UV lamp (43b) around the screen to reveal all the symbols on the walls. When you turn the light on again, note the order in which the symbols now disappear. Click the symbols on the door in this order (for me, it was diamond, circle, triangle, flat-cornered triangle) to advance.

Level 44: First, drag all seven volume levels on the desk (44a) up so they’re at the top. Now, quickly click all six musical items marked so that they’re playing at once (the order you click them doesn’t matter). Get them all going at once, and the glass will smash. Click the glass, and you’re done.

Level 45: You need to build the dinosaur. Drag the first leg (45a) to the center of the skeleton, the neck (45b) to the front, the second leg (45c) to below where you attach the neck, and then the head (45d) to the neck. Finally, add the tail (45e) to the back, and you’re done (just click the door).

Level 46: Start by dragging the detector (46a) over the haystack to find the location of the key (46b). Click the lamp (46c) to raise it, revealing the magnet (46d). Drag the magnet onto the broken rake (46e), then double-click the rake to get the key. Click the lock to advance.

Level 47: Drag the axe (47a) to the tree (47b) to cut it down. Now drag the felled tree up onto the two silver rings (47c) to lower the drawbridge and complete the puzzle.

Level 48: Click the mummy to open it, then the body inside to remove it, and finally, drag the symbol in the back of the sarcophagus (48a) onto the section of the door with the same symbol to complete the first part of the puzzle.
Drag the chest left (48b), revealing the eye, which you can also drag onto the door. Drag the bird into place from the gold mound (48c), and then the final three symbols from either side of the door (48d, e, and f) to be done.

Level 49: Add the cape (49a) to the statue by clicking it, then also add its sword from where it is hidden behind the torch (49b). Now drag the barrel (49c) left to reveal the helm, add it to the statue, and move on to the final level.

Level 50: I should’ve known aliens were behind all this! Click the arrows above the door (50a) to move left, press the button there, and one alien will be gone. Now, you just need to click the airlock lever (50b) to complete the final level!
For more walkthroughs of Cool Math Games, check out Must Escape The Wizards Castle Walkthrough – Cool Math Games and How to beat Trace Escape Room – Full Walkthrough right here at Pro Game Guides!