
Between your cases in Sherlock Holmes Chapter One, you will find dozens of delightful side-cases to keep you sharp and help you earn a couple of bucks on the side, too. Love, Death, and Cordona is a side case you can find from one of Mycroft's agents named Emilio Estivo, just inside the gate to Stonewood Manor.
Related: How to Solve A Gilded Gage Case in Sherlock Holmes Chapter One
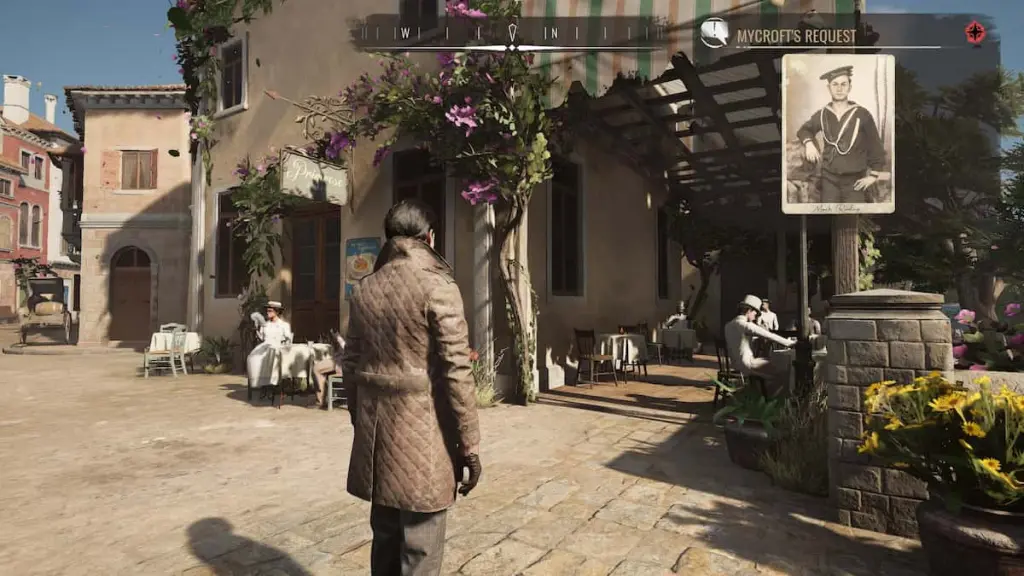
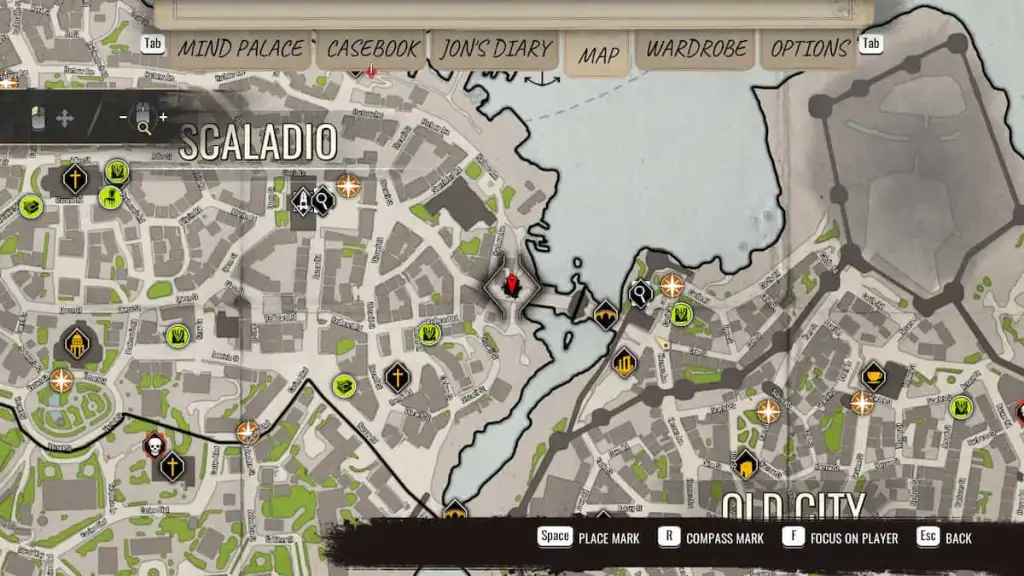
You'll be instructed to head to the Primrose Cafe, located on the western side of the Old City Bridge. Head there with the clue Mycroft's Requestpinned, and you'll find Jon is waiting at a table for you. Interact with the table to enter a cutscene that starts this case.
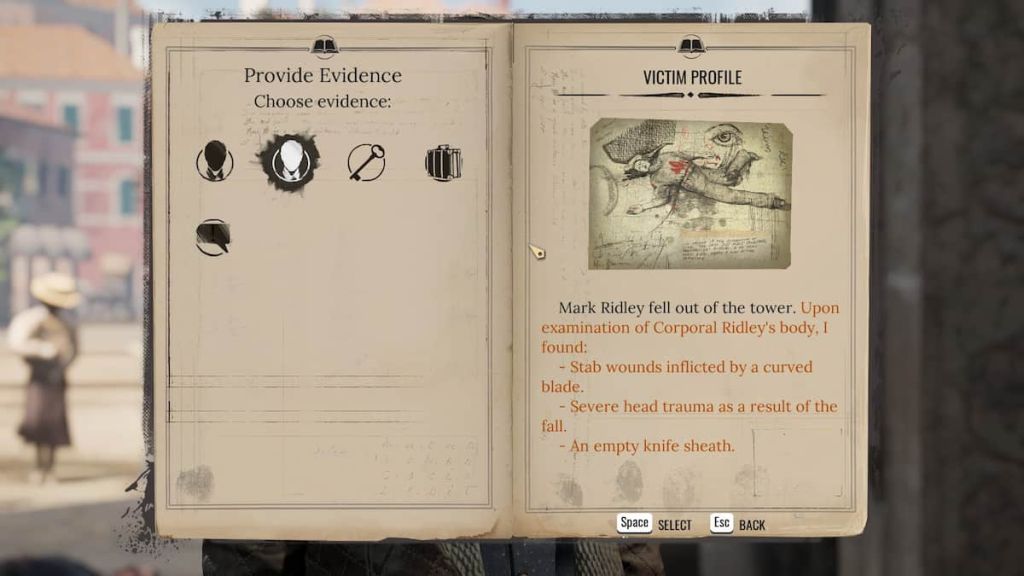
When you have control, head back onto the bridge to find the body of Mark Ridley, who looks to have fallen to his death. Examine the body, and you'll find evidence that Ridley was stabbed in the torso by a curved blade. Also, make sure to grab the scarf and the key lying next to the body.
After you've fully examined the body, move past the crime scene to the mid-point of the bridge and talk to the sailor by the door marked no trespassing.
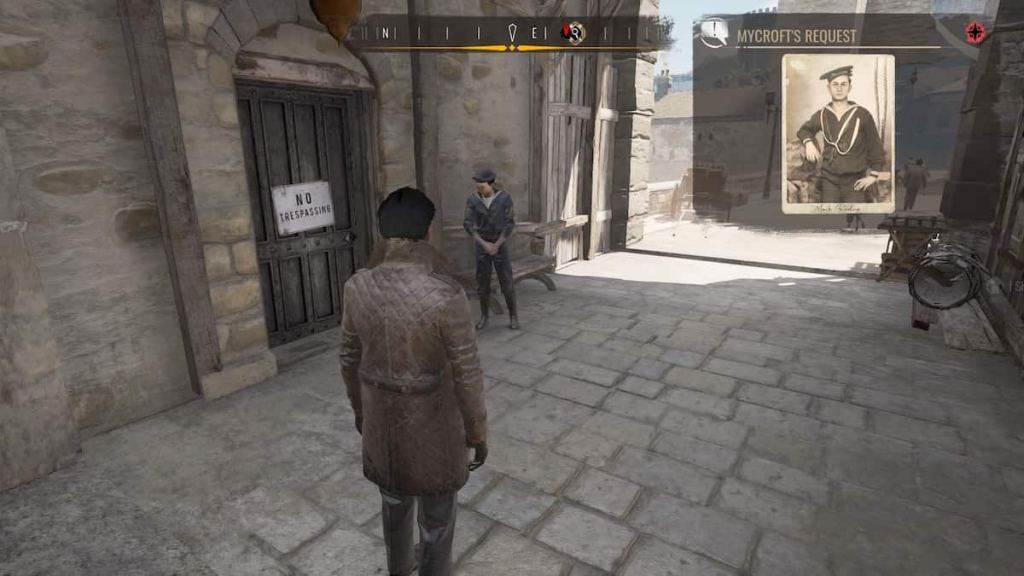
He won't let you inside straight away. When prompted, show him the Victim Profile evidence, and he will let you through to investigate the tower.
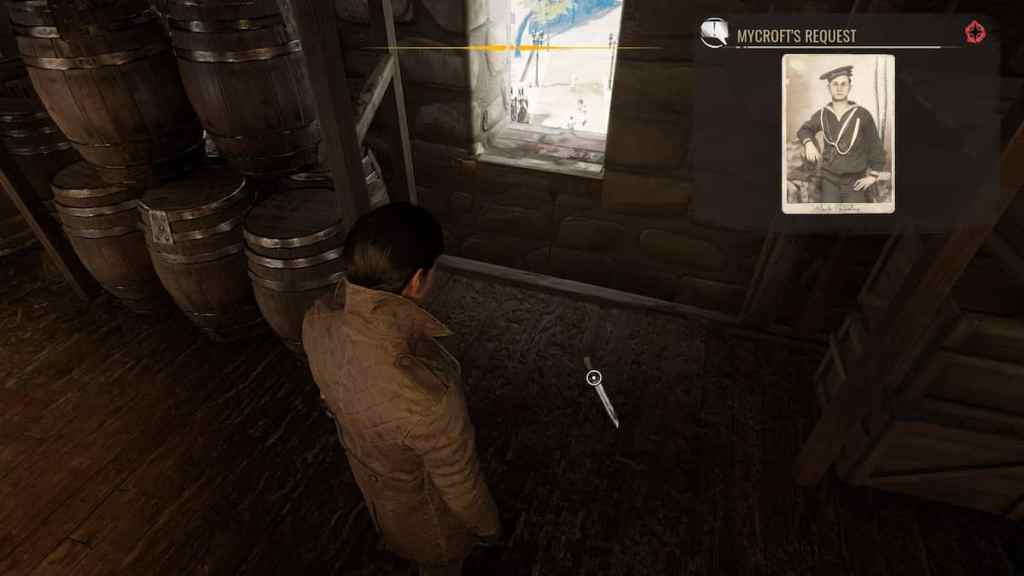
Once inside the tower, investigate the bloody knife and bloody window immediately to your right.
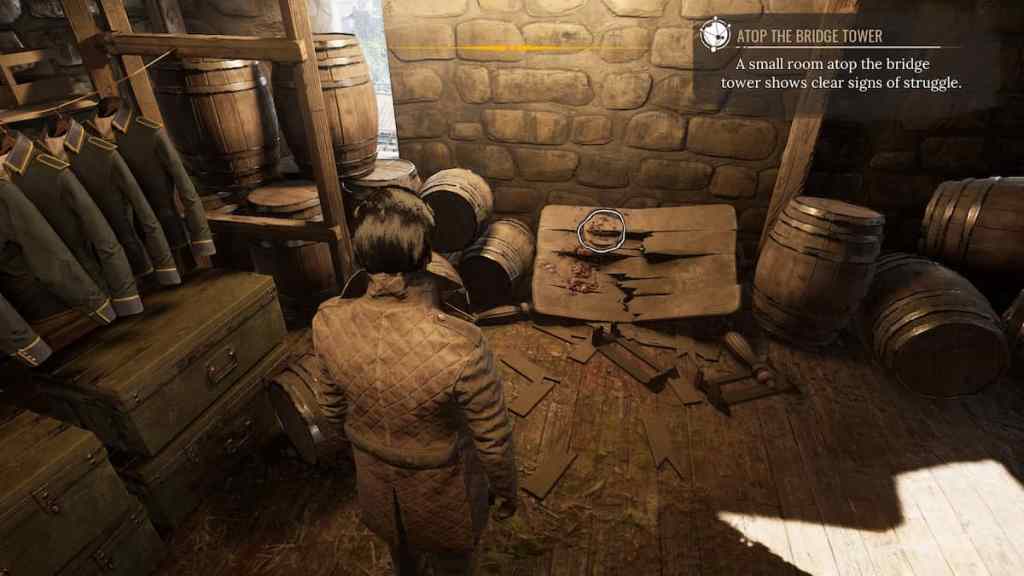
Directly behind you, you'll find a smashed table with blood on it. Pin the Atop The Bridge Tower clue and investigate the table in Concentration Mode.
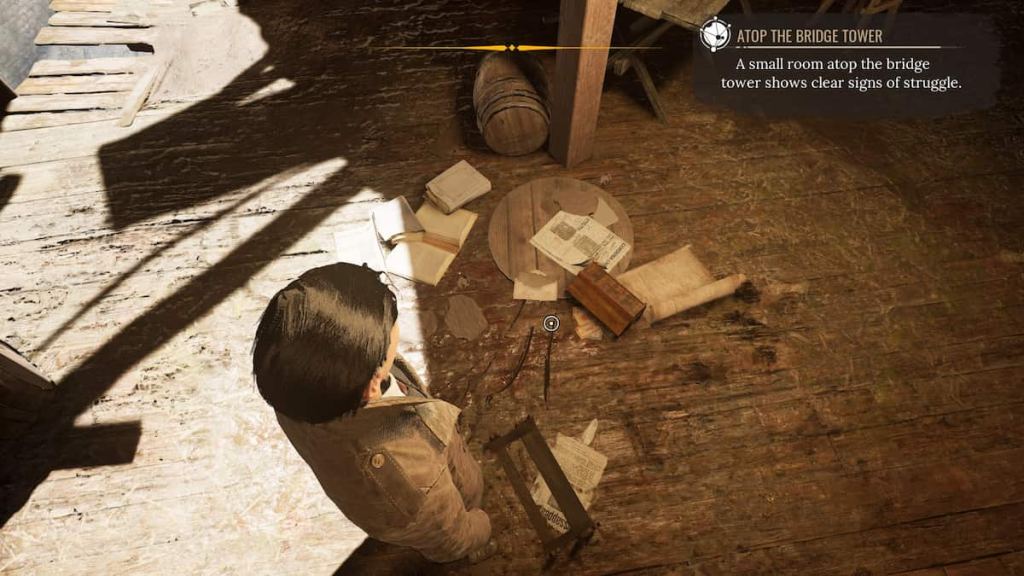
Near the center of the room, you'll find a small broken table with a letter and some cash to investigate.
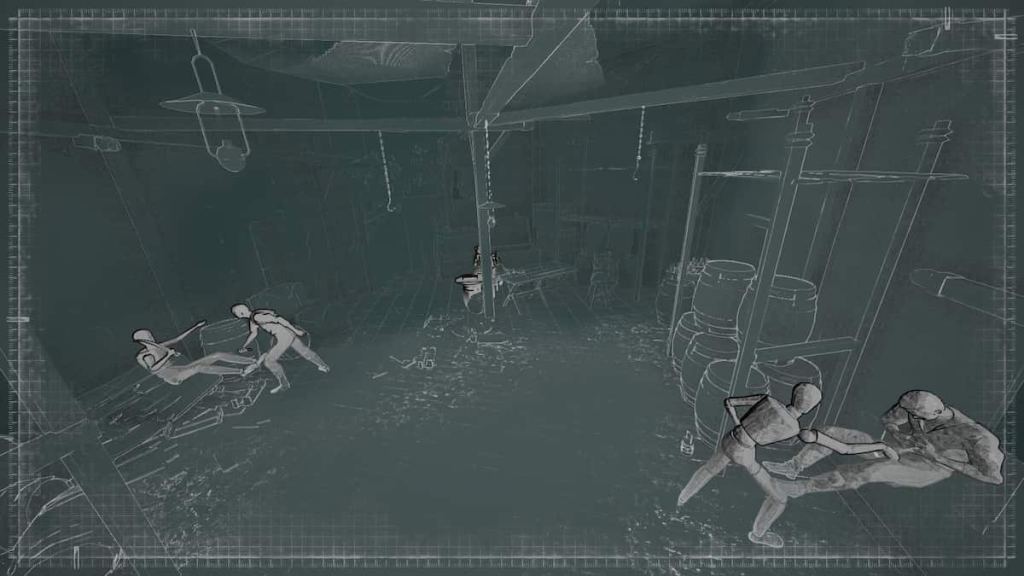
At the back of the room, you'll find two points to investigate with Concentration Mode in a large chest. You should now have enough evidence for a node to appear in the center of the room. Interact with it and arrange the scene as follows:
- Killer stabbing Ridley out of the window.
- Ridley with knife tossing Killer with knife into busted table.
- Killer with knife sneaking up behind Ridley, back of room.
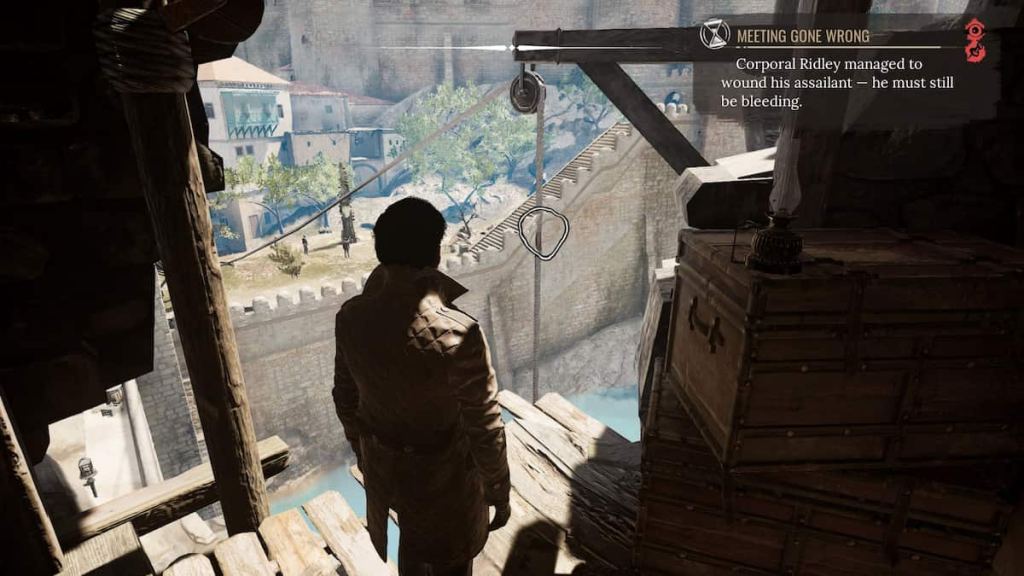
Now pin the Meeting Gone Wrong clue and head to the opening at the back of the room to investigate the zip-line with your Concentration Mode—this will start you on the trail to your suspect.
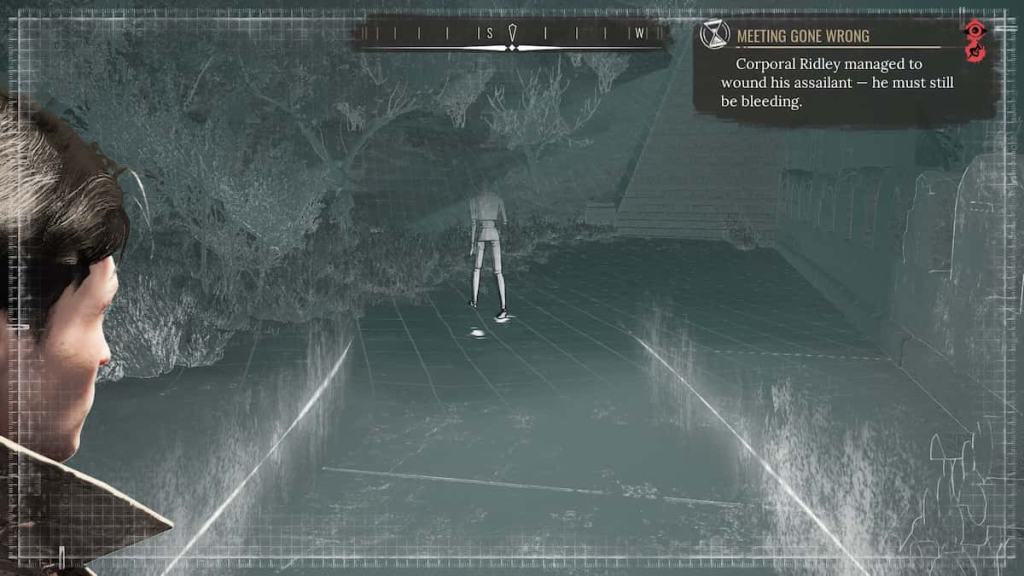
Head out of the tower and follow the zipline to find another smattering of blood to investigate where it ends. After you interact with the blood, enter Concentration Mode and turn around to find a trail—follow it until you reach another blood splatter.
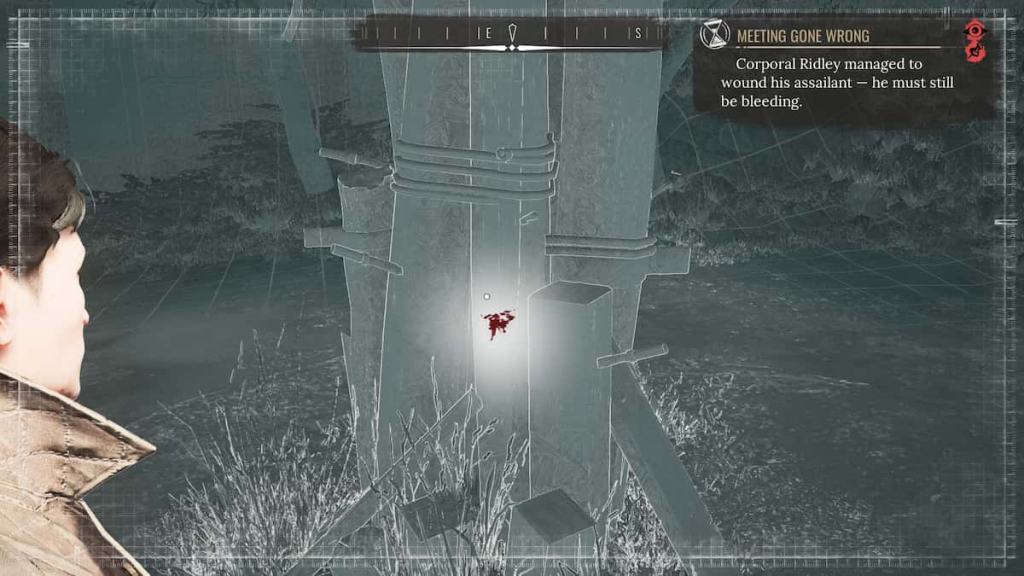
Finding this blood splatter will also take you to the Pillar of Knives, which will locate another unrelated quest if you haven't been here before. To stay on the task at hand, move to the back of the pillar to find a bloody knife.
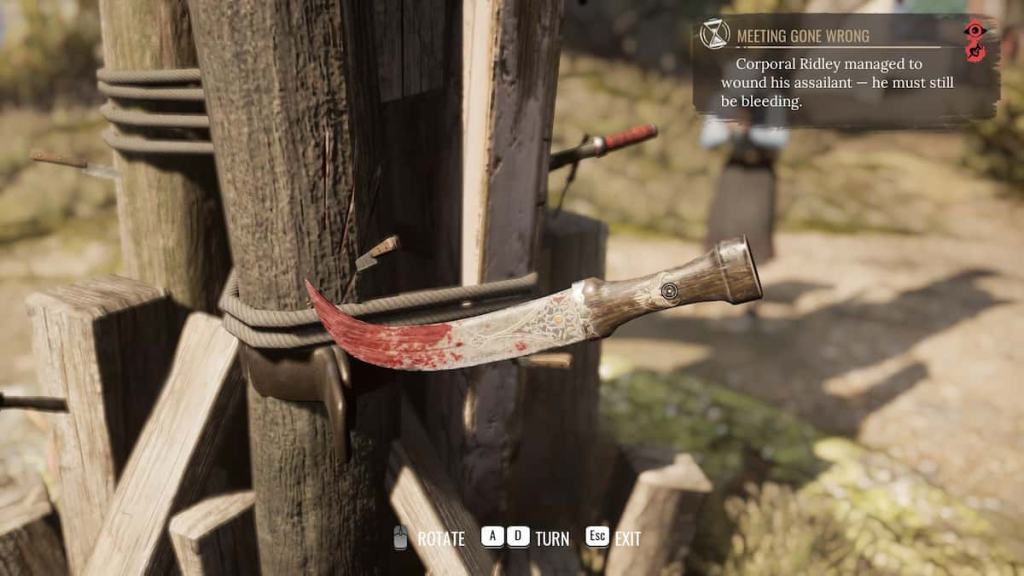
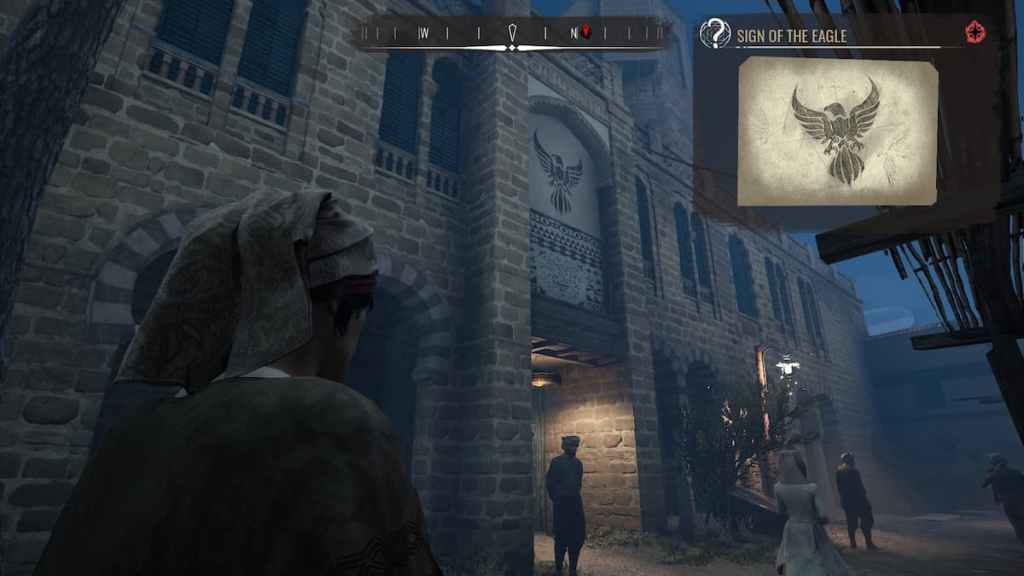
Examine it, and you'll find an eagle emblem on the handle. Now pin the clue Sign of the Eagle and enter Concentration Mode to find someone affable or friendly nearby—speak to them, and you'll receive the address for the family that relates to this emblem.
Related: How to solve The Tale of the Empty House in Sherlock Holmes Chapter One
Before heading to that address, we have to finish in this area. Head across the street from the Pillar of Knives to find the Old City Barracks. You'll have to disguise yourself as a sailor for access (just the outfit will do enough).
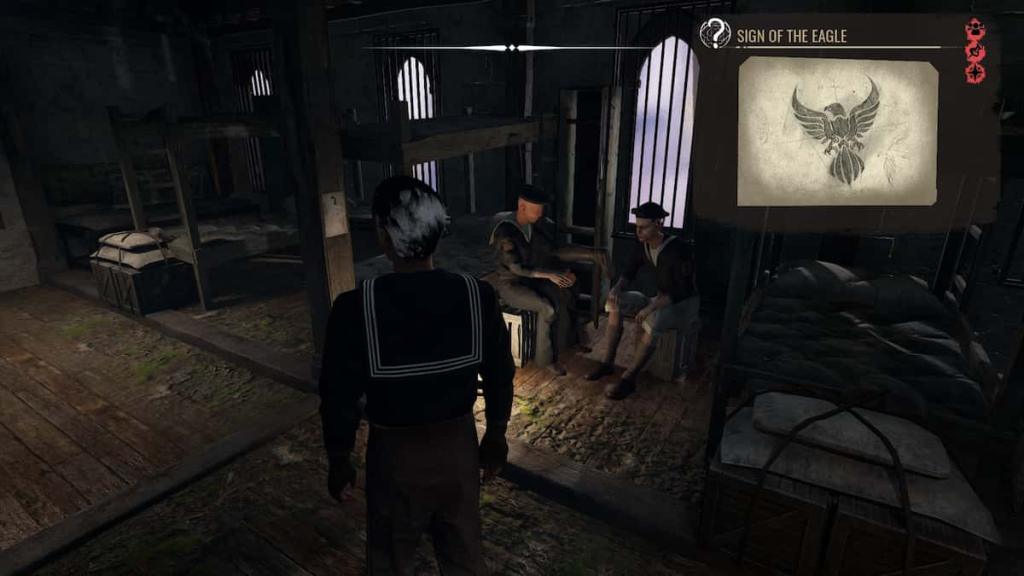
Enter, and you'll find two sailors sitting among the bunks to your right. Speak to one of them with the Sign of the Eagle still pinned, and they will give you some information.
Keep going deeper into the barracks until you find some numbered rooms. The key you found next to the body is labeled with the number four—enter the matching room, and you'll find some of Ridley's belongings.
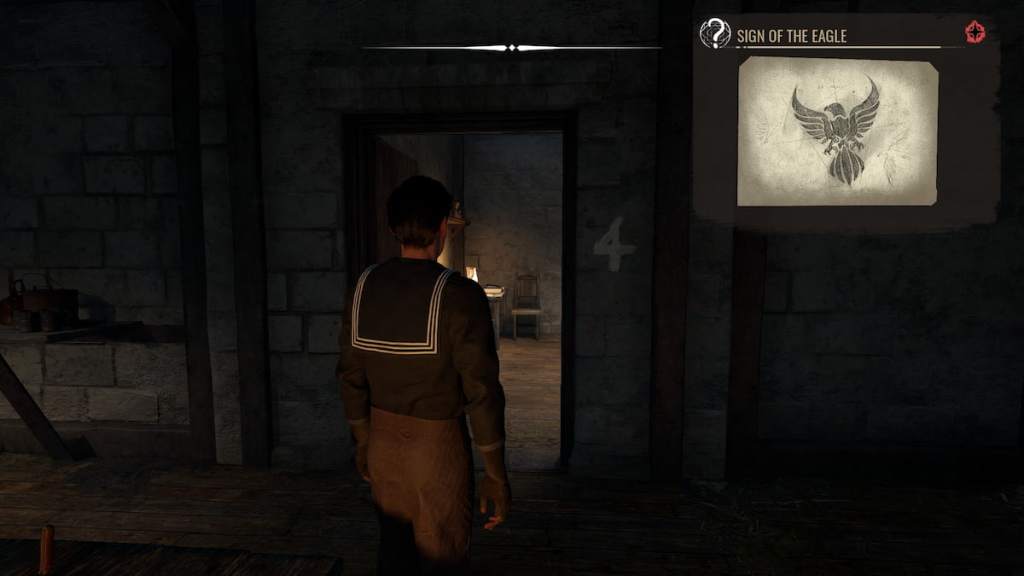
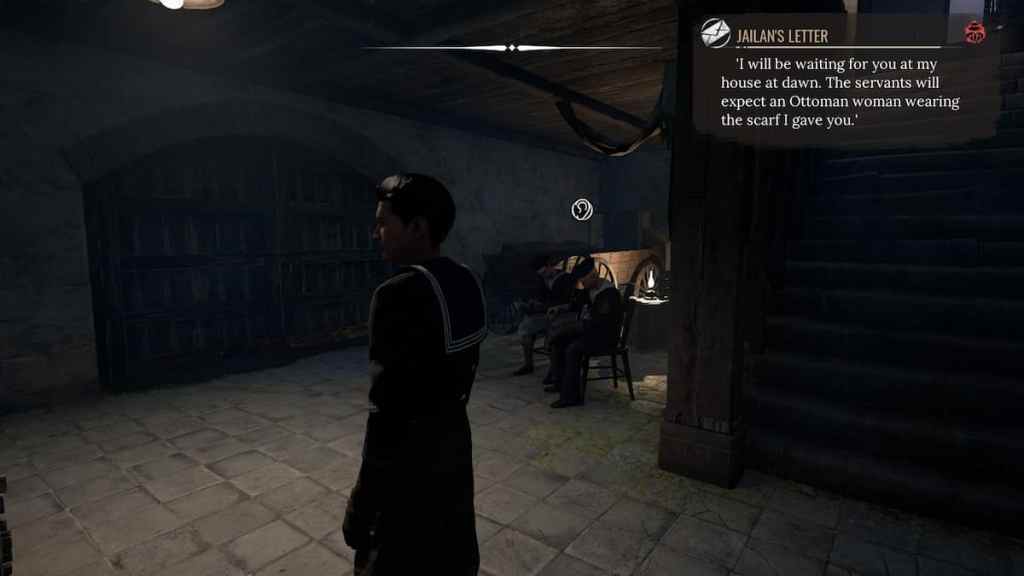
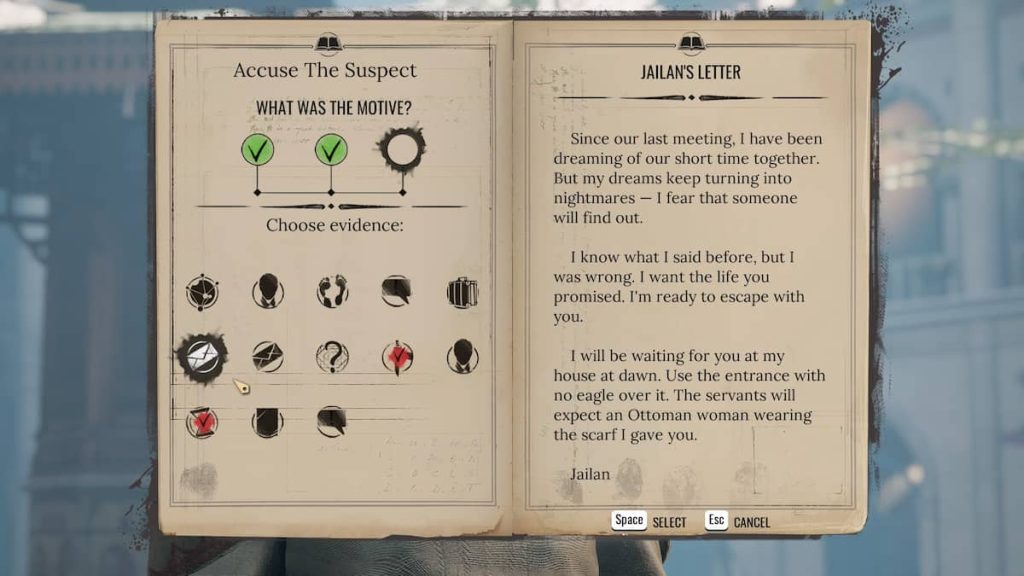
A few interesting things pertain to Ridley's backstory as a general's son, but the most important piece is Jailan's Letter. After investigating it and interacting with it, you'll find the letter behind the locker.
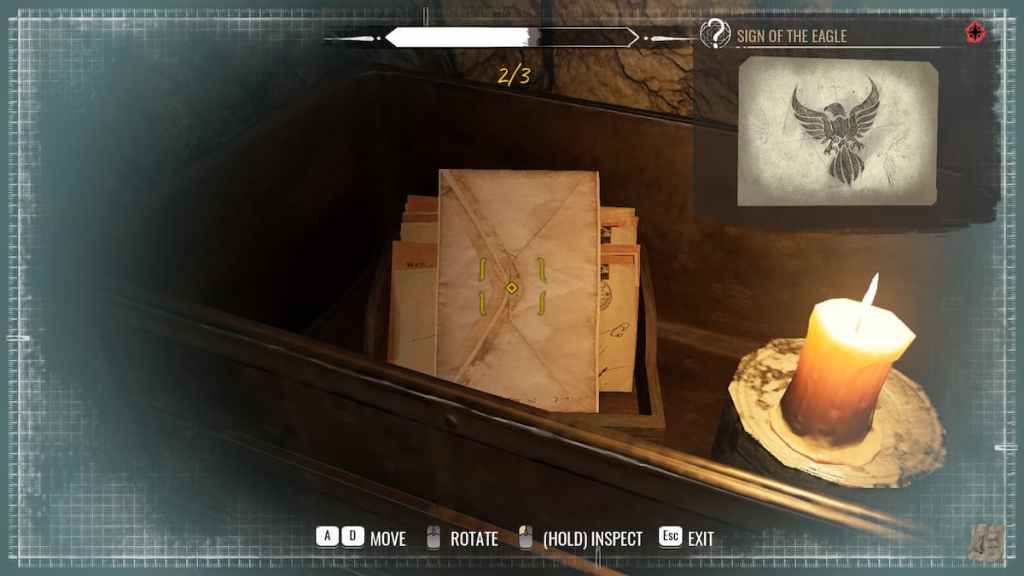
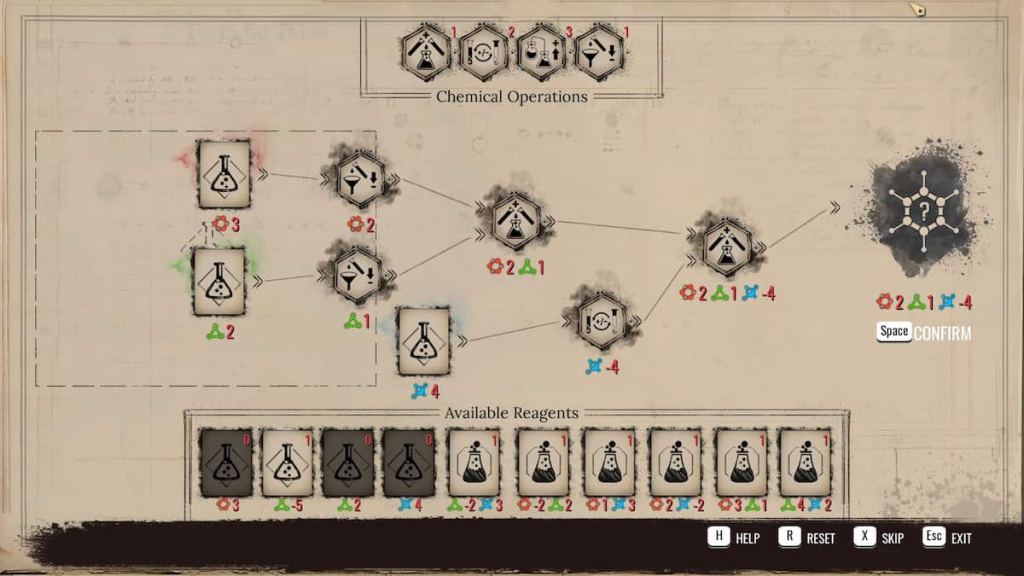
In the note, you'll find out that Ridley has been disguising himself as a woman to meet with an Ottoman Lover named Jailan. Now that you have this information, enter your casebook and start a chemical analysis on the stained Silk Scarf (see the screenshot below for assistance).
Note: the chemical analysis solution below was specific to our playthrough. There is a chance that you may require a different solution.
Before you head out of the barracks, go downstairs (next to the entrance) and you'll find two sailors you can eavesdrop on. Interact with the ear icon and choose to keep the following phrases:
- Take Revenge.
- Disobedience.
- General Will Speak.
This will reveal the tension between the Ottomans and Sailors.
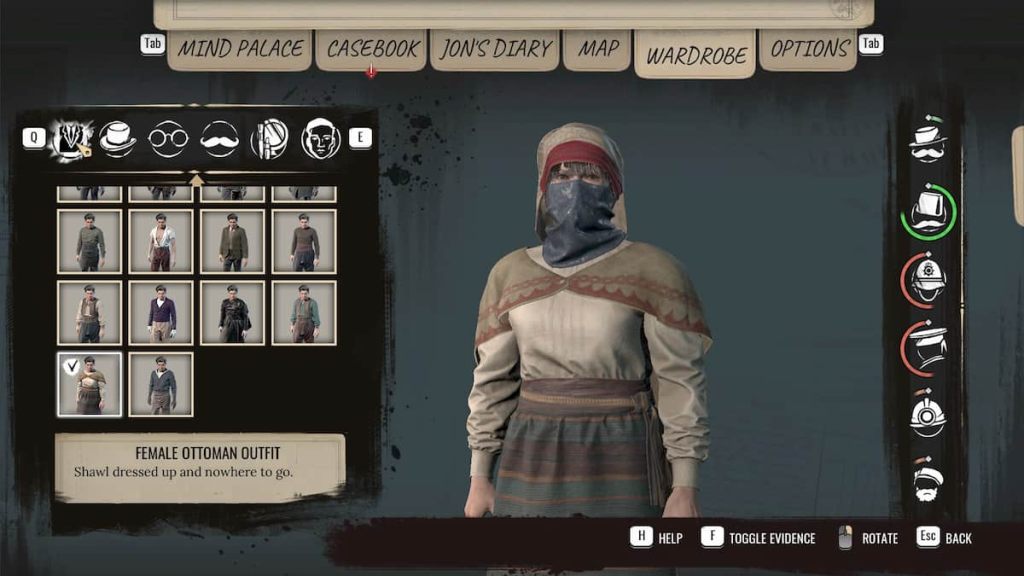
Now it's time to head to the House of the Eagle, but before you can enter, you must disguise yourself as a Female Ottoman. Travel to the Old City Marketplace, where you will find the address and a clothing trader if you need to buy the proper clothes. Buy or equip the following:
- Silk Scarf.
- Female Ottoman Outfit.
- Ottoman Headscarf.
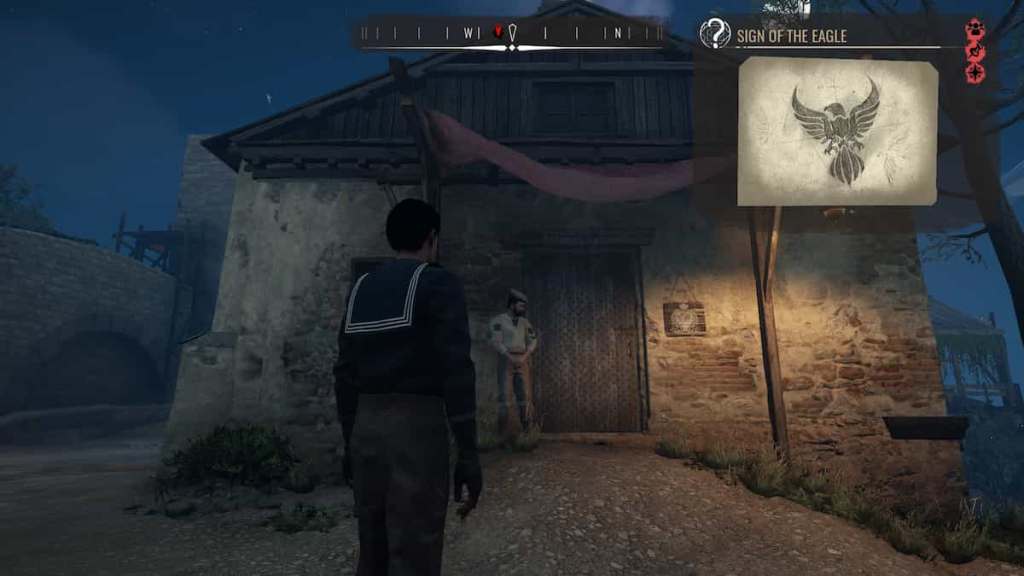
You'll find the House of the Eagle on the western side of the Marketplace, marked with a giant sign of the eagle. You can't enter the front door, though. Move around to the side entrance on the left side of the building—enter it.
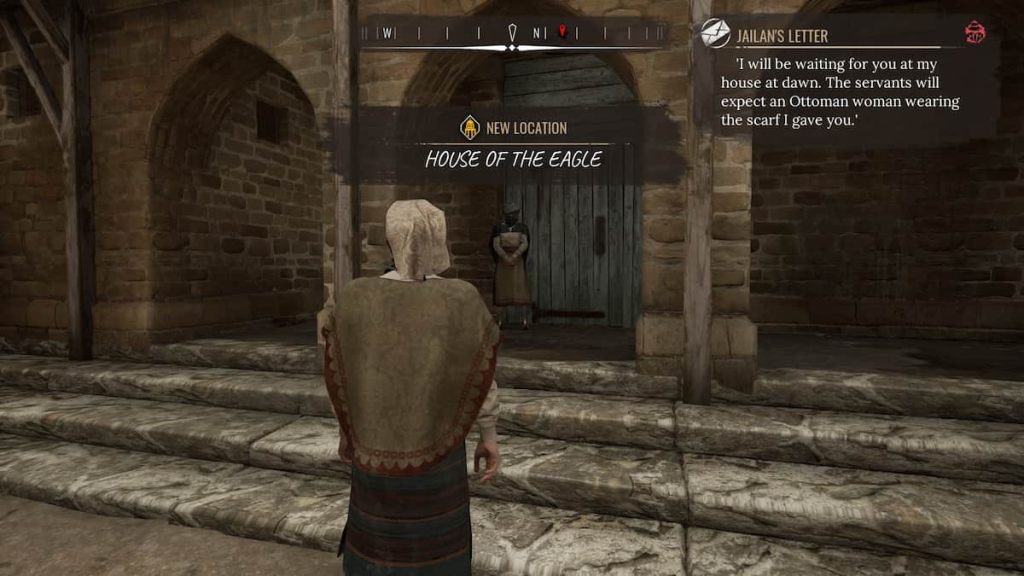
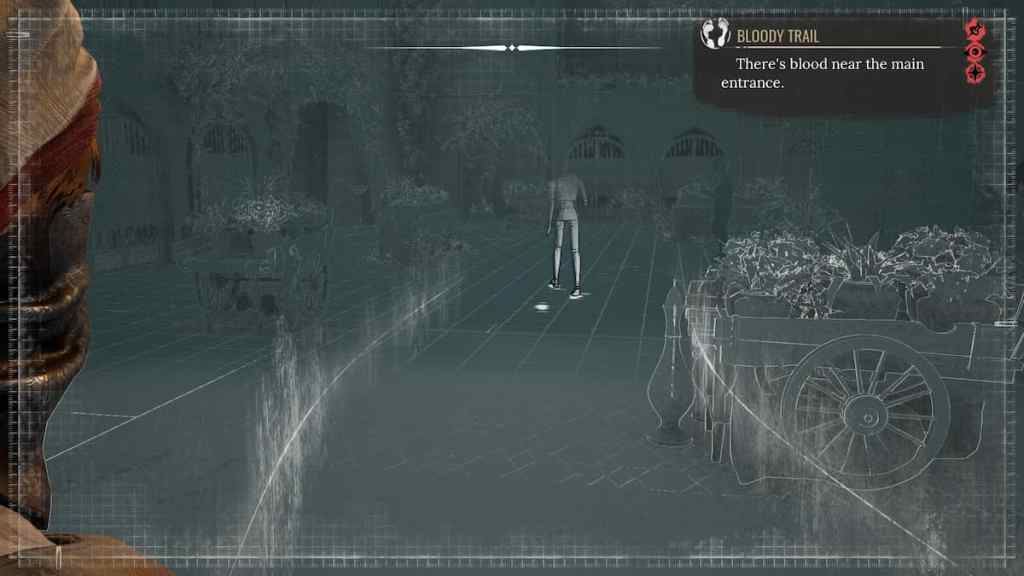
You'll automatically enter a cutscene where Jailan informs you of bloodstains near the front door. After the cutscene, head to the doors to your right, where you'll find a splatter of blood.

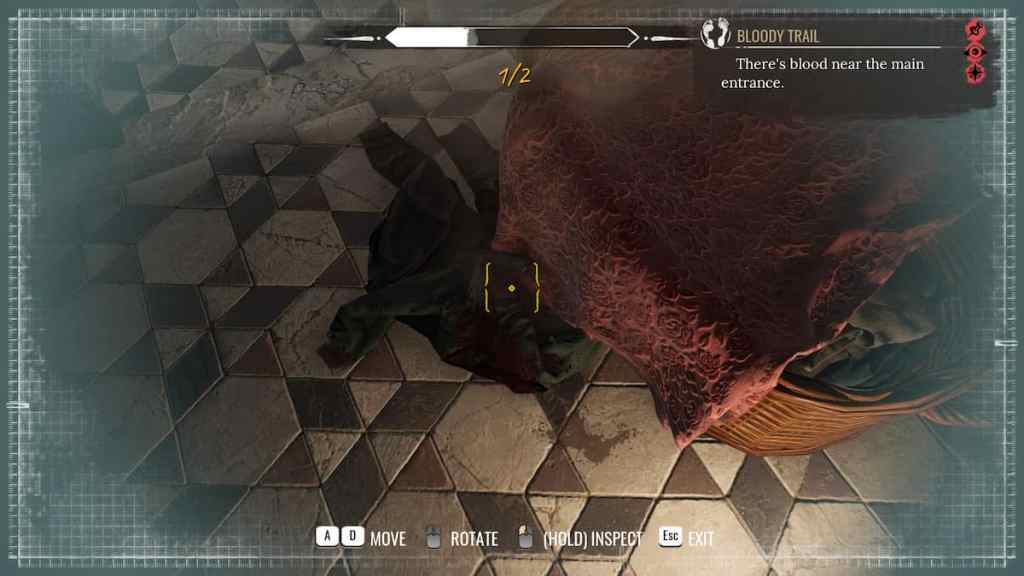
Investigate it and stay in Concentration Mode to find a trail behind you that leads to a laundry room, where you'll find a bloody shirt. At this point, Jon will challenge you to find the murderer on your first guess.
Head back toward the door where you began the trail—interact with the man standing by the door with his hand on his face, and you'll begin to observe him.
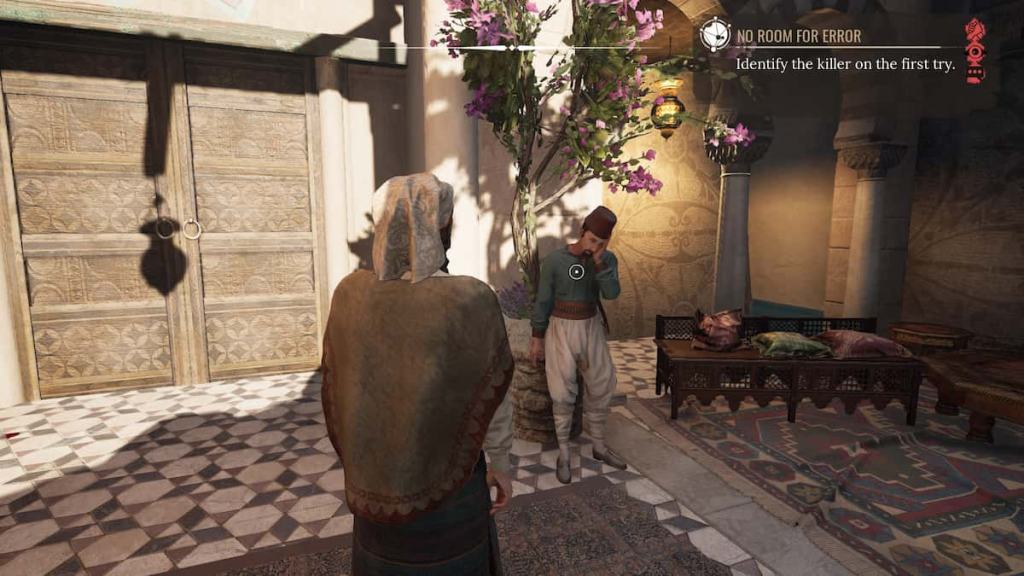
Scan his body, and you'll find some blood coming through his shirt and a missing curved blade. Opt to confront him when prompted—you'll now have to provide three sufficient clues to get his confession:
- Photograph of the knife.
- Meeting gone wrong.
- Jailan's Letter.
The man will then admit that he killed Ridley for having a relationship with his sister. After the confession, you will have the option to hand him over or let him go to avoid a potential war—that choice is yours.
Return to Stonewood Manor and report your findings to Emilio to finish this case.

For more Sherlock Holmes Chapter One content, check out All Bandit Lair Locations in Sherlock Holmes Chapter One, or How to solve The Ghost Hunter Case in Sherlock Holmes Chapter One, and stay tuned to Pro Game Guides for continued coverage on all of your favorite games!