
In Starfield, following the main quest sets you on a path to retrieving pieces of an artifact from a long-lost alien civilization. Discovering the vast world of the game is enjoyable, but I found the main story to be the focus of my curiosity. Wanting to find out more about the ancient alien race, I stumbled upon the Into the Unknown mission, a multipart adventure that has it all: aliens, space pirates, ancient artifacts, and an ending worthy of a sci-fi movie.
Into the Unknown mission walkthrough - Starfield
To complete the Into the Unknown mission in Starfield, you must collect two artifacts after speaking to Vladimir at the Eye station. After that, he will send you to another third location, where you must investigate an artifact anomaly significantly bigger than the first three.
How to get the Into the Unknown mission in Starfield
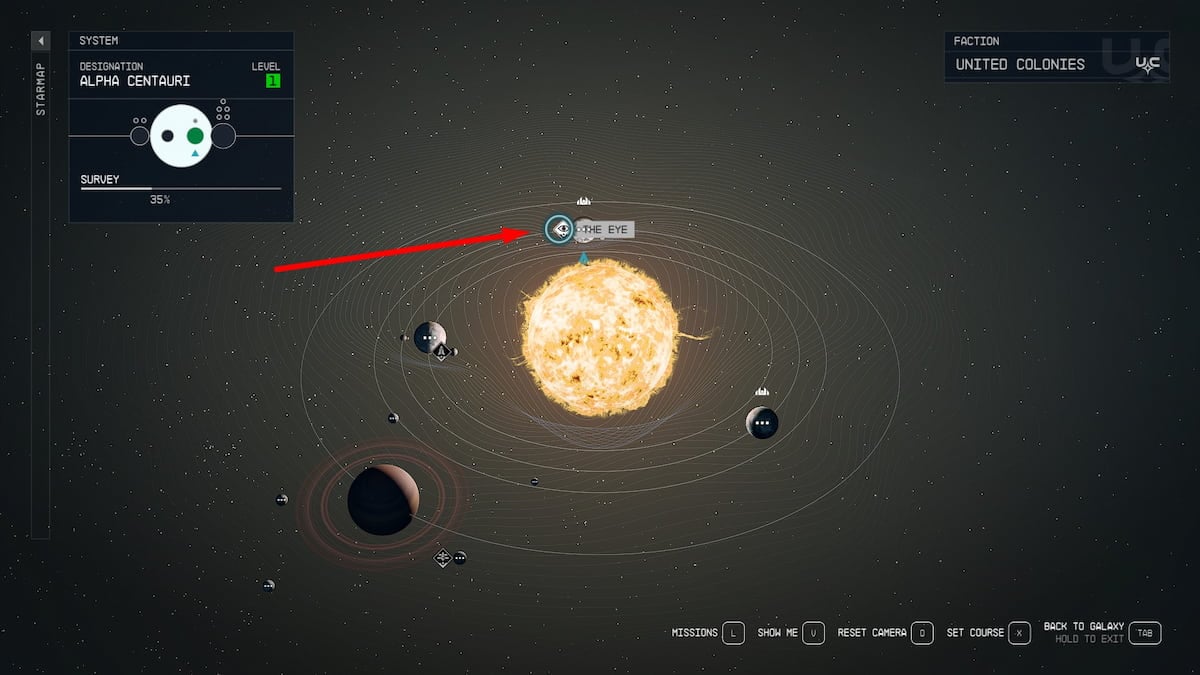
To acquire the Into the Unknown mission in Starfield, speak to Vladimir, who can be found at at a small space station orbiting Jemison in Alpha Centauri. I had trouble locating the station initially because Starmap can sometimes be convoluted, but eventually found it by zooming the map out until I could see the entire solar system and selecting The Eye object orbiting around Jemison and setting my travel location there.
Once you set your travel path and jump to the location, approach the station and press prompt to dock with it. Board the station, where you will find a pleasant fellow named Vladimir. After making sure you praise his muscles like I did, speak with him about the artifact locations. He will also inform you he's lost contact with Andreja, who will be one of your future companions. Time to launch a rescue mission.
Related: All Starfield Shipyard Locations & Best Ones To Build Your Ship In
Travel to Sumati to find an artifact and Andreja in the Into the Unknown mission in Starfield
To locate the first artifact (found at Sumati) along with Andreja in the Into the Unknown mission in Starfield, you must first jump into the Piazzi star system located relatively close by. Once you land on Piazzi I, search for the underground mine entrance. You will Immediately encounter Andreja shooting down two space pirates. After a short dialogue, you can proceed down the shaft in search of the artifact with additional backup.
Travel to Piazzi I to find an artifact in the Into the Unknown mission in Starfield
Once you shoot your way out with the first artifact in hand, it is time to travel to Piazzi I to find an artifact in the Into the Unknown mission in Starfield. Remember you can do these two in any order you prefer. Getting the artifact is going to be an even more straightforward venture into the mine shaft than the first one was.
Get to the bottom of the mineshaft and procure an artifact (same as you did before). After that, follow the corpse trail to get back in the way you came, and jump back to the Lodge on Jemison.
Travel to Procyon III to investigate an artifact anomaly in the Into the Unknown mission in Starfield

After bringing back the artifact pieces you collected and talking to Matteo and Vladimir, it's time to head off into the expanse to investigate an artifact anomaly in the Into the Unknown mission in Starfield. Once you land on the planet, you will encounter various hostile life forms native to the planet. Don't let them distract you, however, as it's time to pull out your scanner and follow the distortions to explore the final artifact.
Related: What should you do with the Va’ruun Heretic Writings in Starfield?
How to follow the scanner distortions to investigate an artifact anomaly - Into the Unknown mission in Starfield
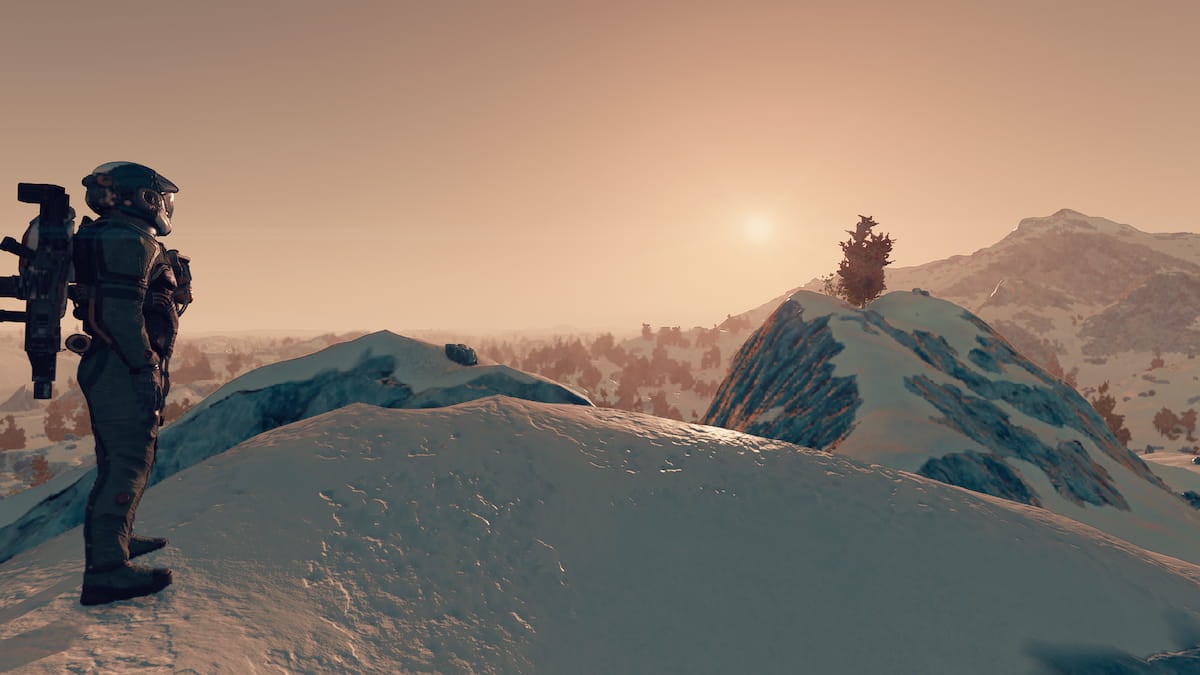
I found the best way to follow the scanner distortions to investigate an artifact anomaly in Starfield's Into the Unknown mission is to immediately look for high ground and perch yourself on top of it. Turn on your scanner and look around for any structures on the horizon. You should notice a building in the distance, with the name Artifact Anomaly next to the icon. If you don't see it yet, start moving forward once your scanner circle starts breaking up (like in the image below).
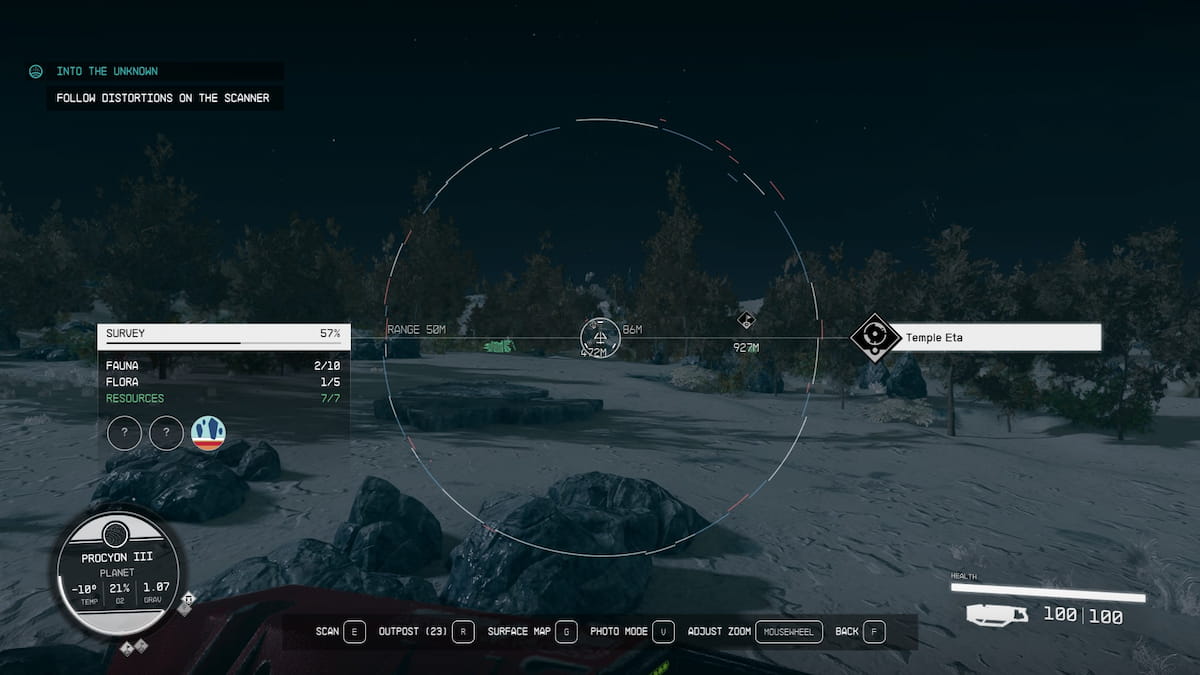
You will know you're moving in the right direction once the distortions become more frequent. At some point, you will also start to receive distorted radio waves and static-like noise. Keep following the path until you reach the artifact. For some players, this mission appears to be bugged, making the anomalies not appear in the first place. Such was the case on my first playthrough, but luckily, we found a solution for that.
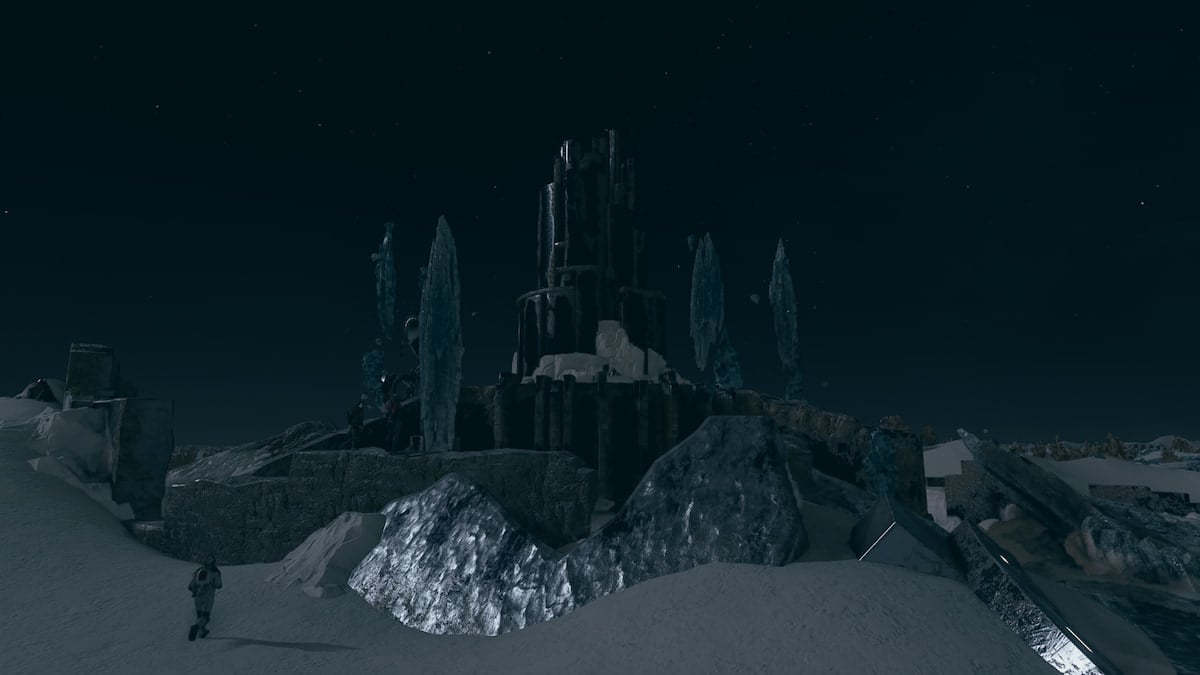
Once you approach the temple, look for the way inside (a door at the bottom should activate when you approach it). Once inside, head straight until you find yourself in a central chamber in zero gravity. Once the ringed artifact starts, look for the shining object similar to Will-o-the-wisp. Approach it and you will notice the artifact keeps moving faster. Repeat the process until the artifact forms a stargate-like structure, then enter the gate to acquire your first Starfield power.
Return to the Lodge on Jamison to demonstrate your newfound power, much to everybody's amazement. This concludes the Into the Unknown mission.
Looking for more guides to help you in Starfield? You've come to the right place! Check out Where to pay off a Freestar Collective Bounty in Starfield and Investigate the Abandoned Asteroid Mine walkthrough – Starfield, here on Pro Game Guides!