
Boxes Lost Fragments is a point-and-click escape room game with interestingly themed rooms and a variety of interactive puzzles I've not experienced in a similar game before. In this guide, I'll walk you through the puzzles in the first half of Chapter 2.
Boxes Lost Fragments Chapter 2 Nexus part 1 walkthrough
This portion of the guide covers levels 1 and 2 of the second chapter. If you're stuck elsewhere in the game, I've listed all of the guides below to help you find your way.
- Chapter 1 part 1
- Chapter 1 part 2
- Chapter 2 part 1
- Chapter 2 part 2
- Chapter 3 part 1
- Chapter 3 part 2
- Chapter 4 part 1
- Chapter 4 part 2
- Chapter 5 part 1
- Chapter 5 part 2
First room
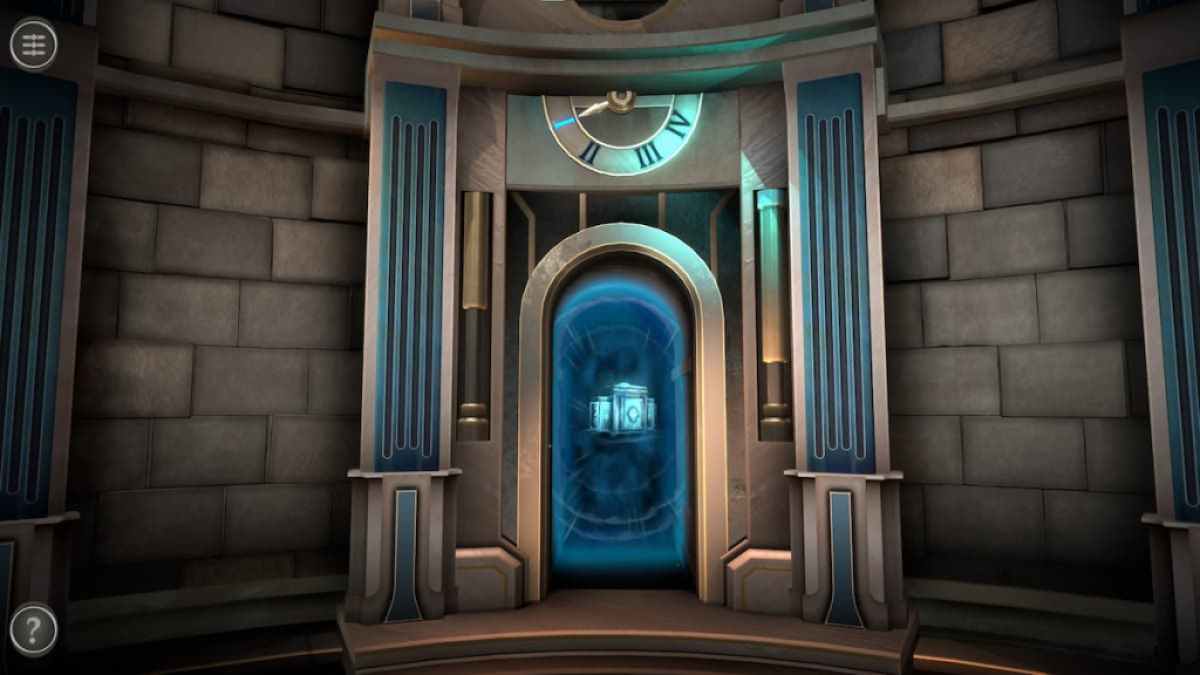
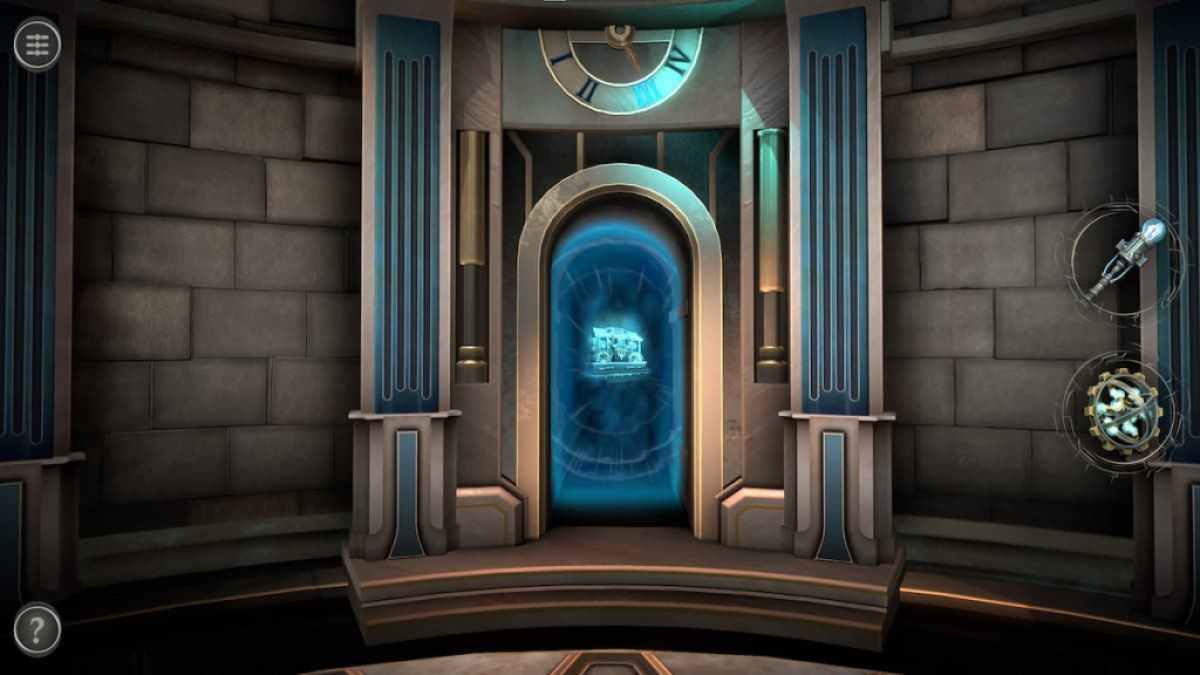
When Chapter 2 starts, ignore the rest of the room for now and focus on the doorway with the clock image above it.
Entering the room reveals one wide box in the center.
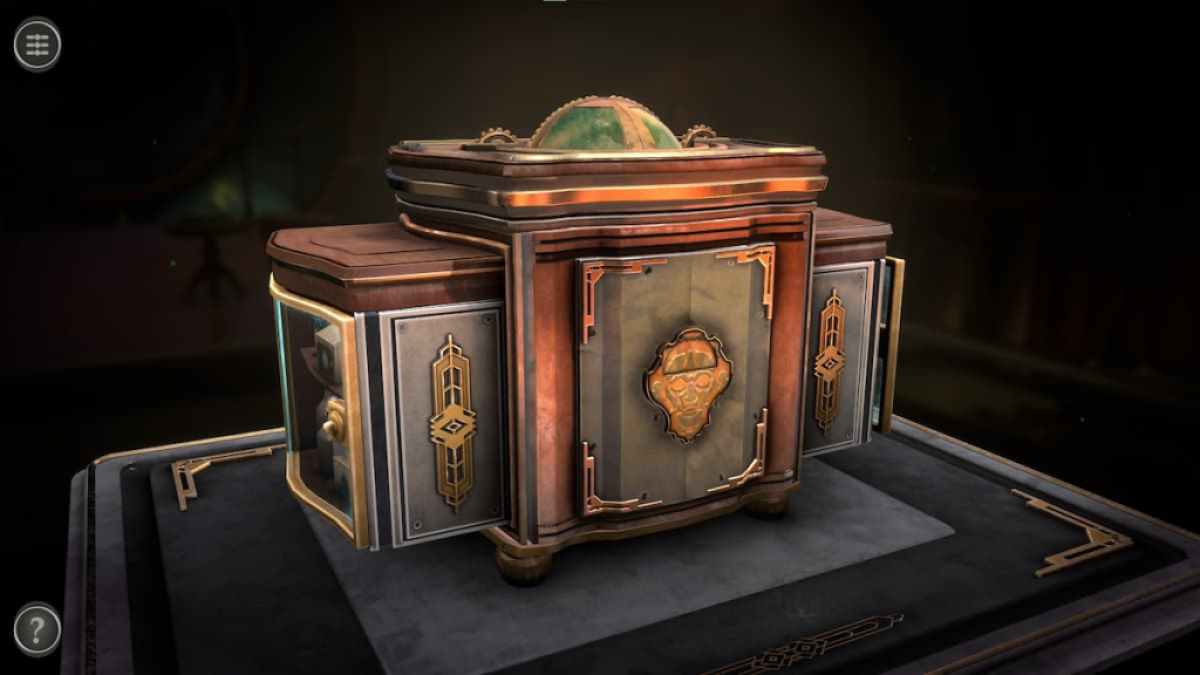
Look at the right side of the box. Open the glass door to get a Screwdriver and a pair of Glasses.

Left glass door puzzle
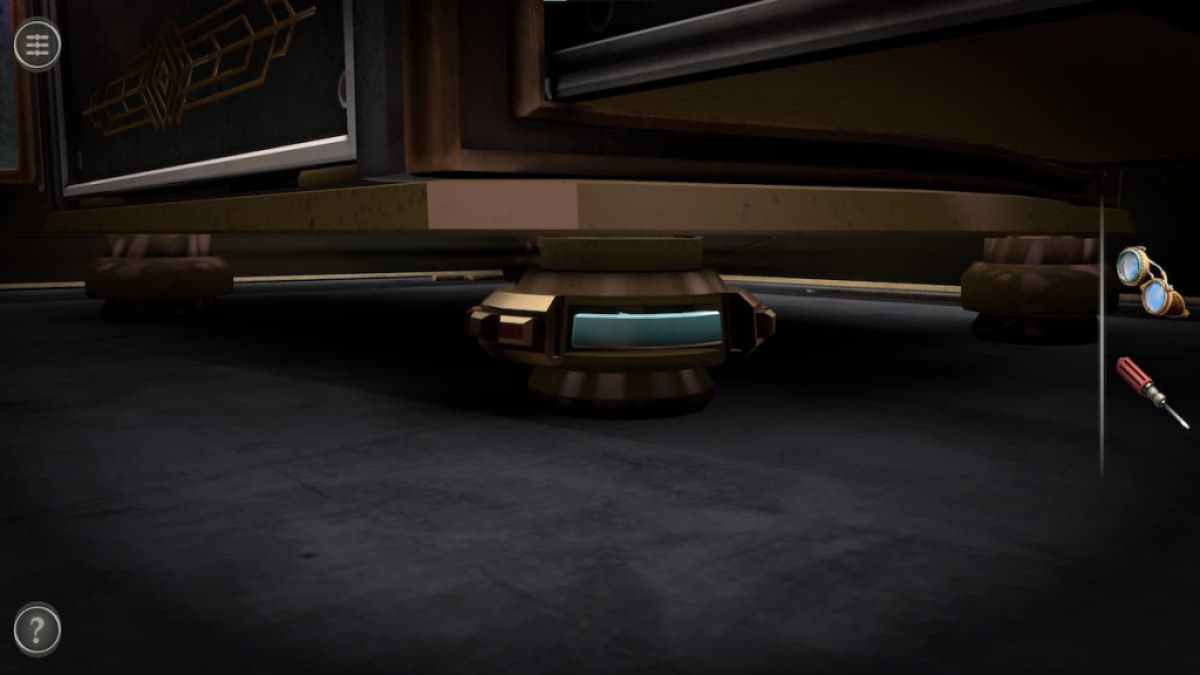
To unlock the left glass door, you need to interact with the gear on the bottom leg of the box.

Rotate the gear on the legs to reveal a blue handle. Pull it to unlock the glass door.
The shelf is filled with bottles and boxes. Tap each one to throw it out of the cabinet, revealing a light switch.
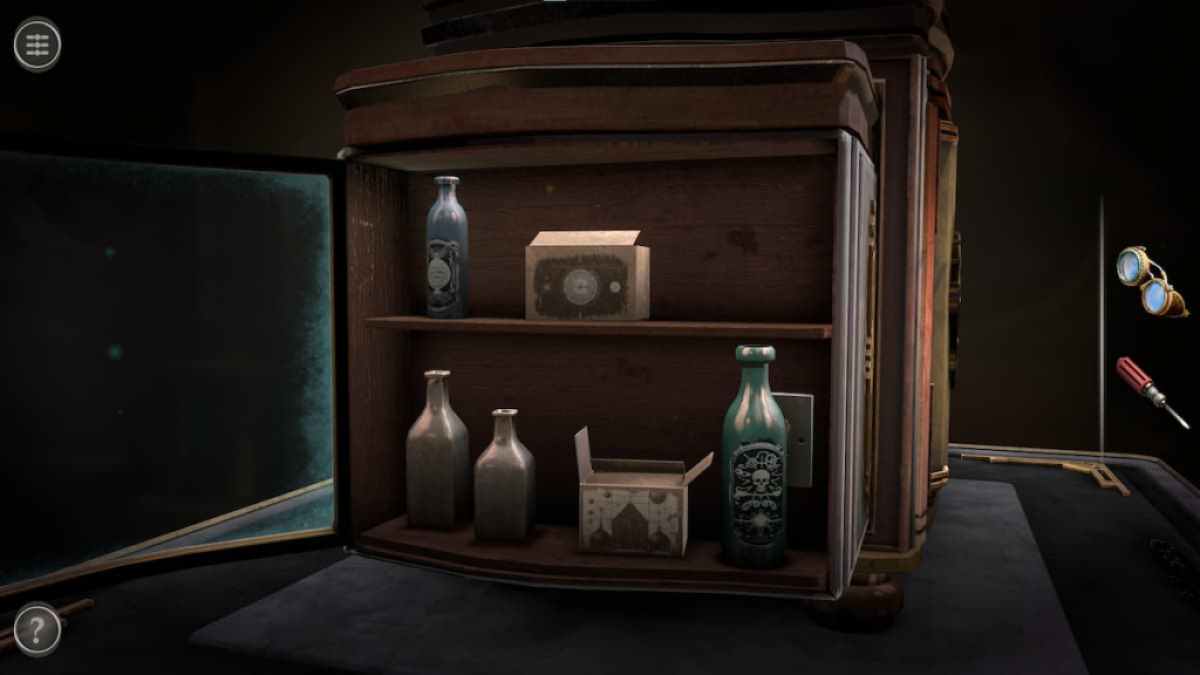
Flip the switch to unlock a second puzzle.
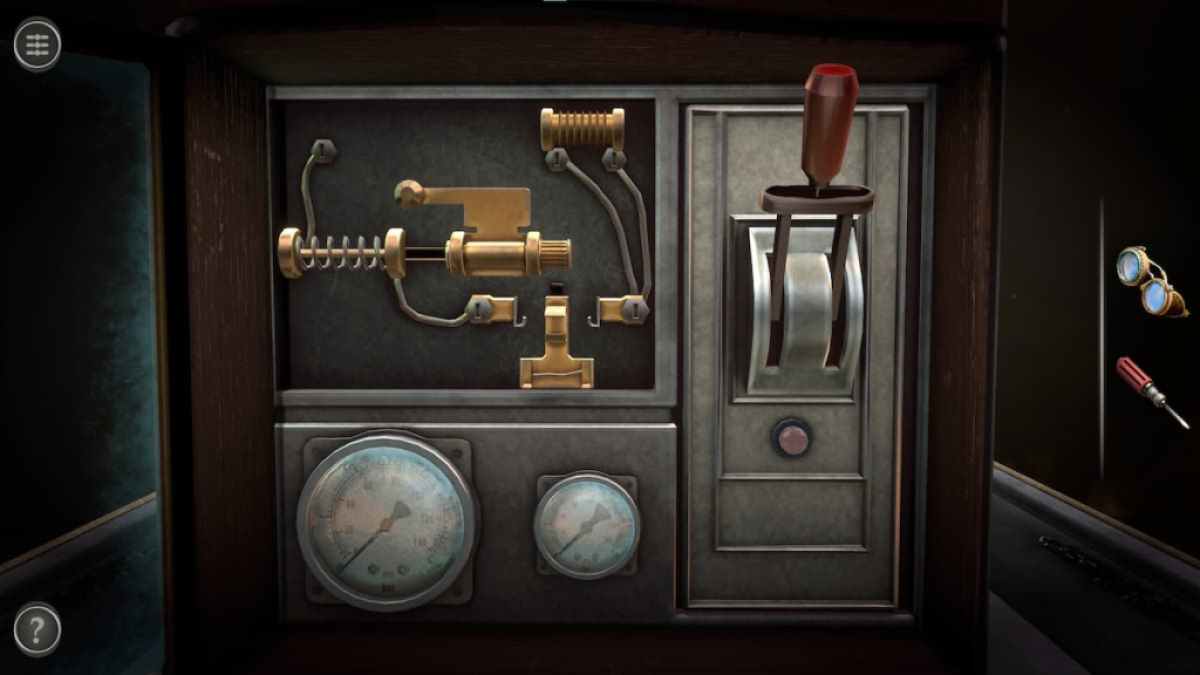
Start by pulling the gold cylindrical piece to the left so that it presses against the spring.
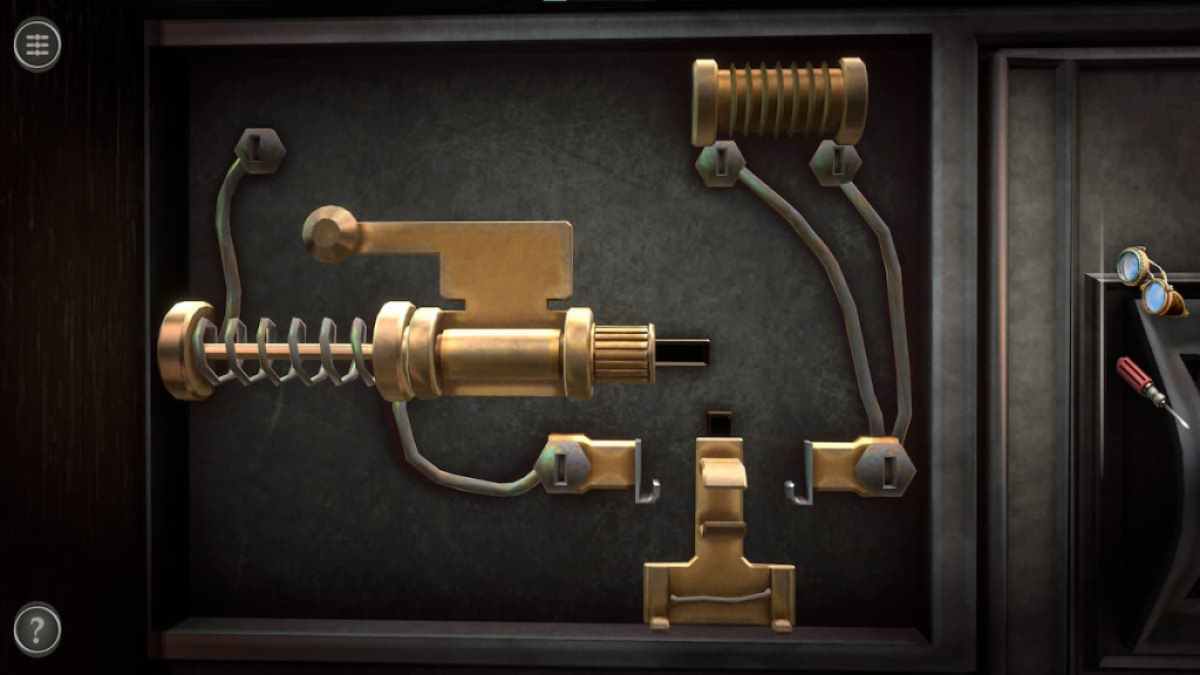
Pull the gold piece shaped like an upside-down "T" upwards until electricity sparks.
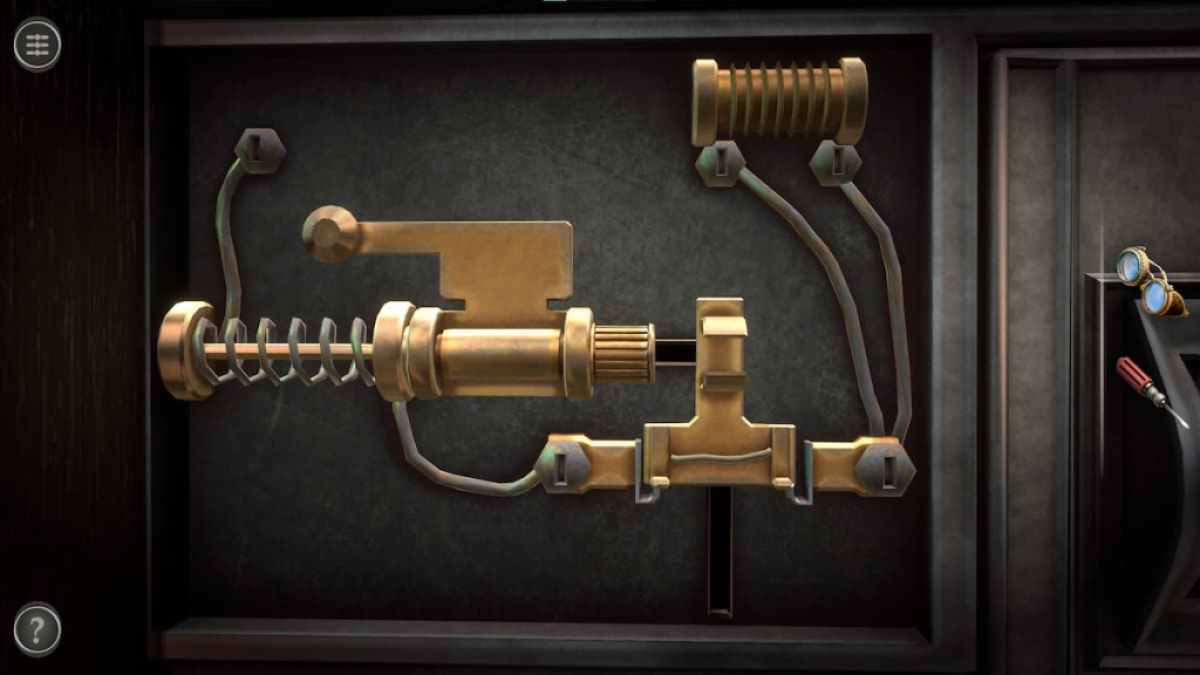
Push the gold cylinder back into place to provide power to the lever.
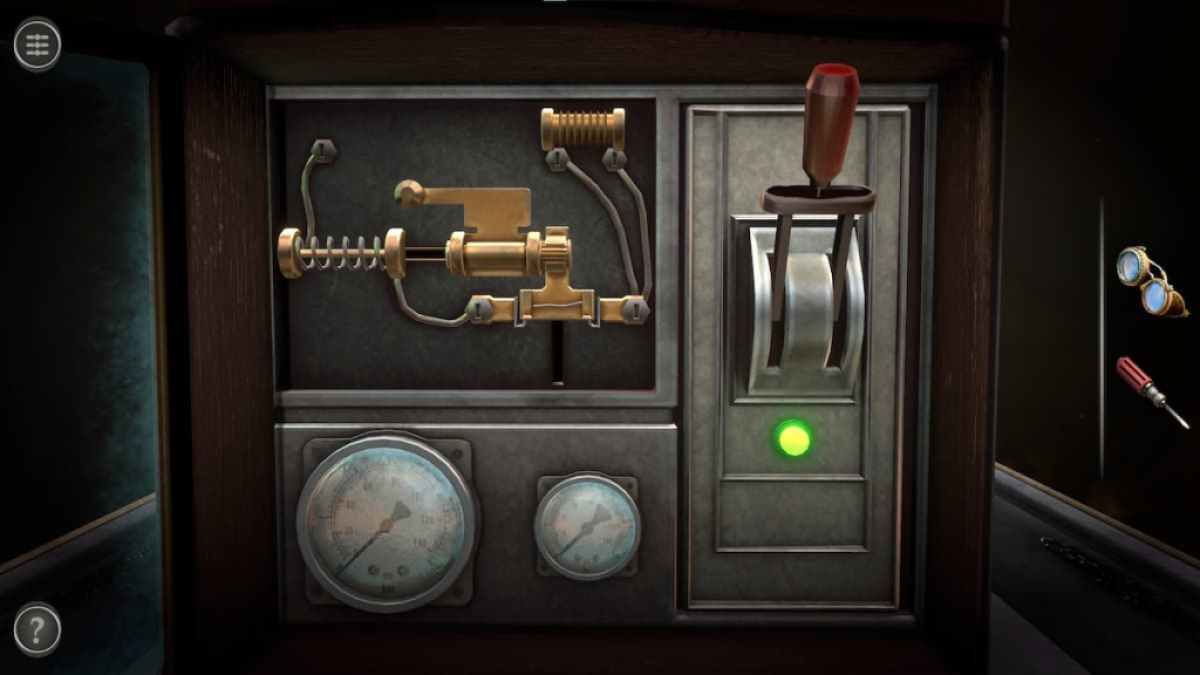
Pull the lever to unlock a compartment containing a power cord on the back of the box.

Related: Room Escape Strange Case Walkthrough
Back of the box puzzles
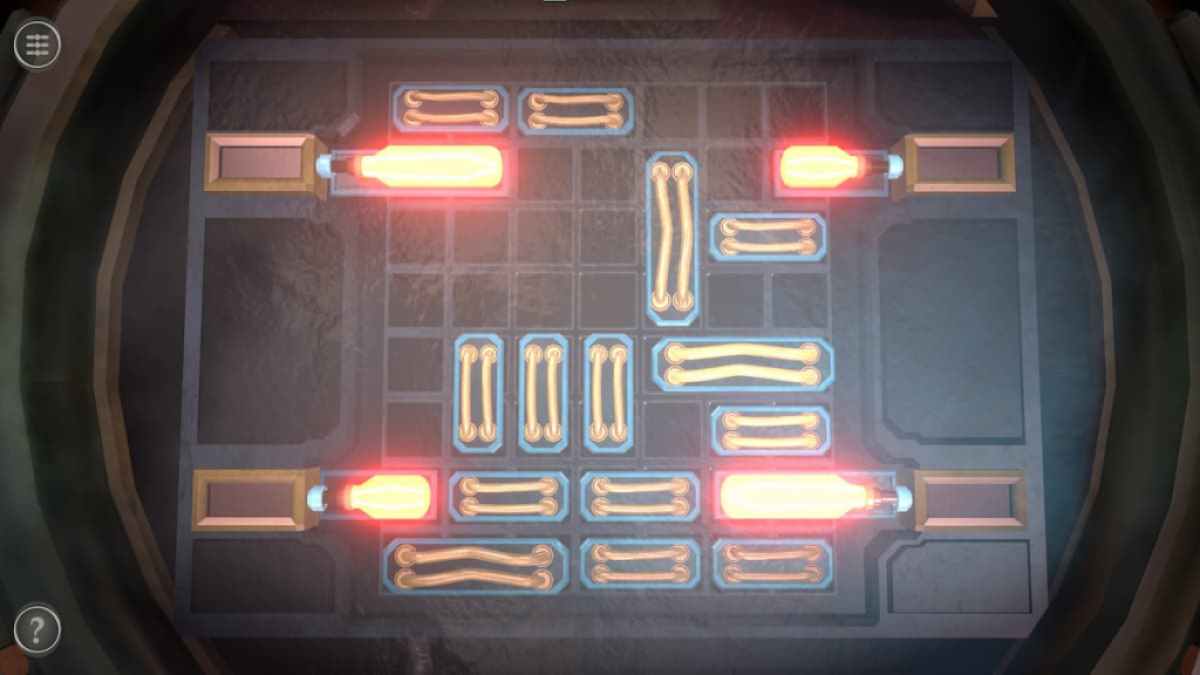
To unlock the back compartment, start by lifting the two latches.
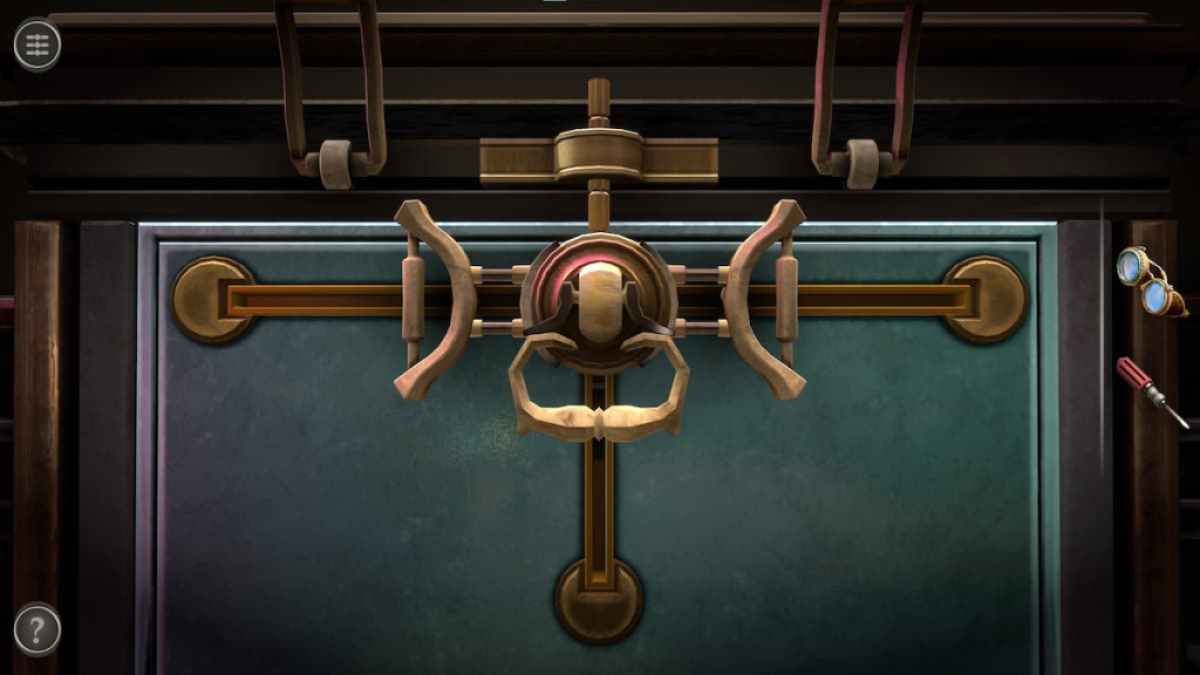
Then slide each of the three handles to the ends of their rows.
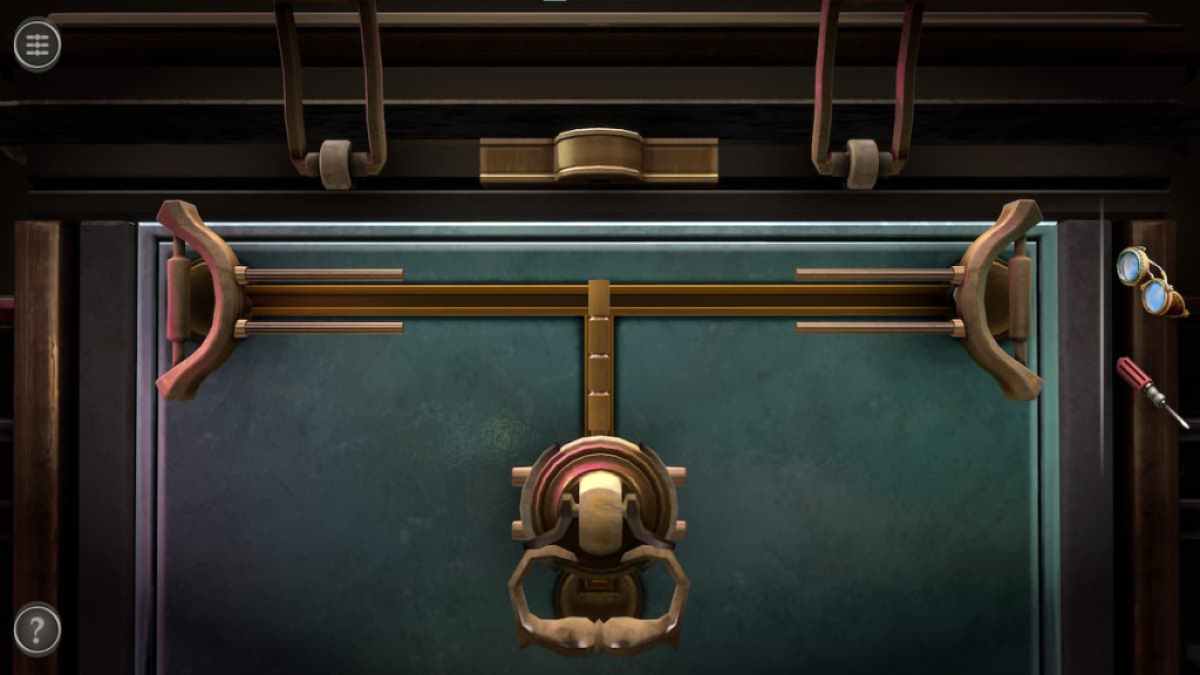
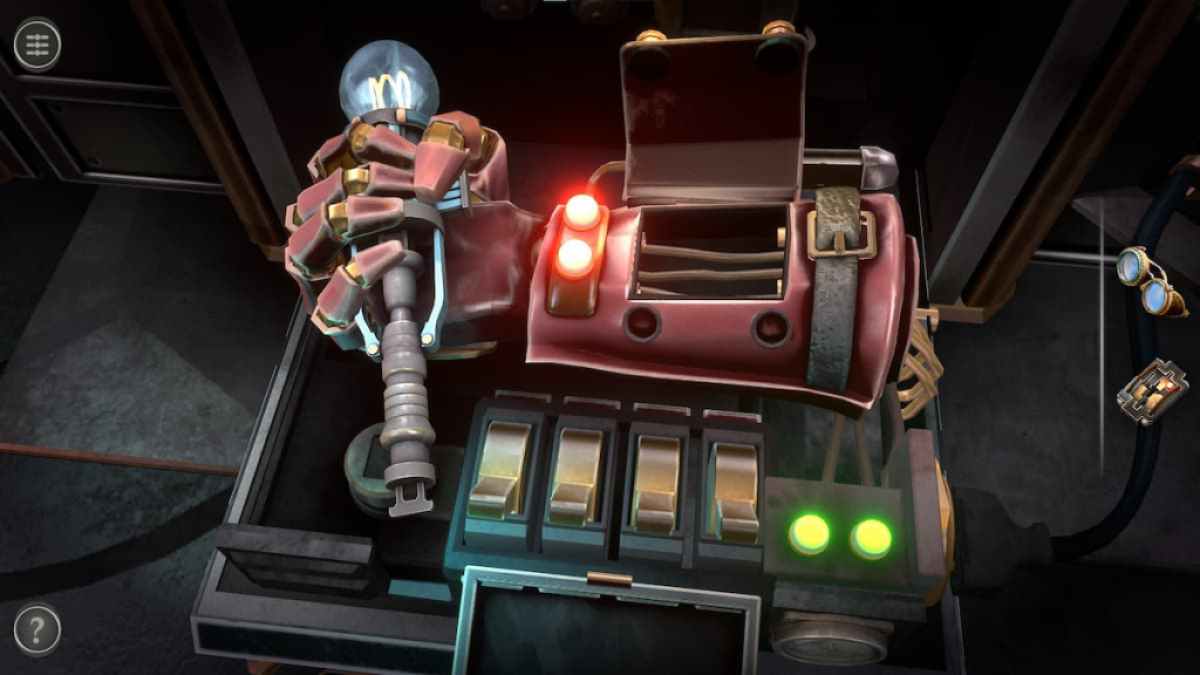
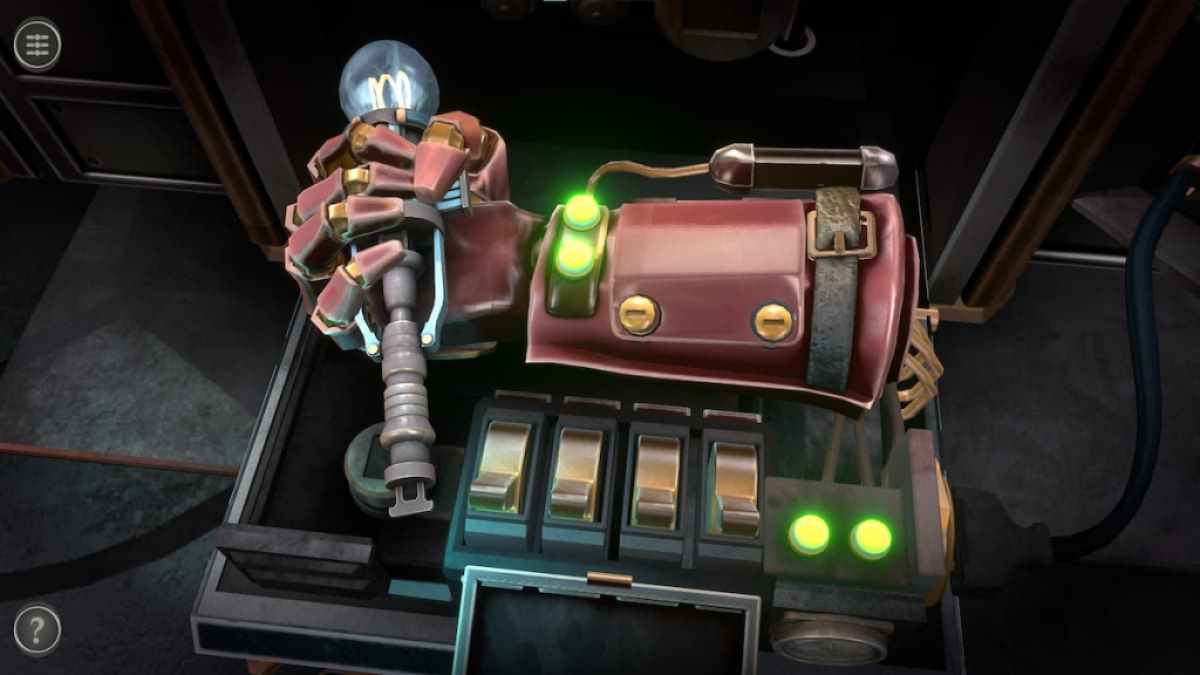
This unlocks a strange puzzle including a mechanical hand holding onto a staff.
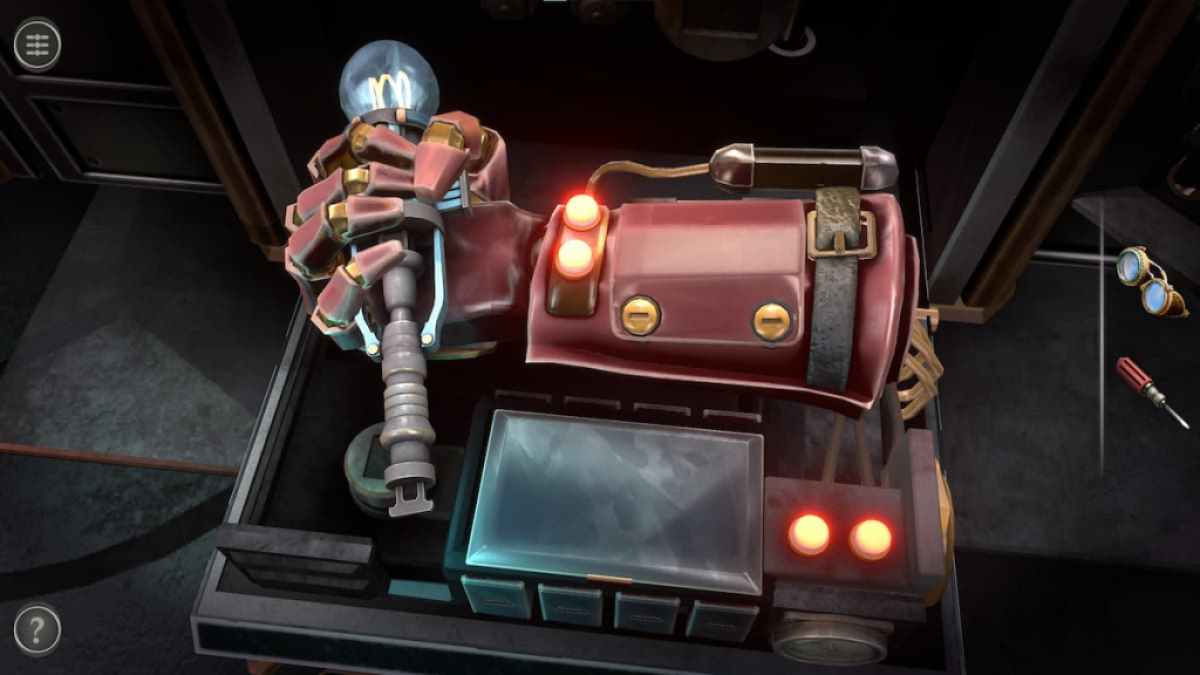
Use the screwdriver on the two golden screws on the hand to get a Broken Mechanism.
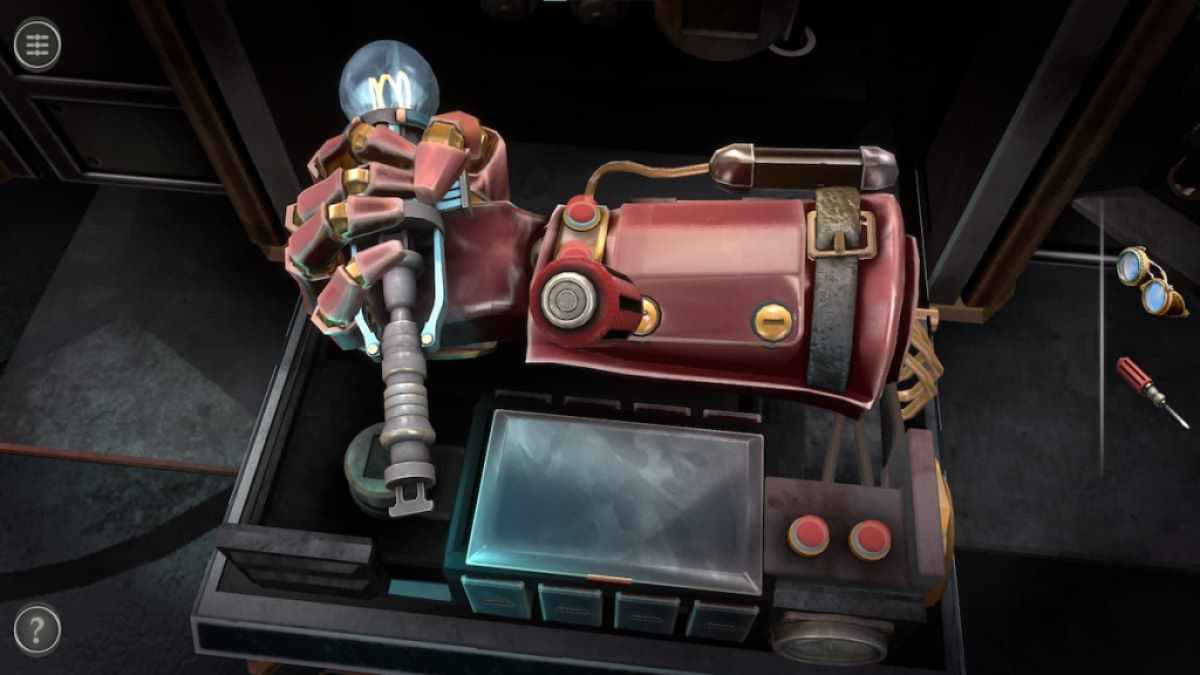
Then plug the power cord on the right into the plug on the mechanism.

This opens the lower compartment, revealing a set of four switches.
Front rotating mask puzzle
Before continuing with the puzzles on the back, we need to do the puzzle on the front.
Rotate the top portion of the skull to reveal a green button.

Pressing the green button transforms the puzzle. In this part, the mask-shaped center needs to be rotated until all of the white beads align with the puzzle's green rim.
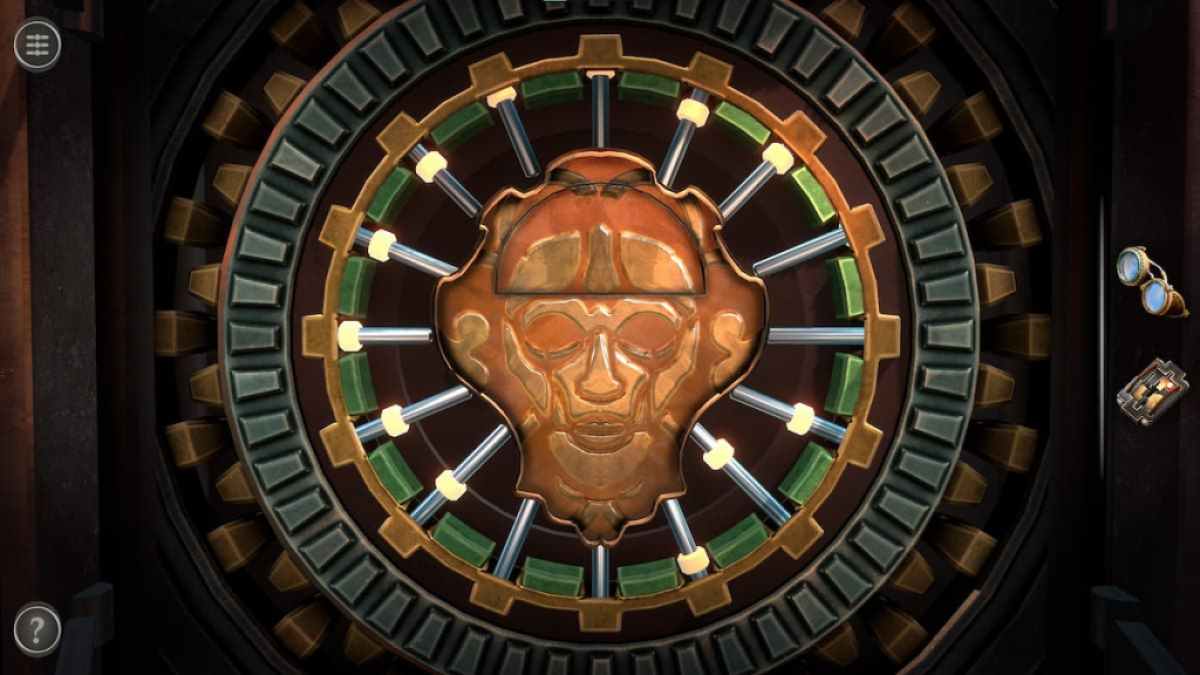
When the chin of the mash points to the bottom right corner, all of the white beads should be aligned and the puzzle will be solved. Completing this puzzle opens up a compartment on top of the box.
Fixing the broken mechanism
Place the Broken Mechanism into the square frame beneath the two lenses.
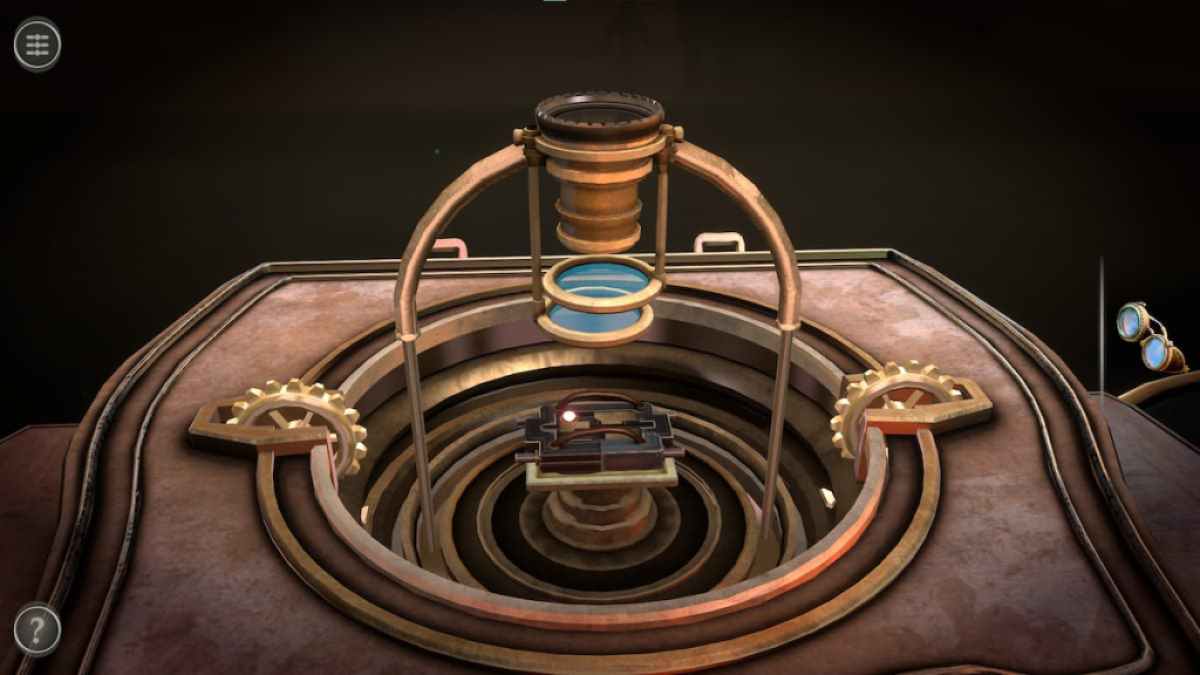
Before going further, open the Glasses in your inventory. You'll notice that the left lens has a gear around it.

Rotate that gear to gain an Optical Lens.
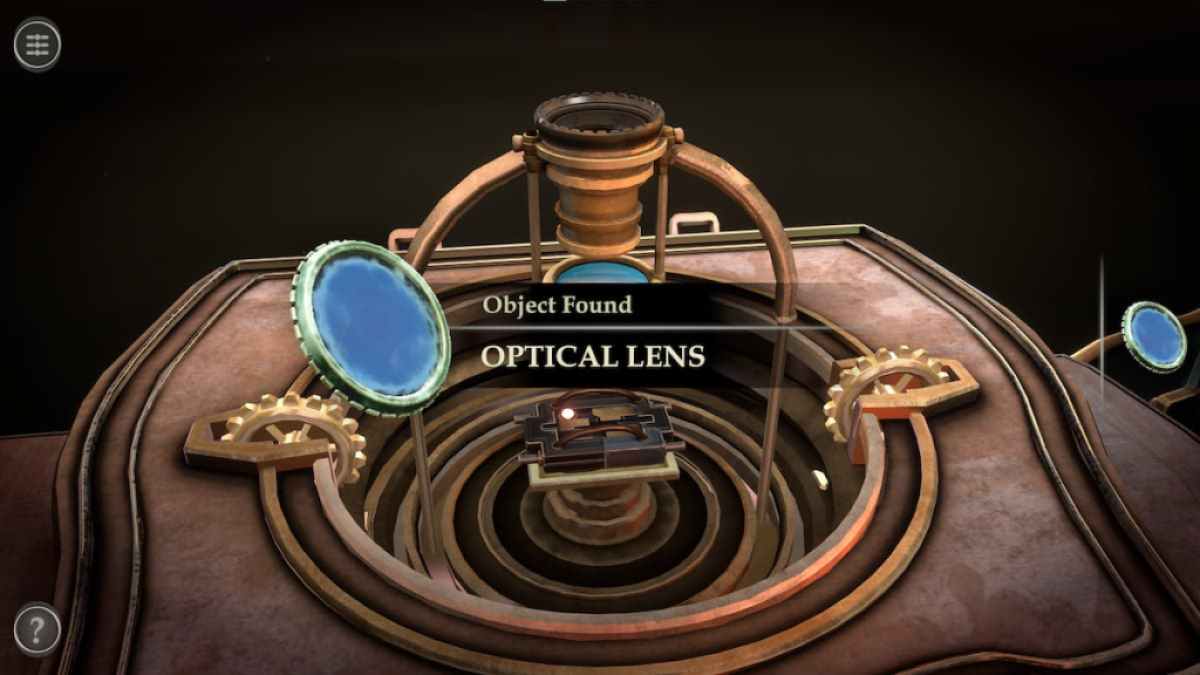
Place the Optical Lens on top of the center mechanism.
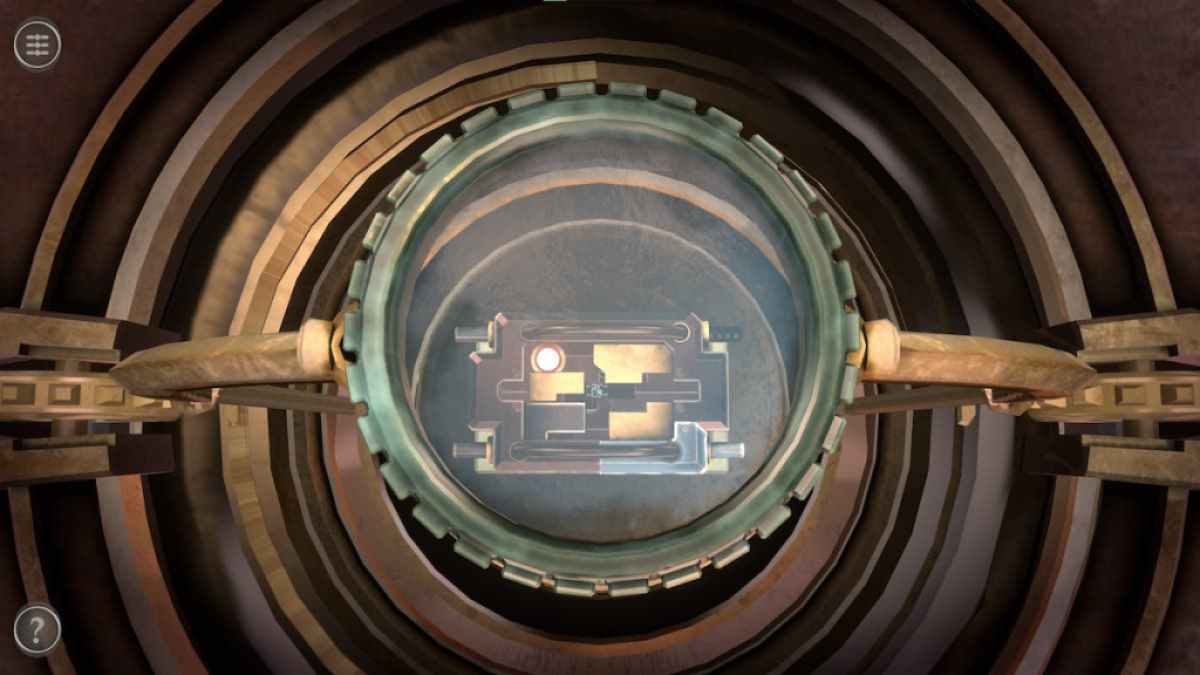
Rotating the gear on the Lens zooms into the Broken Mechanism, revealing a puzzle hidden within it.
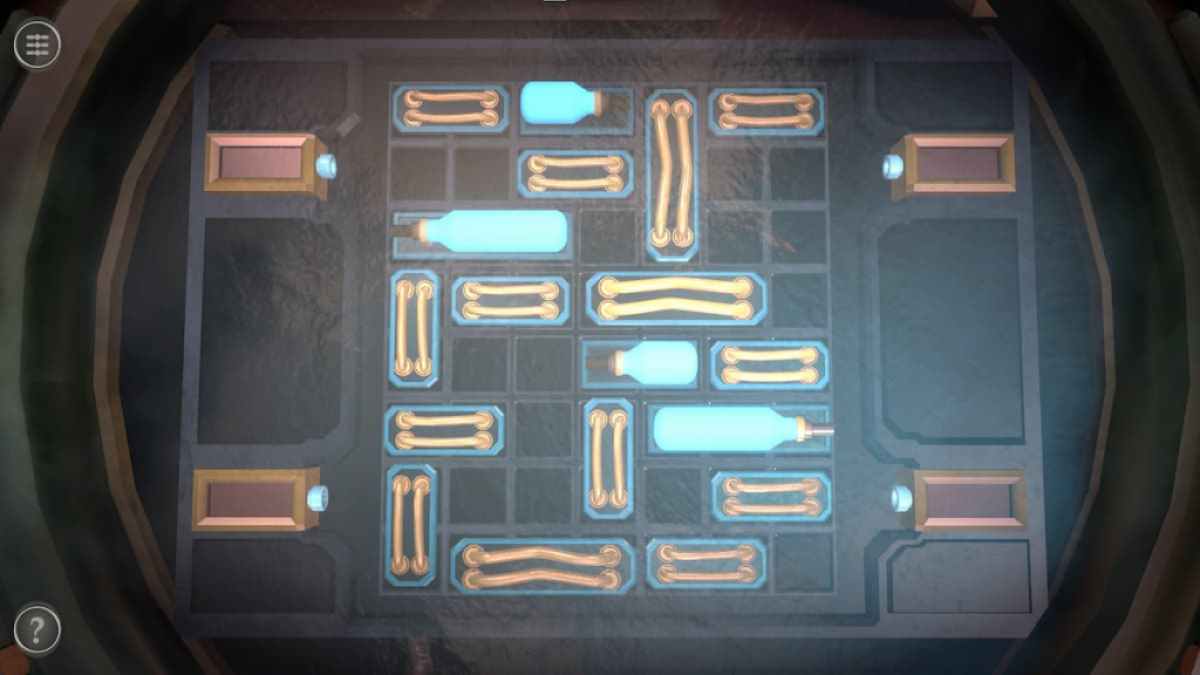
Connect the bottles to each of the rectangular slots to solve the puzzle.
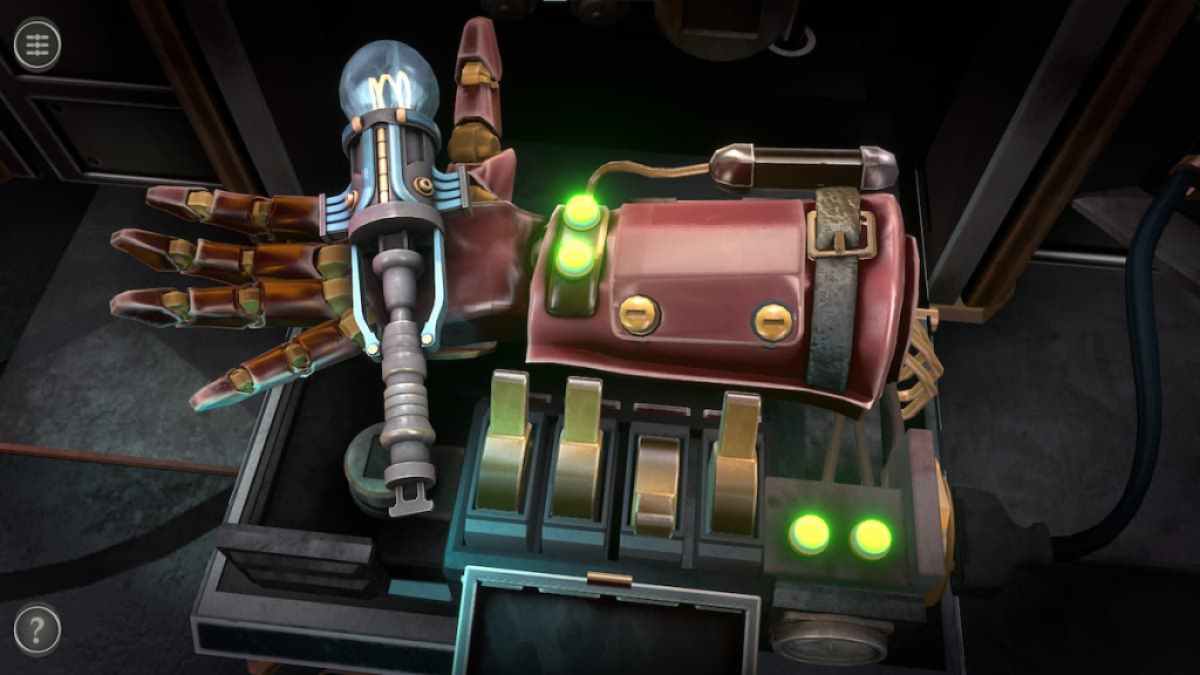
Glove puzzle
Placing the fixed Mechanism into the glove completes the preparation for its puzzle. Now, tapping each switch will move certain fingers:
- The first switch (on the left) moves the thumb and the pinkie.
- The second switch moves the index and ring fingers.
- The third switch moves the pinkie and index fingers.
- The fourth switch (on the right) moves the middle finger.
Pressing the first, second, and fourth switches will solve the puzzle.
Grabbing the Electrical Key removes you from the first room and unlocks the second one.

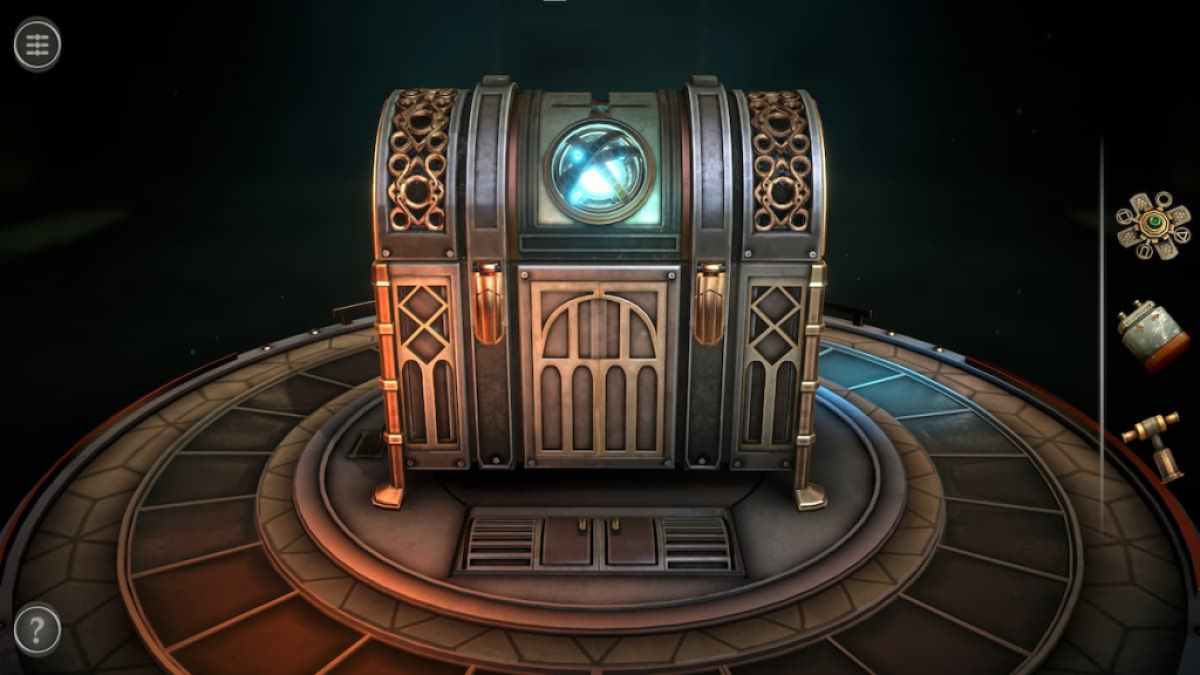
Room 2 puzzles
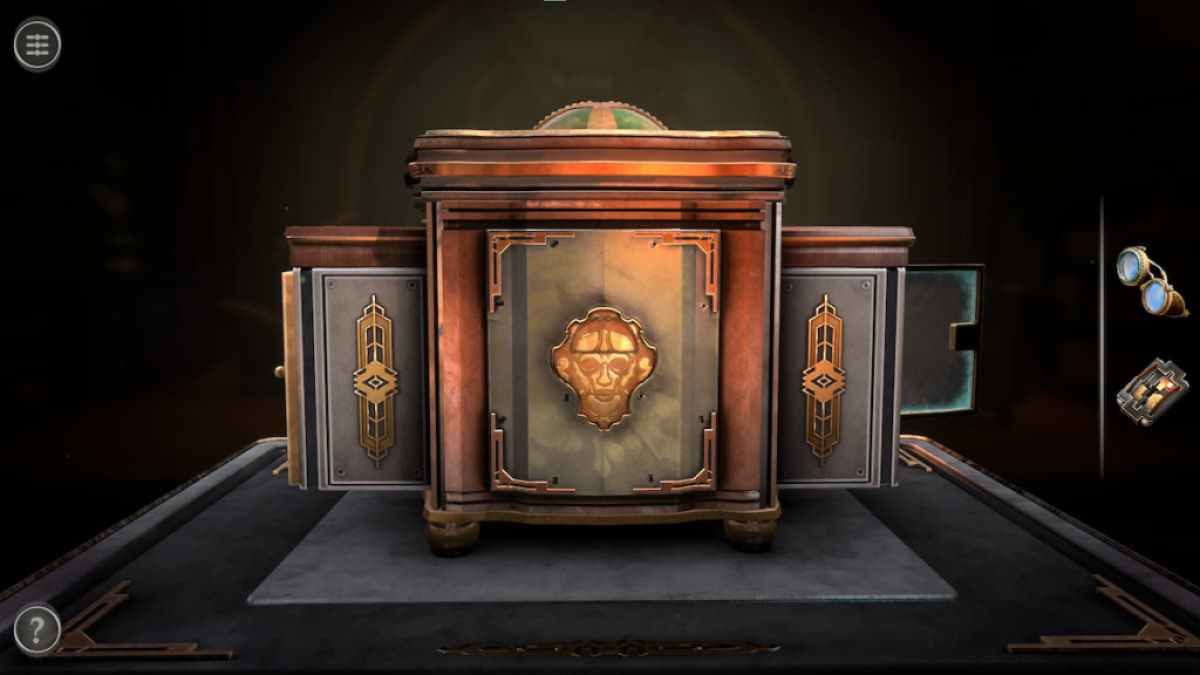
The second room contains a table holding a treasure chest-shaped box. The small Crystal Globe next to it can be picked up.
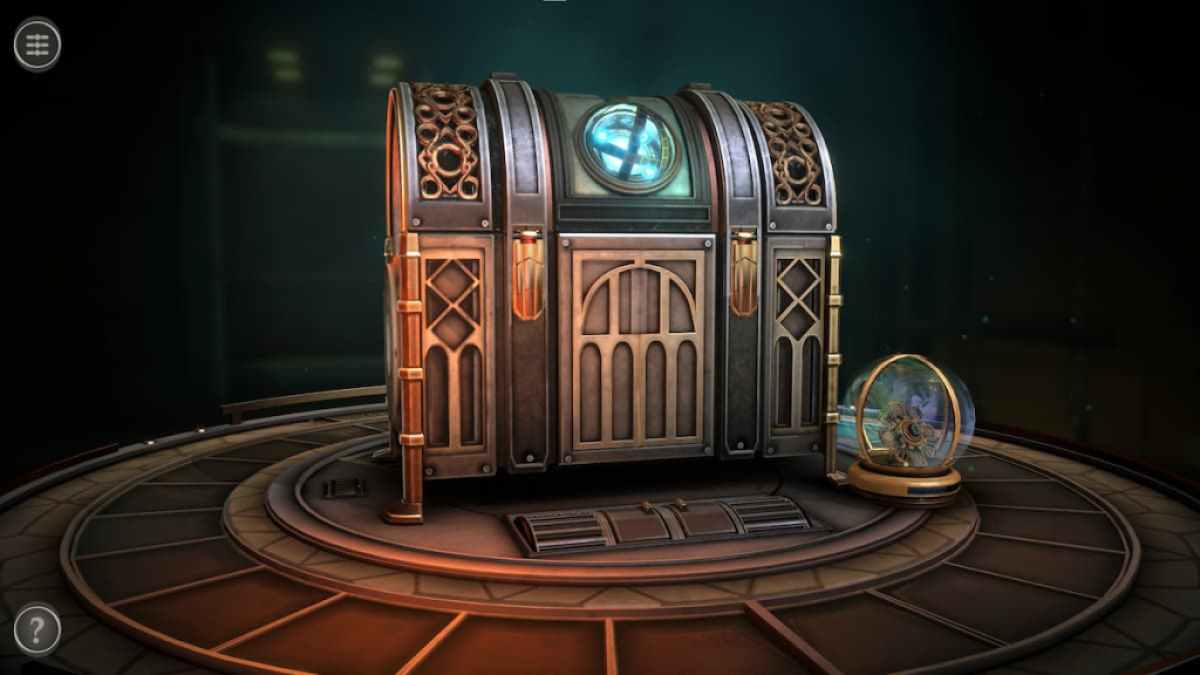
Open the Crystal Globe in your inventory and move the slider to get an Intricate Mechanism.

Take a moment to find the slotted compartment to the left of the box. Flip the compartment's lid up to get a Battery.
Then look at the back of the box. The button in the center-left looks suspiciously light-colored in comparison to the rest. Push it down to unlock the handle.
Pull the handle to find a Tool.
Battery puzzle
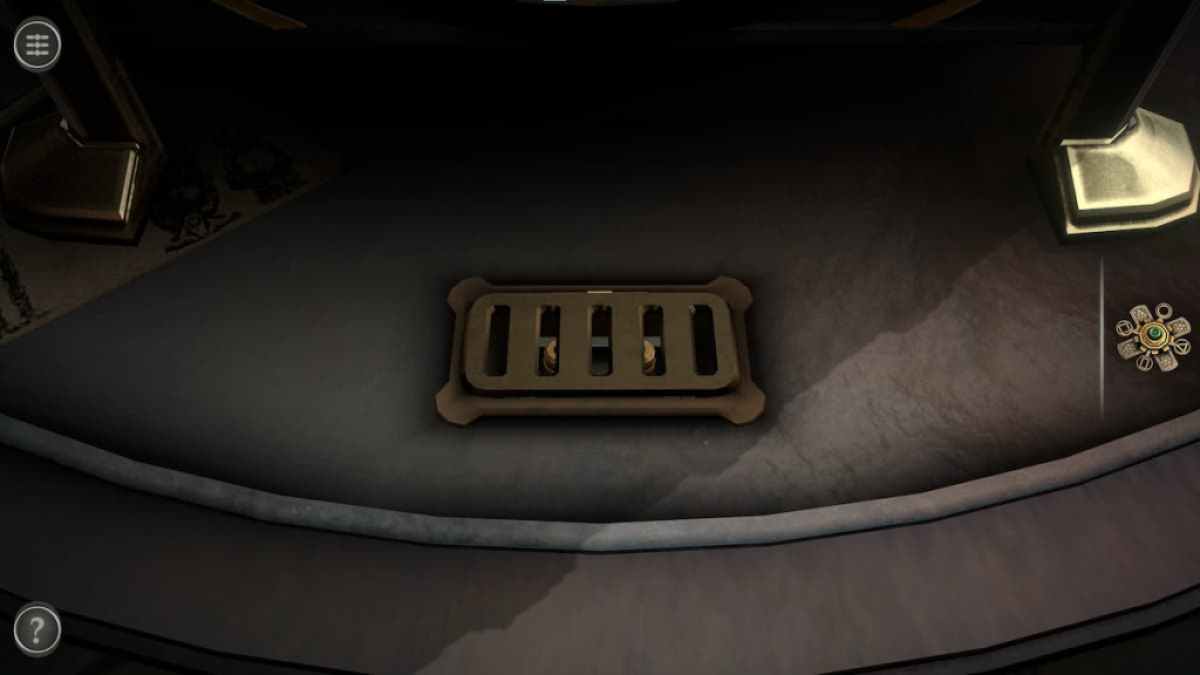
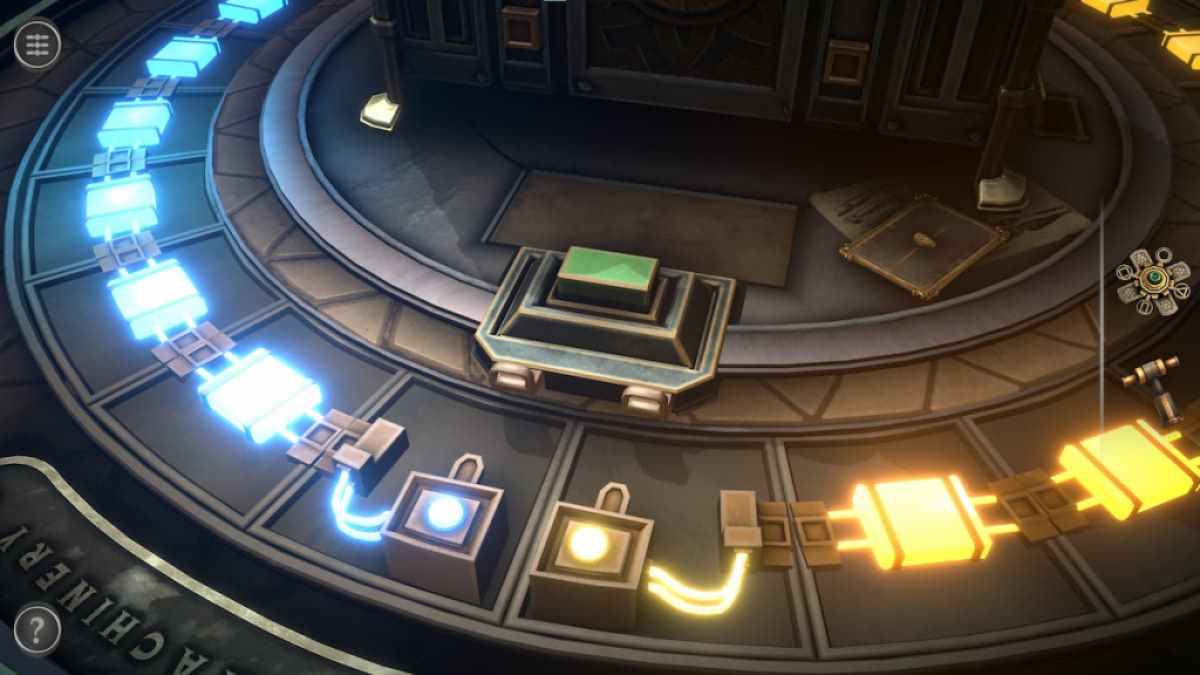
Return to the front of the chest, paying close attention to the tiny doors on the platform in front of it.
Rotate the gears on the side of either door until both sides are hollow.
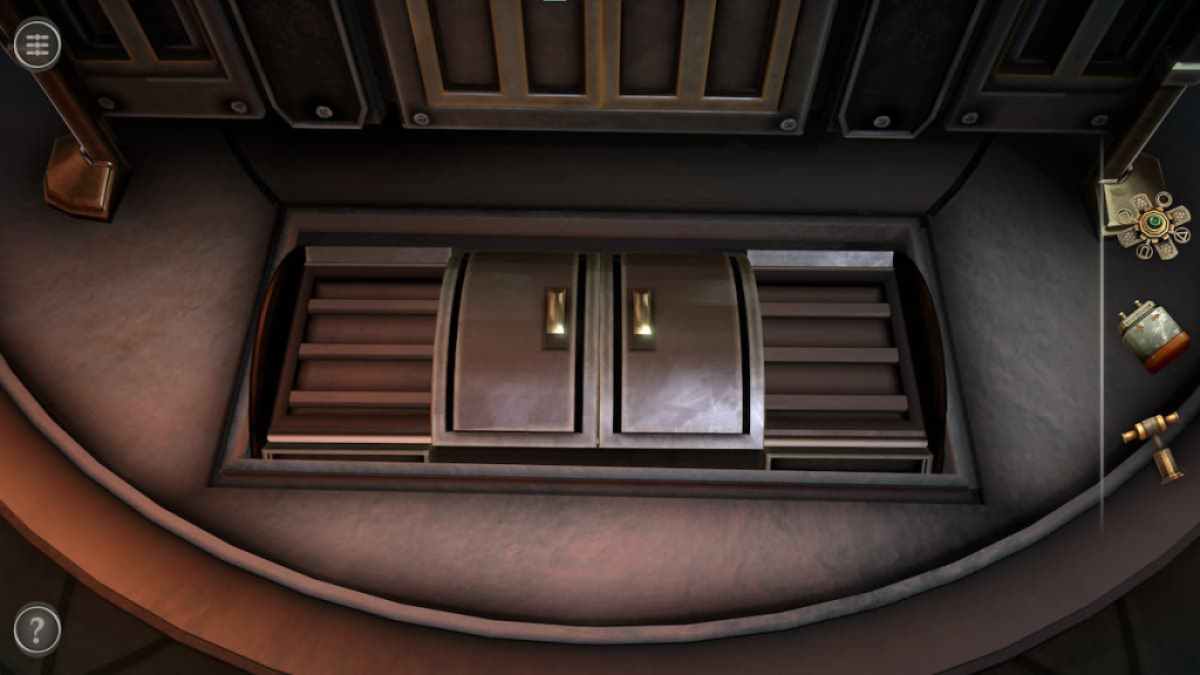
Then slide the doors open to reveal a small compartment. Place the Battery into this compartment.
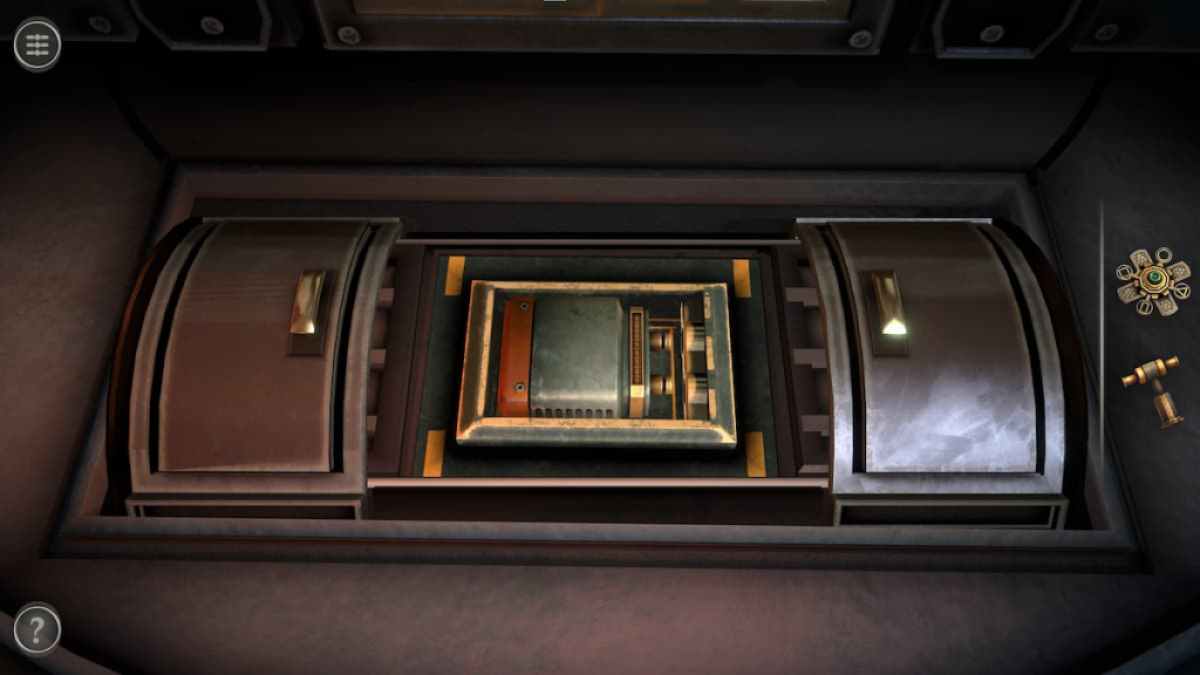
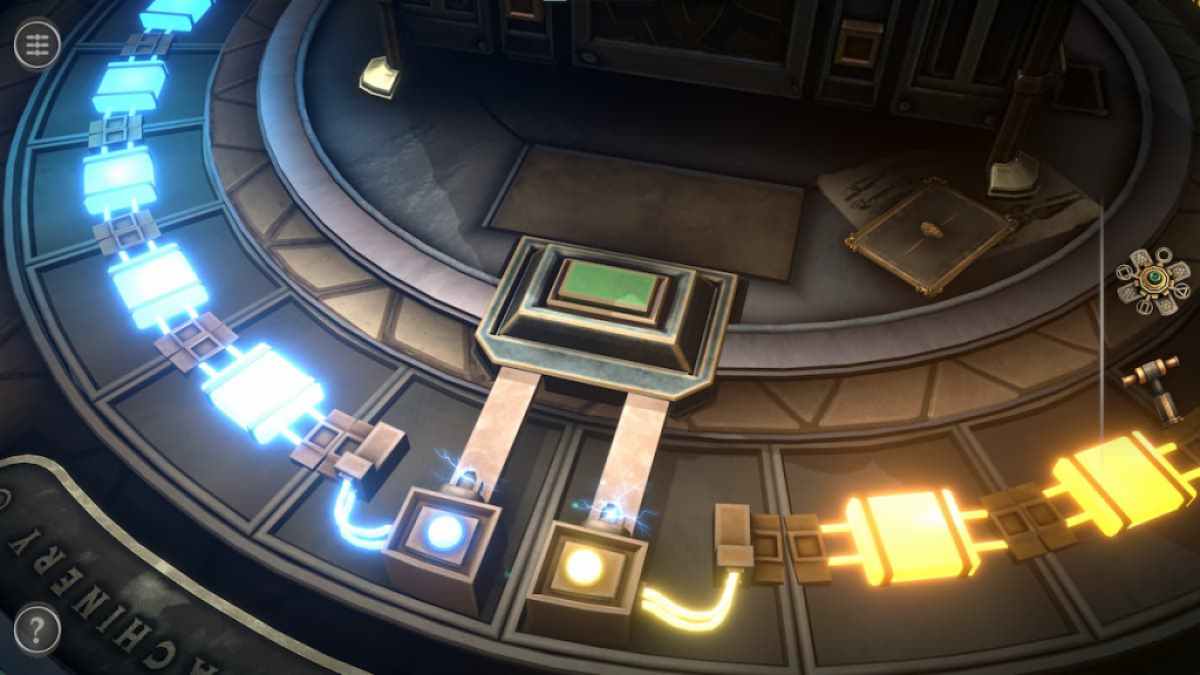
This will unlock a puzzle with five green switches and two rows of colored switches. Touch the green switches to flip the two switches they are between.
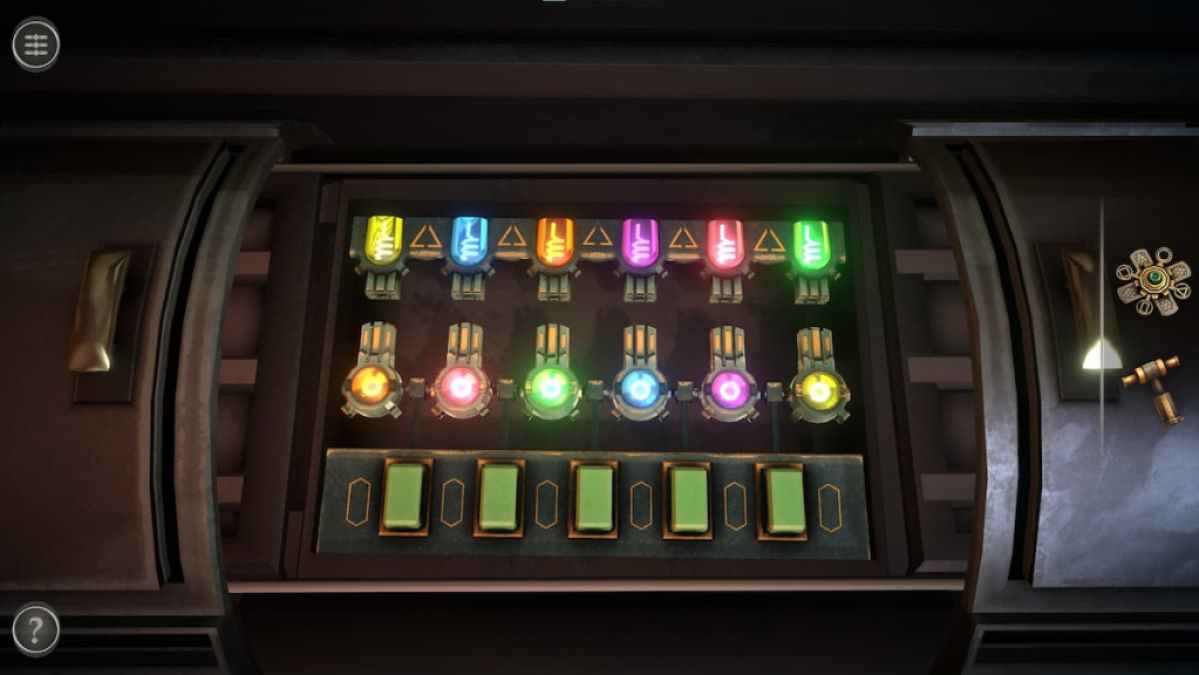
The puzzle is completed when the colored switches on the bottom row are moved to match the colored switches on the top row.
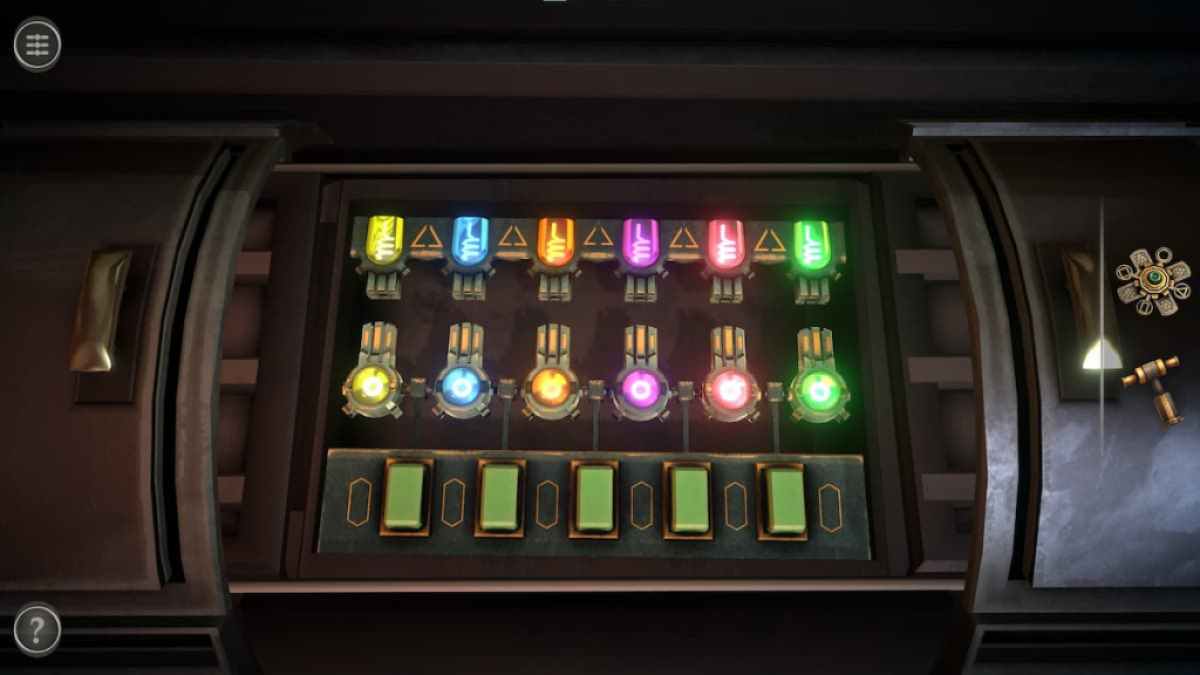
Completing the colored light puzzle unlocks a series of colored lights all around the table.
Tap the green button on the back will open a compartment containing a Metal Lever.
Related: 3D Escape Room Detective Story Chapter 2 walkthrough
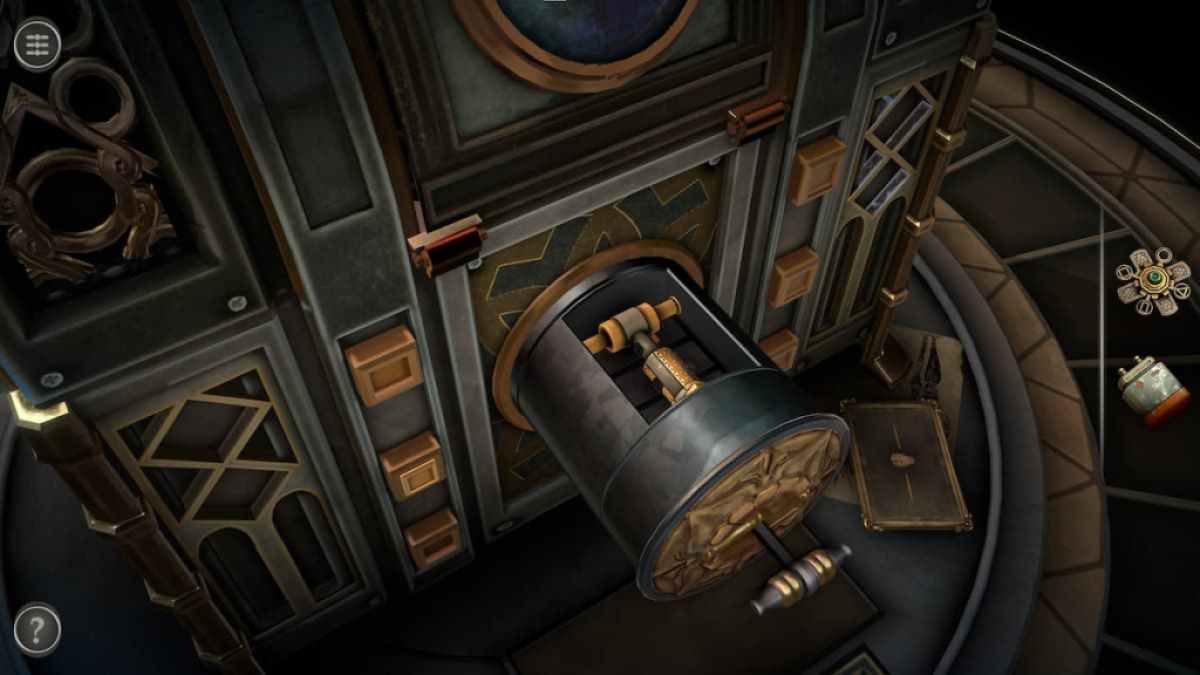
Metal Lever puzzle
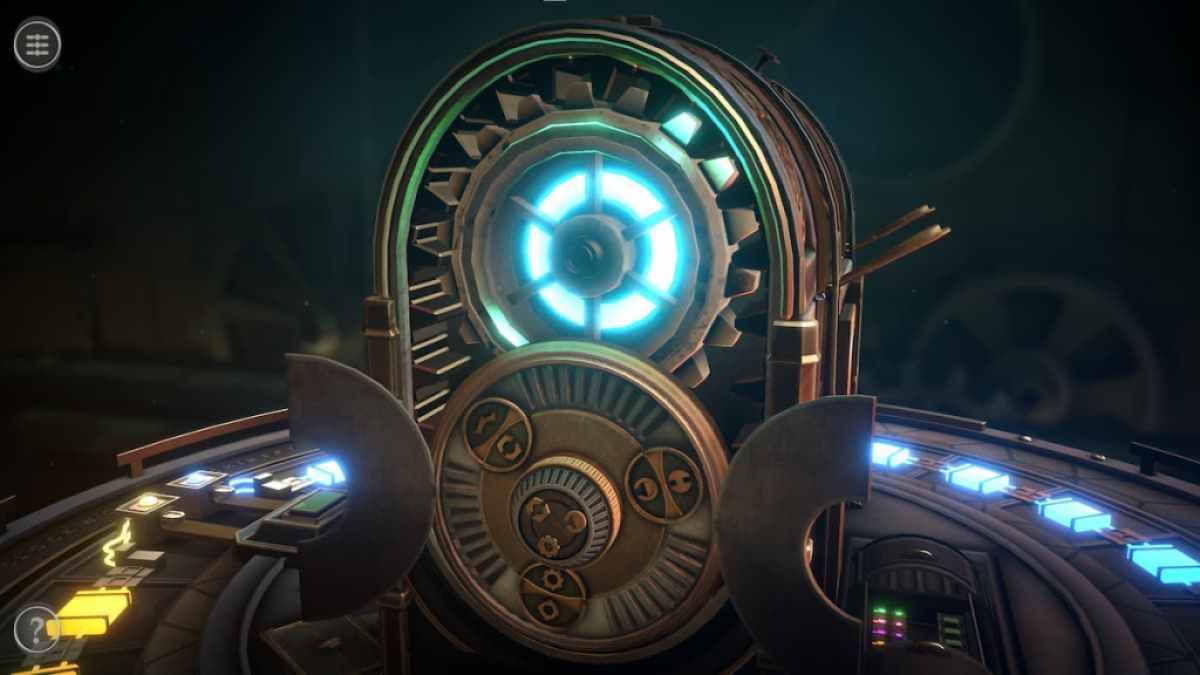
The Metal Lever puzzle begins at this glass orb.
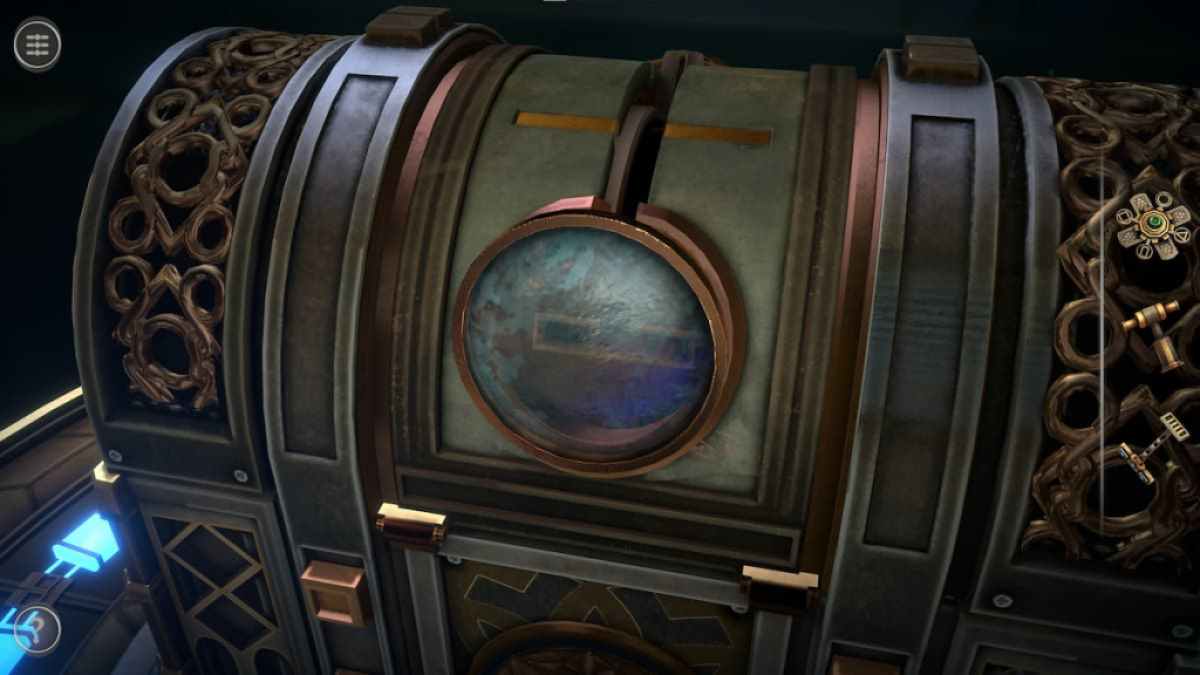
Flip the glass cover and insert the Metal Lever into the hole.
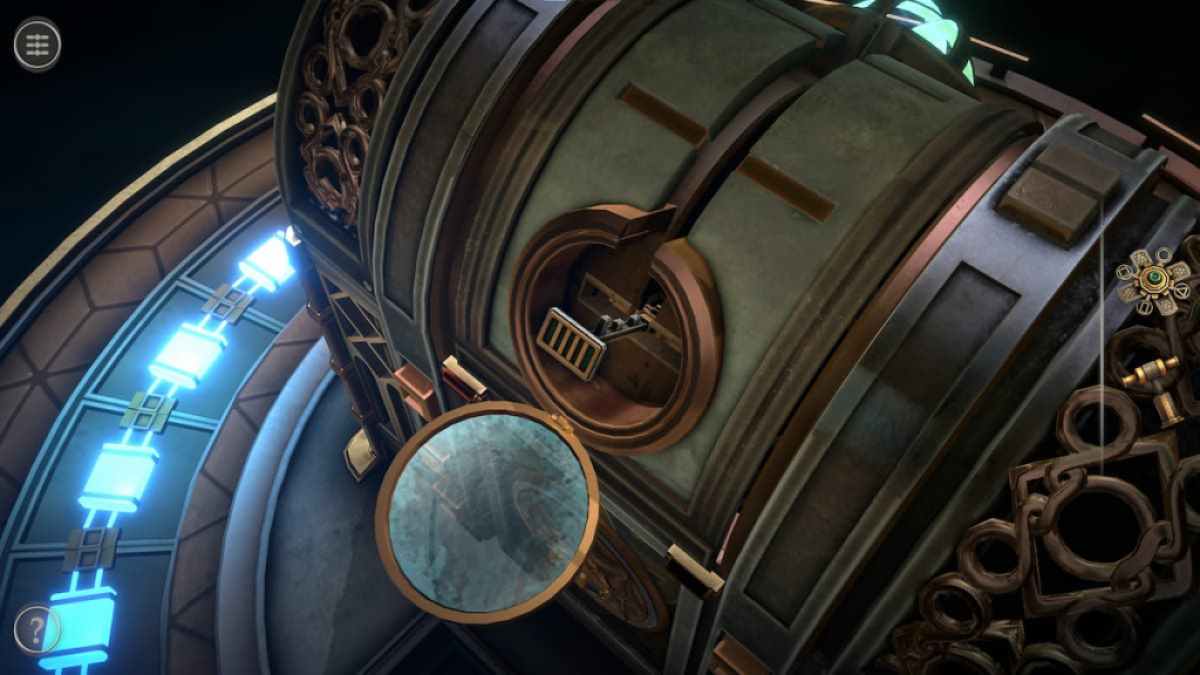
Pull the Metal Lever up to unlock a second puzzle.
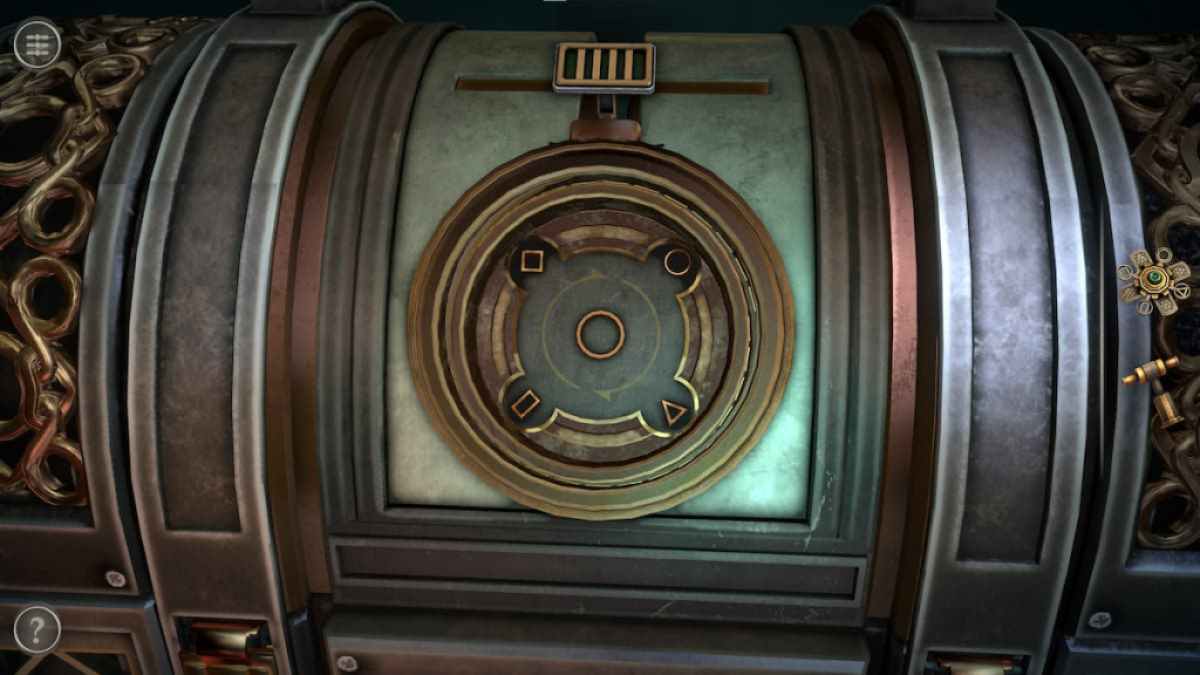
Place the Intricate Mechanism in the center of the puzzle.
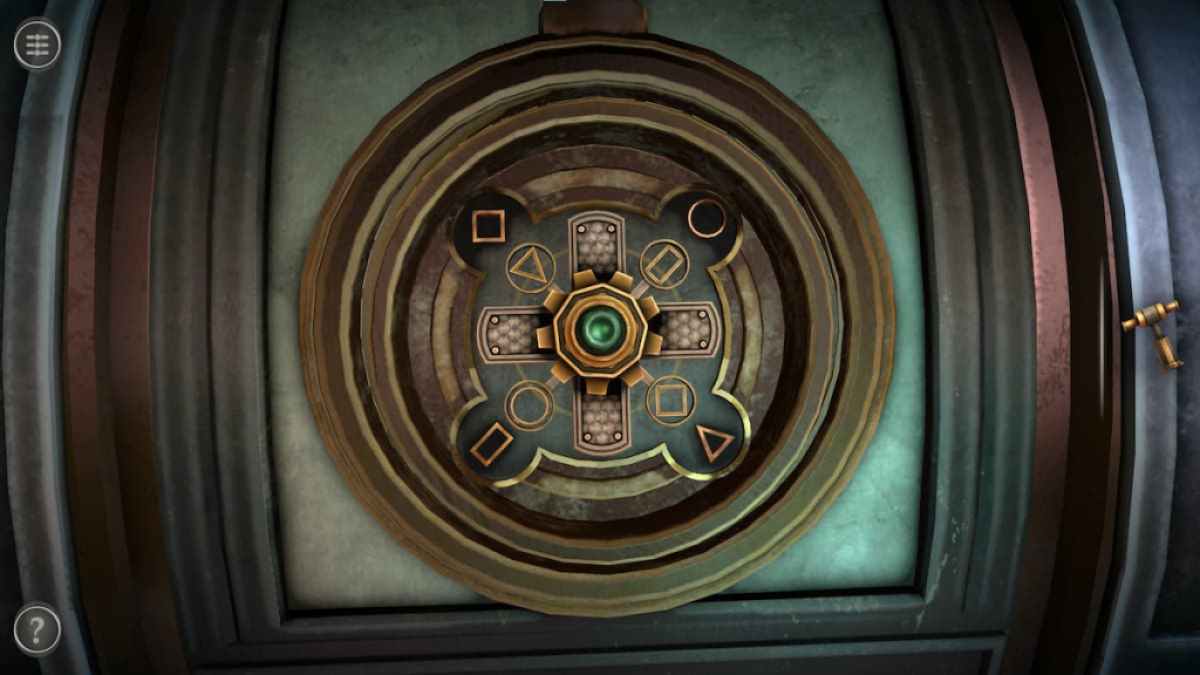
Rotate the Intricate Mechanism until its symbols align with those on the puzzle and press the green button.

This will unlock two segments on the front door. Use the Tool item to twist each segment and open up the front doors.
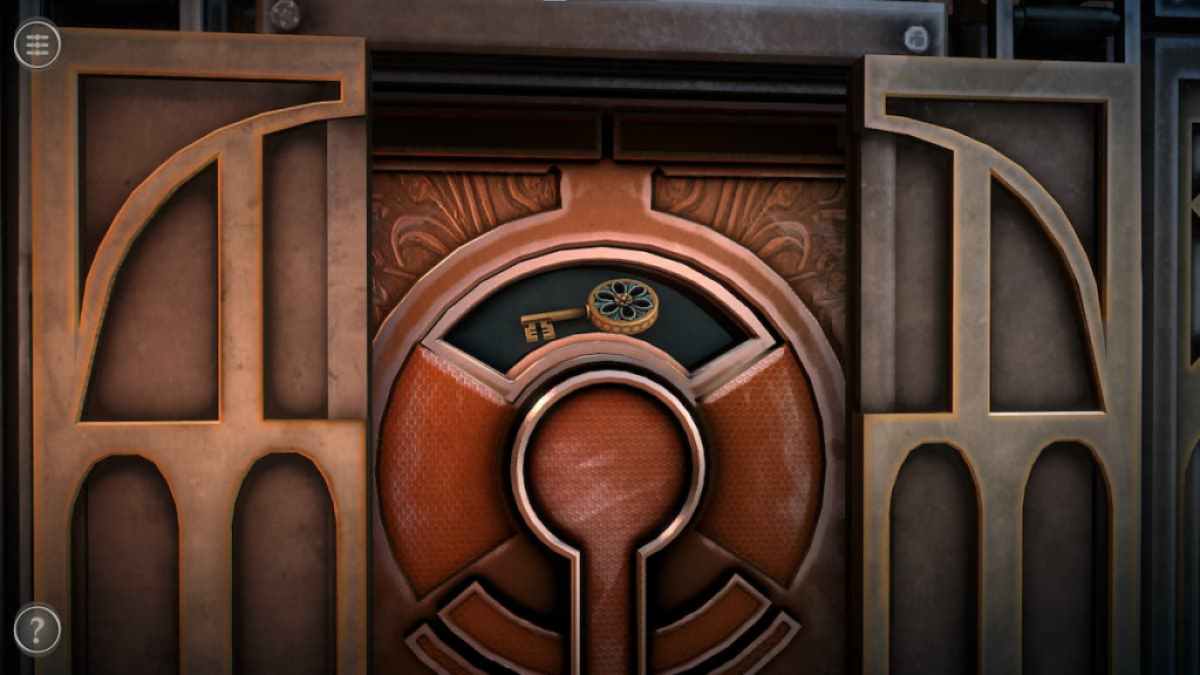
The top of the door contains a gear, which can be rotated to reveal a Key.
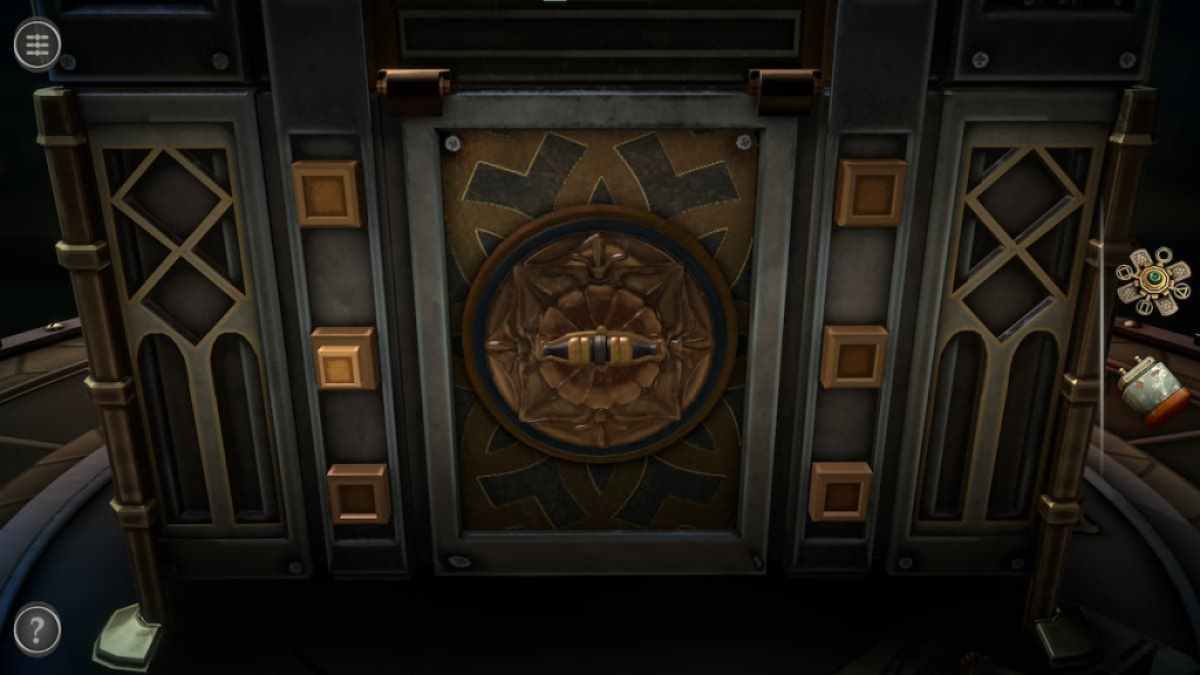
Right-side rotating puzzle
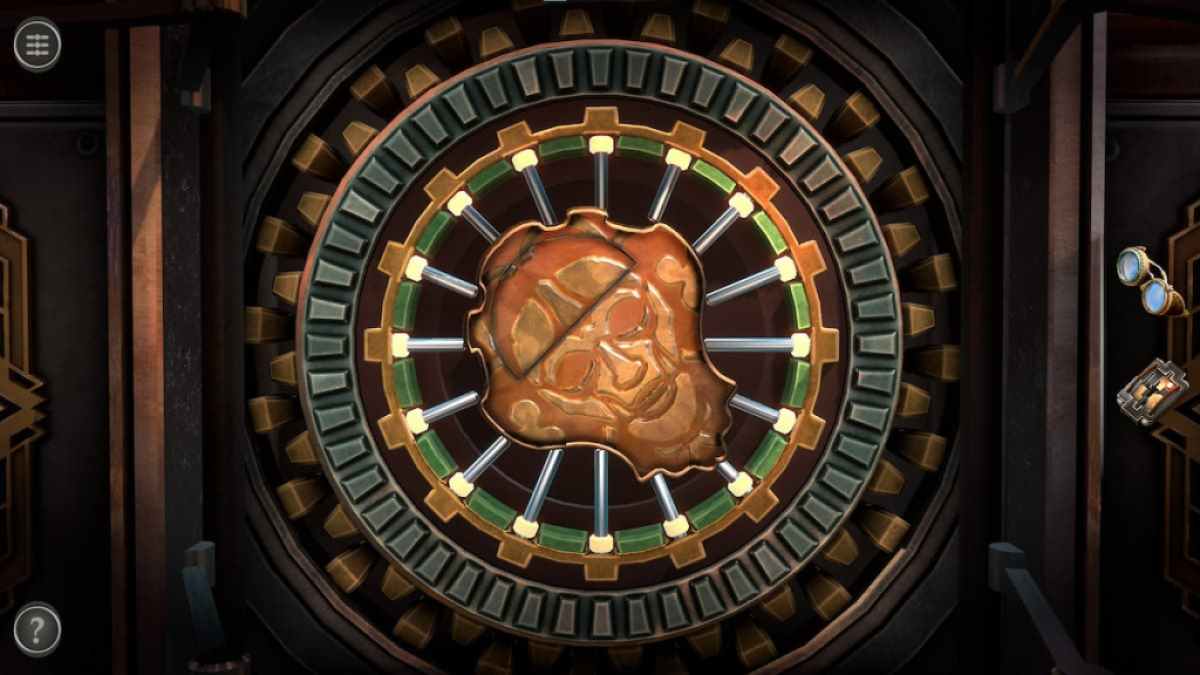
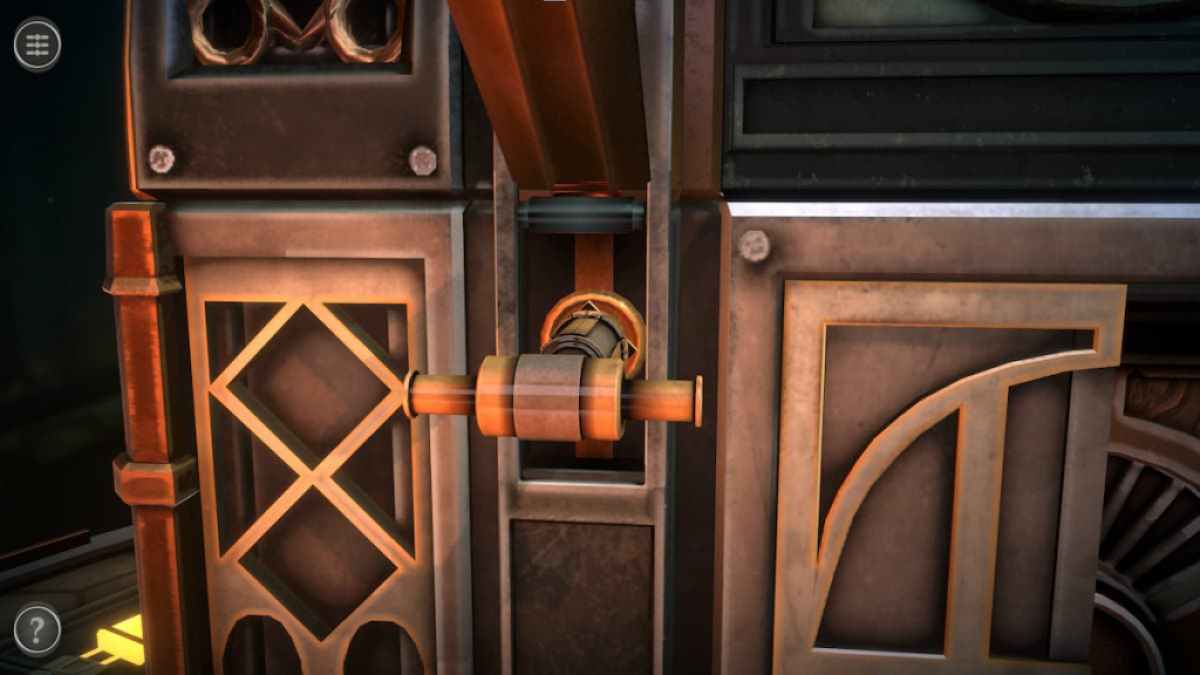
With the Key in your inventory, look at the puzzle on the right side of the box.
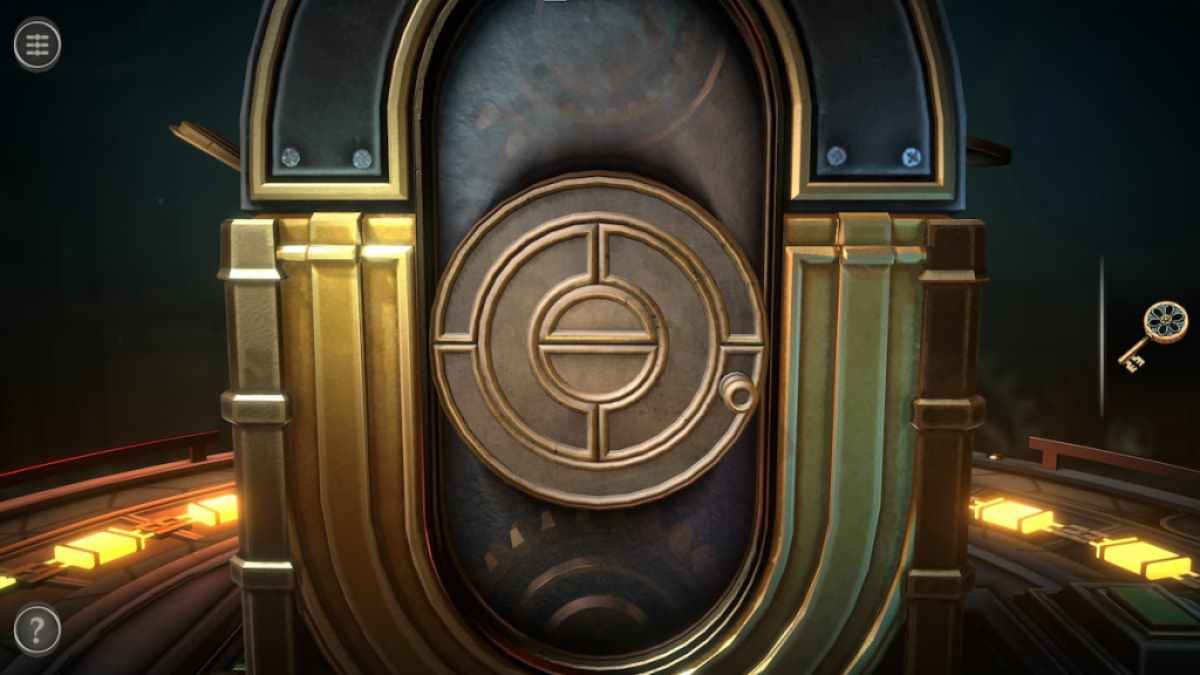
Rotate the puzzle until a horizontal line cuts through its center.

Insert the Key into the new keyhole and rotate it to get a Mechanical Part.

Rotating symbol puzzle
Head over to the left side of the box.

Add the Mechanical Part to the center of the puzzle.
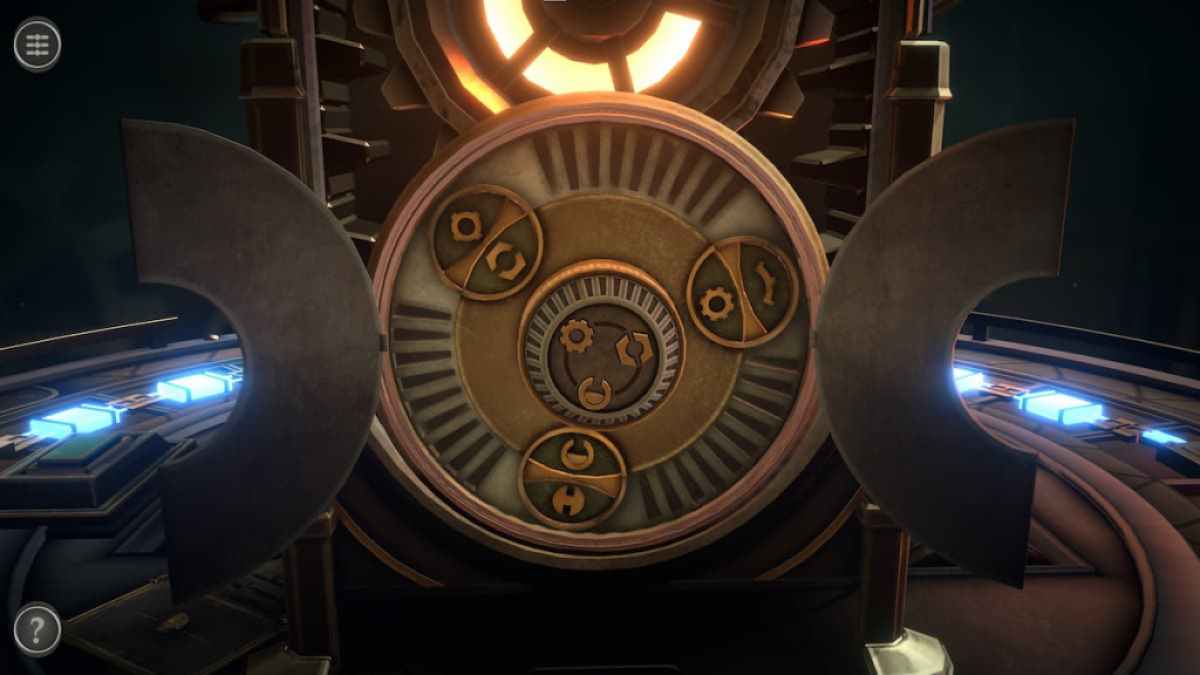
Rotate the symbols until the three on the inner ring match those on the Mechanical Part.
Grabbing the Mechanical Sphere displayed here will close the second room and unlock the third.
For more escape room fun, check out our 25 Best Free Virtual Escape Room Games here on Pro Game Guides.


Published: Feb 15, 2024 12:49 pm