
If you are playing as a survivor in Dead by Daylight then you obviously want a map which has better functionality for... survivors! Trying to get away from the killer can be a difficult task, so you want an environment which is on your side. Here are some of the best maps for survivors in the game.
Autohaven Wreckers - Gas Heaven
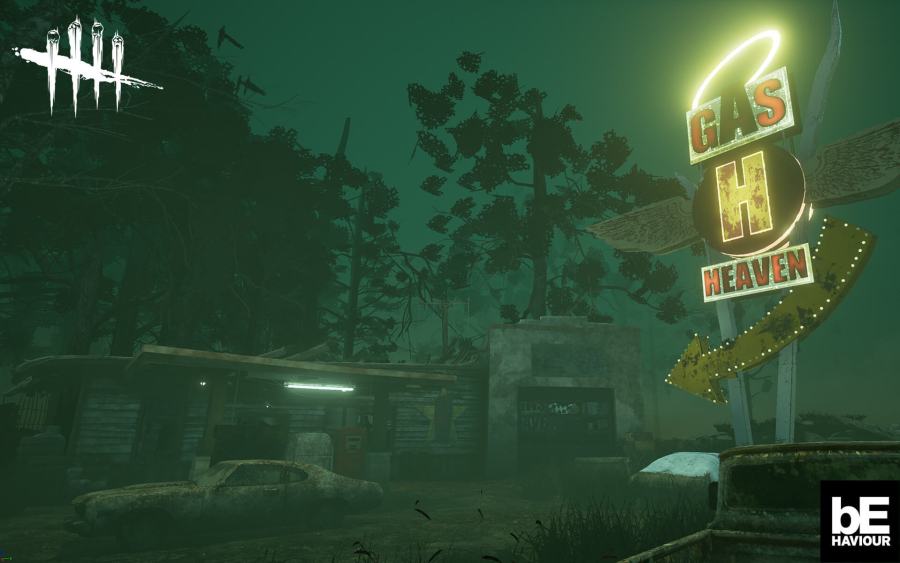
Gas Heaven is Autohaven Wrecker's medium sized map, as you can imagine it has a gas station there which sits in the middle of the map; it's hard to miss. The central gas station is actually one of the Escape Routes, so this makes it a lot easier when it's time to get running. It has a Generator in the garage which allows the garage door to be open once repaired.
The map also includes a lot of cars and debris for hiding behind and looping around, so it is very much suited towards survivors. This even includes Pallets in the garage so that you can loop the killer if he shows up to try and disturb your repairing session.
Backwater Swamp - The Pale Rose
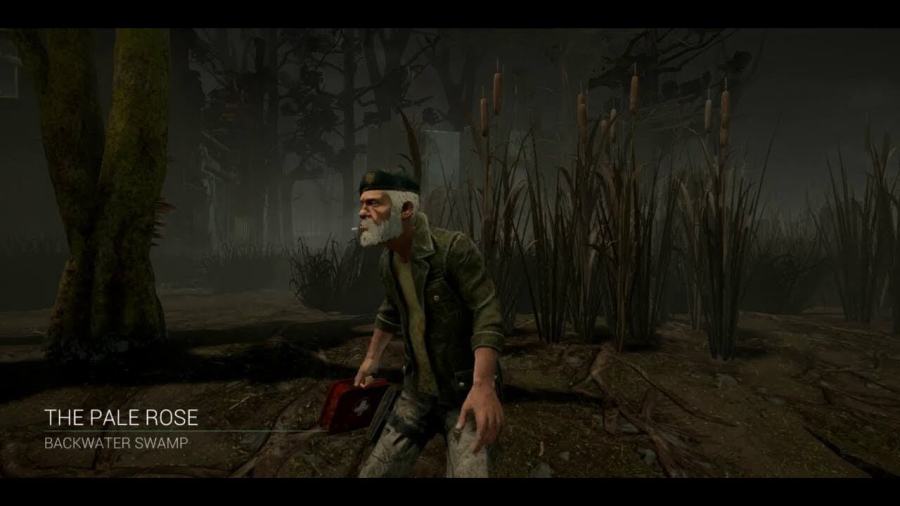
The Backwater Swamp has two maps available, both being of a pretty large size. The Pale Rose, however, is the better of the two as it contains a large Boat which provides many options and exits for escaping. Not to mention it also has obstacles that are useful for hiding behind, such as plants which have decent coverage.
Coldwin Farm - The Thompson House
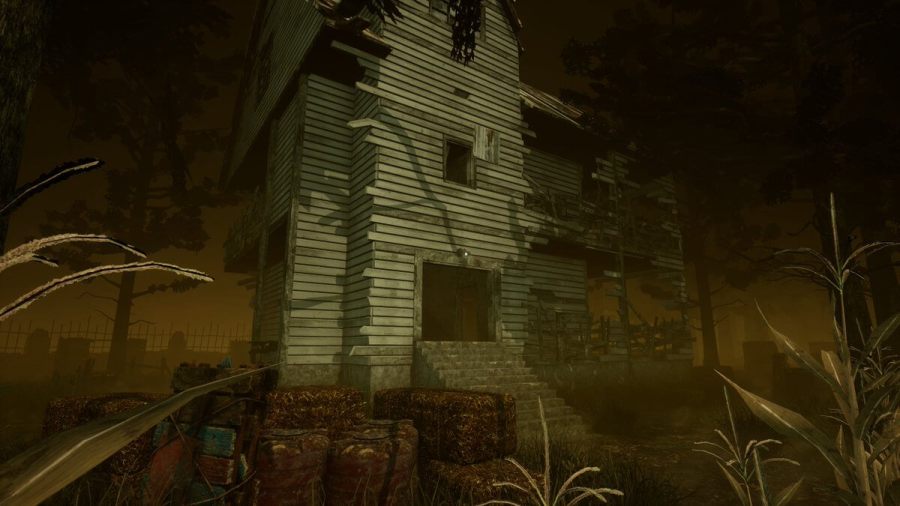
The house in Coldwin Farm is actually quite large despite the fact it is placed on a medium sized map. There are Generators galore to be worked on, as well as useful obstacles within the house itself that make looping the killer a bit easier for when he shows up. The second floor is especially handy if you get in a bind.
Related: Dead by Daylight on Switch gets Stranger Things Update
Crotus Penn Asylum - Disturbed Ward
Hoping for more Pallets? Well, this map has plenty of them! Looping is a large part of this map due to its obstacles, and there are also multiple windows to escape from if you find yourself getting backed into a corner. When times get tough in the ward, just try loop your way back to a spot that gives you control and look for the nearest exit.
Grave of Glendale - Dead Dawg Saloon
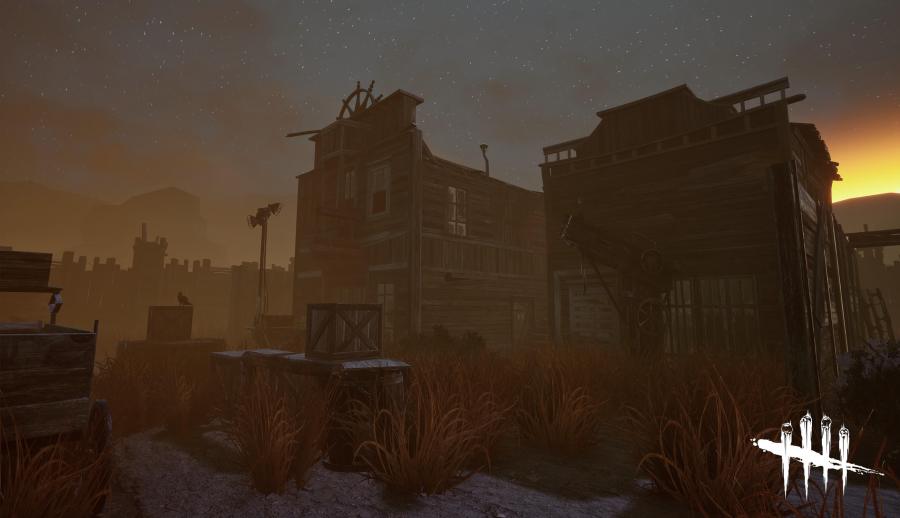
The Saloon is Grave of Glendale's only map, and if you can play on it a few times you will find that you start to build up a nice advantage due to the fact that the key buildings and obstacles stay in the same place, meaning you can memorize the map more easily in comparison to some other matches.
Hiding from the killer is slightly easier to do as well due to the amount of obstacles, and their placement is quite handy for rescuing survivors from the hook as you can remain quite stealthy whilst scoping them out.
Haddonfield - Lampkin Lane
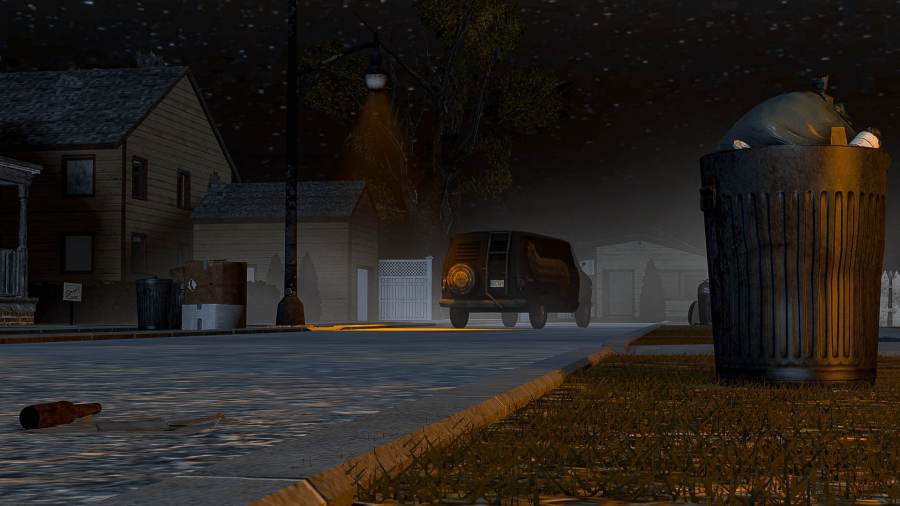
Haddonfield's Lampkin Lane is not quite as easy as other maps. Obstacles, hooks and structures do change place each time you load in - so memorizing it is not so much of an option with this one. Never fear though, as the large nature of the map means there are plenty of hiding places along with escape routes to get to.
Lockers, roofs and cars are all present in this map; meaning you can hide, jump out of sight and loop if you end up in a position that is difficult to get out of.
The MacmiIlan Estate - Ironworks Of Misery
Due to this being an ironworks, there are plenty of walls which are good for hiding behind and lower ones that are useful for vaulting over. There is also a massive Window in the middle which you can vault over to remain out of sight whilst you're doing your stealthy tasks.
The long path in the middle may seem like a recipe for being caught, but there are accompanying obstacles and traps to distract and evade the killer if you get caught in his view, or if you want to draw attention away from other survivors undertaking their missions.
Ormond - Mount Ormond
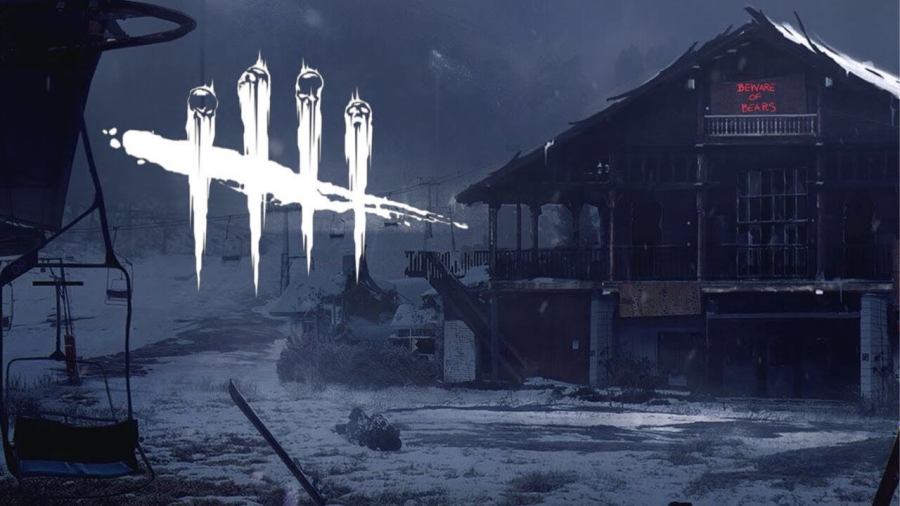
There is some good old predictability with this map which makes it a good one to play. It is a large space which always features a Generator in the same place on the first floor, making your first port of call an easy one. It has a fair few entrances making looping a possibility and it also has multiple, dark corners to hide in for evasion.
If you need to get straight to the second floor you can also do that from the outside, meaning you don't have to run into the killer if you know he is patrolling the first floor.
Red Forest - Mother's Dwelling
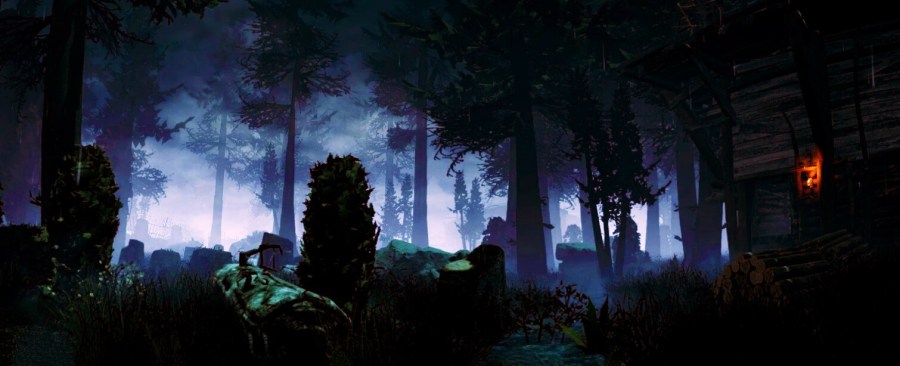
This map is another large one which means you can get away into a different spot if needed, vaulting is an option as well as being able to get down quickly from the second floor if you're about to get caught. Evasion is made just a little bit easier due to the formation and size of the map.
Yamaoka Estate - Family Residence
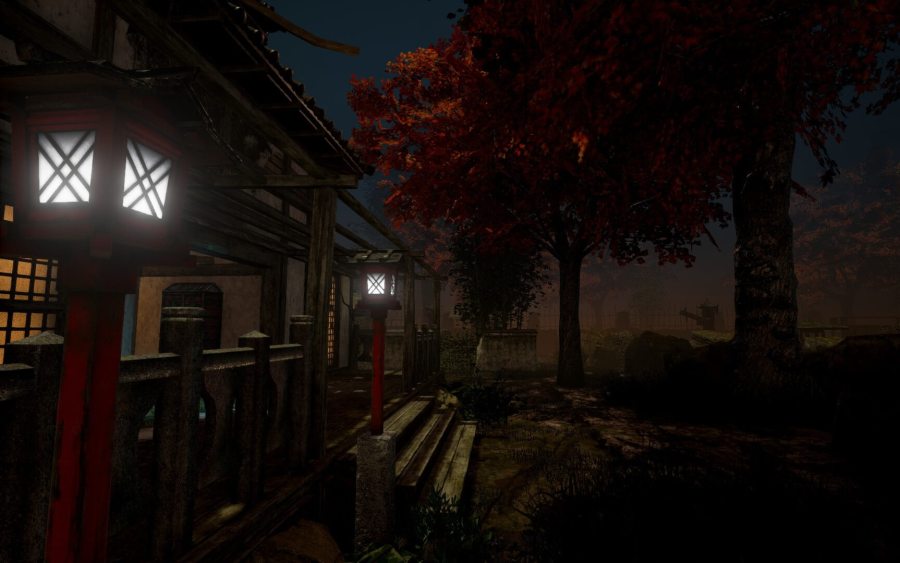
The Family Residence is always situated to one side of the map, and is quite large meaning there are options within to make sure you don't have to be stuck in there if the killer comes in at the same time as you. The remainder of the map outside is also of a good size which allows you to evade the killer whilst performing tasks, or distract the killer away from other survivors. Due to the size it also doesn't mean you necessarily have to get caught if spotted by the killer outside.
Sometimes you have to be pretty tricksy as a survivor, but hopefully these map options will give you the upper hand for facing off against any of the killers that you find in your way!
Need more help? Check out how to get Iridescent Shards in Dead by Daylight.