There are four Dungeons in Forager
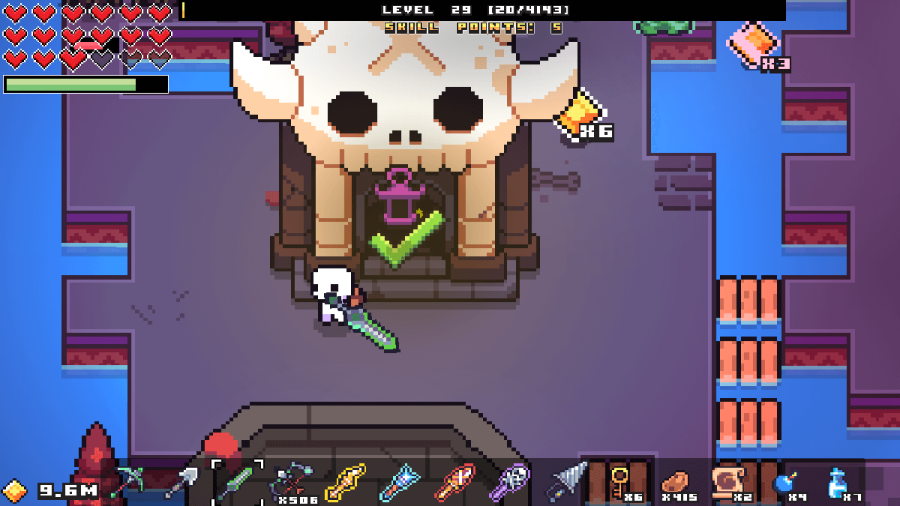
, each associated with a different biome. The Skull Maze is one of these dungeons. In it, we must navigate a dangerous cave packed with skeletons and all sorts of loot!
How to Solve the Skull Maze in Forager
In this guide, we're not only going to help you reach the end but also help you find every secret Chest and Brazier. The Chests are only helpful for additional loot, but lighting all the Braziers is its own in-game achievement!
Skull Maze Map
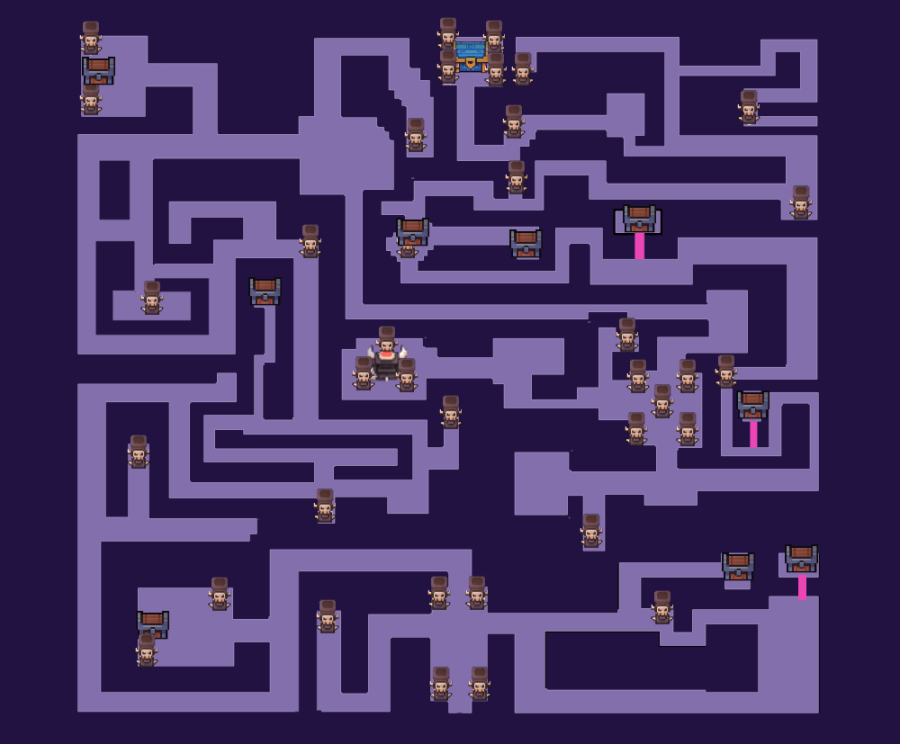
The image above is a rough outline of the maze's layout. You can use it to find all objects, including the Braziers and Chests. The pink lines represent hidden paths to rooms that are not visible from the main path.
There are 36 Braziers for you to light that are spread throughout the dungeon. There are also nine Chests, three of which are hidden paths. Apart from the Chests and the Braziers, the only points of interest in the map are the Sacrificial Chest and the Big Chest.
Related: How to Solve the Graveyard Biome Dark Bells Puzzle in Forager - Pro Game Guides
If you prefer text directions to the end, you can follow the instructions listed below. They are listed in the same order of every intersection you cross. This means that you need to follow the next step every time you come to a new intersection. It also mentions when you come to a large room, so you should be able to determine if you're on the right path.
- Entrance Room: Go up.
- Intersection #1: Down
- Intersection #2: Up
- Intersection #3: Down
- Intersection #4: Right
- Intersection #5: Up
- Intersection #6: Up
- Intersection #7: Left
- Intersection #8: Left
- Intersection #9: Up
- Intersection #10: Up
- Intersection #11: Right
- Intersection #12: Right
- Large Room: This is a large room with nothing interesting except enemies. Go down.
- Brazier Room: This room has five braziers in the form of an X. If you go left, you'll end up at the Sacrificial Shrine. To get to the end of the maze, go down.
- Intersection #13: Right
- Intersection #14: Up
- Intersection #15: Left
- Chest Room: This is the end of the maze!
When you finish the maze, you'll receive the Skull Seal and a Spirit Orb as a reward.
We also have other guides for the dungeons in Forager! Check out our Guide on How to Solve the Ancient Temple in Forager!