
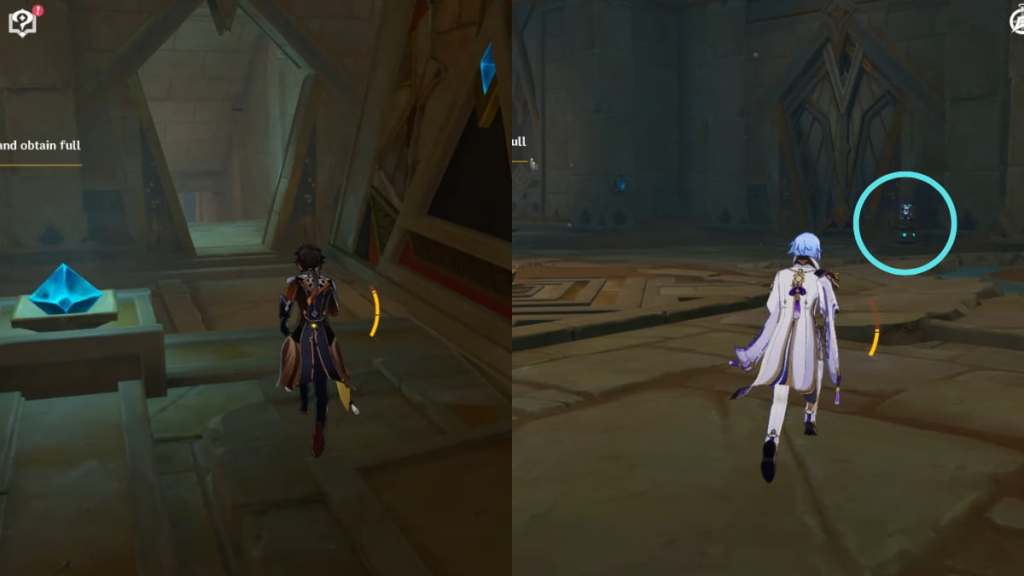
Dual Evidence is the first World Quest in the Old Notes and New Friends questline. Part of the objective is to follow the stone slate's guidance and obtain full clearance, you need to explore three areas in any order:
- Place of Rebirth
- Place of Breath
- Place of Swallowing
In this guide, we'll walk you through how to find the Place of Breath and solve all the puzzles to obtain clearance.
How to turn on the quest navigation in the Dual Evidence World Quest in Genshin Impact
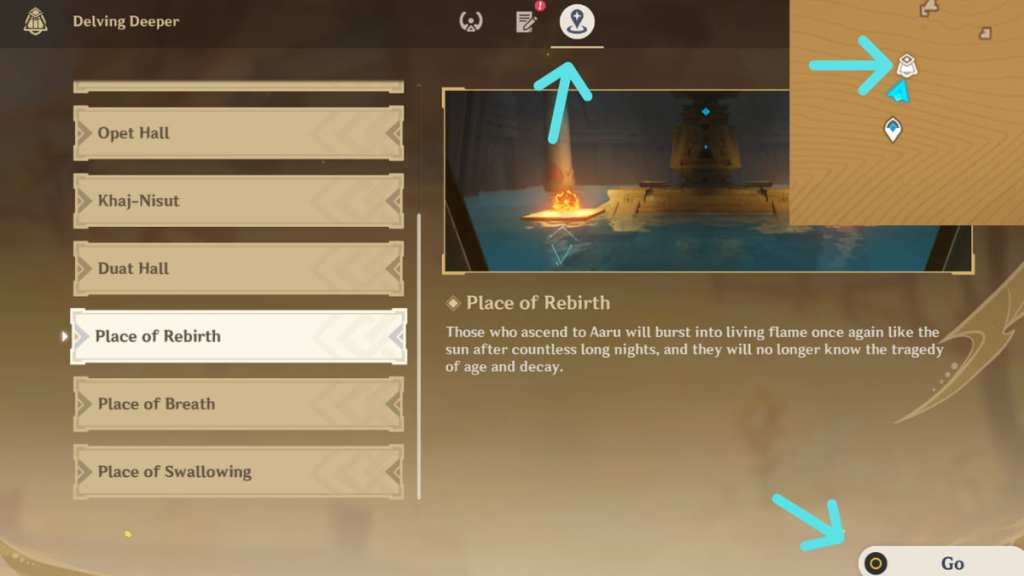
The quest marker doesn't work as it usually does in Dual Evidence. To help you get from one place to another, head to your Quest Item Inventory and open the Scarlet Sand Slate. Switch to the third tab and select the area you want to explore, then click Go when you're ready. The navigator will look like an icon of a slate on the World Map and mini-map.
Related: How to unlock The Coordinates of Sun and Rain Domain in Genshin Impact
Follow the stone slate's guidance and obtain full clearance Place of Breath guide – Genshin Impact
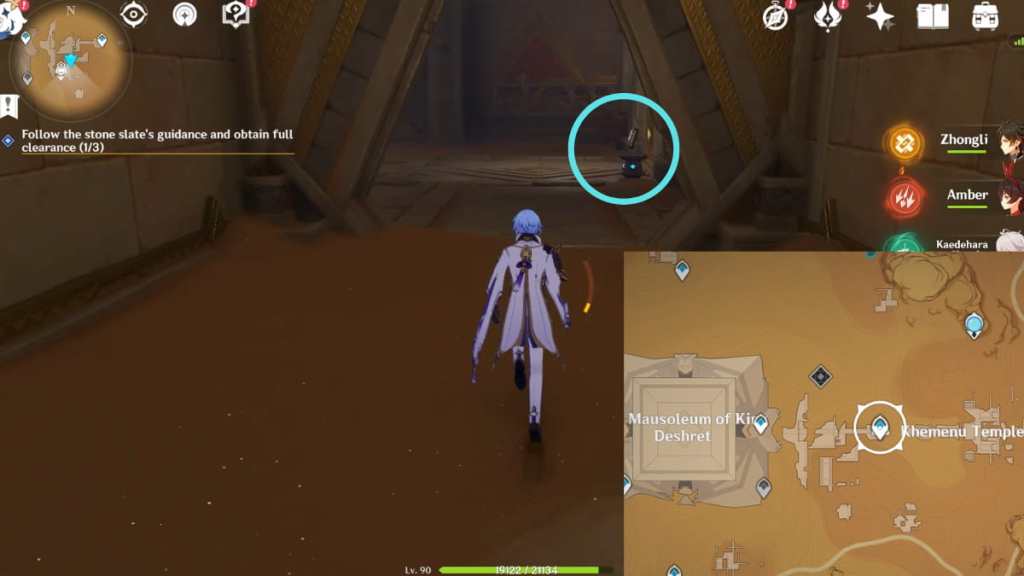
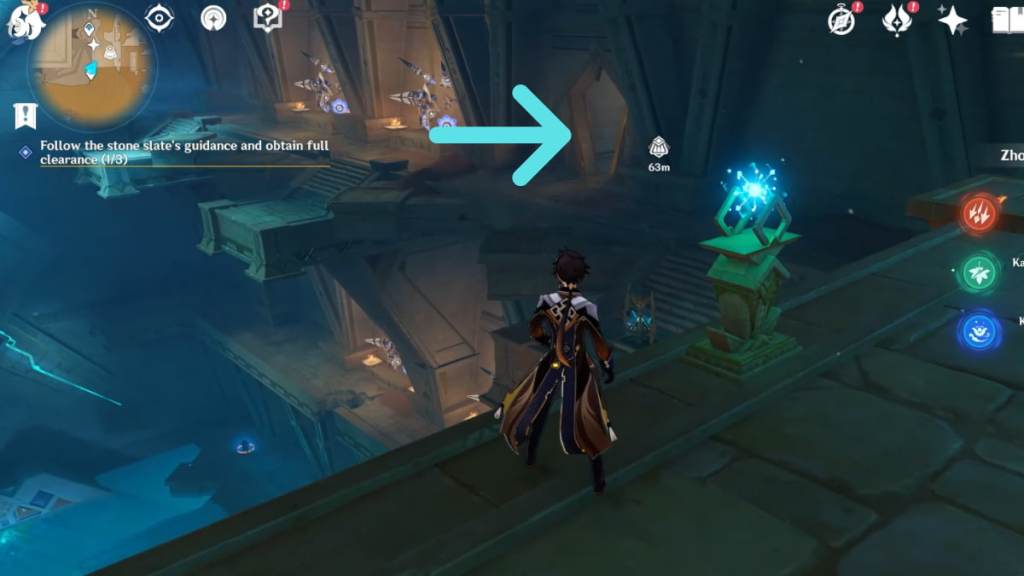
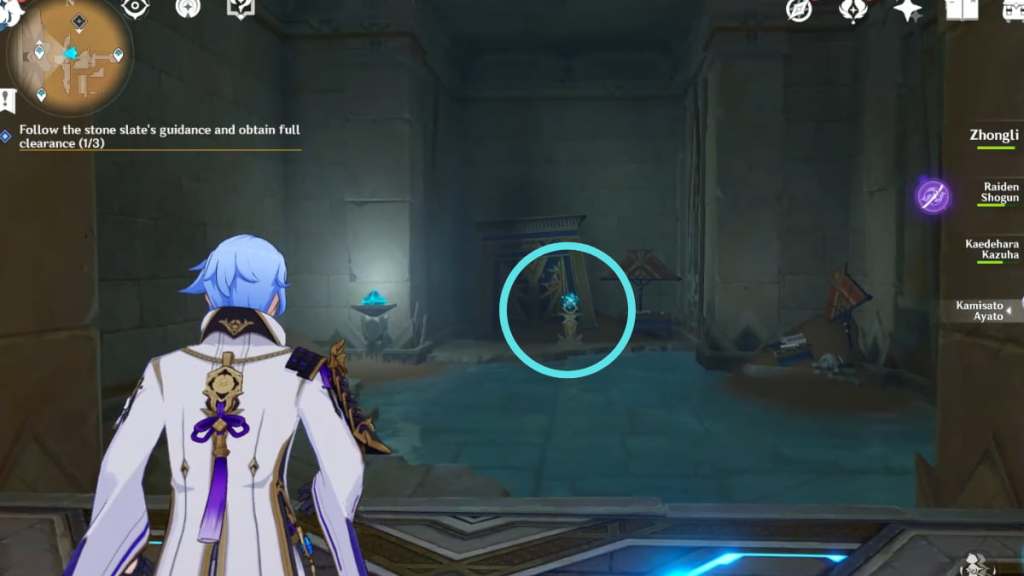
Head to the Teleport Waypoint in Khemenu Temple and enter the pyramid-shaped door. Once inside the hall with a staircase, turn left and go through the coffin-shaped entrance to enter a tunnel. At the end of the tunnel is another room with a Control Unit on the right, which you must interact with to open the door. After the door opens, plunge down the opening on the ground to enter a room with a Primal Beam puzzle.
Primal Beam puzzle

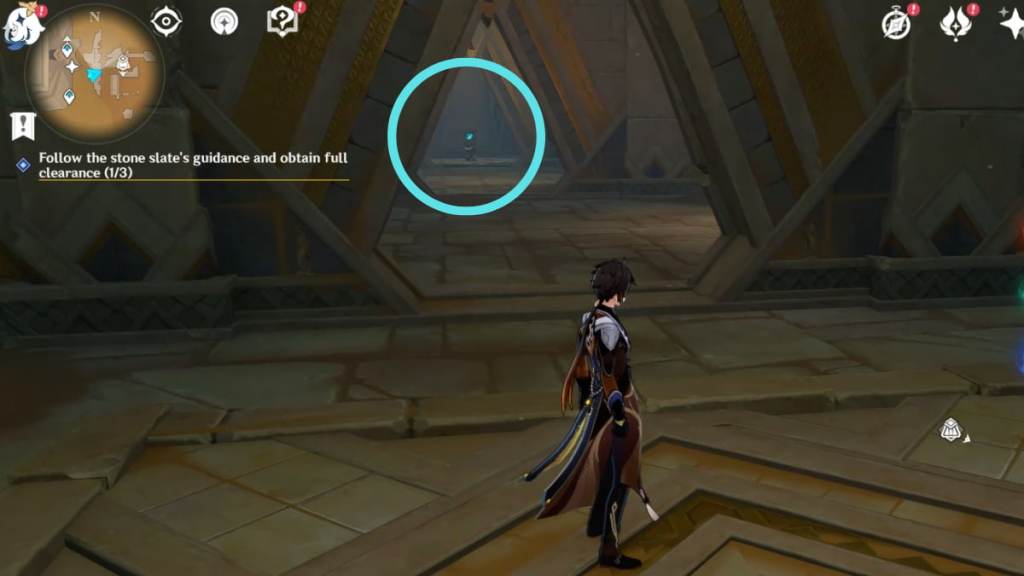
Break the boulder on the left side of the room to reveal another device. Then interact with the device at the center to Rotate Cell, which will open the door leading you to a huge area. This is all you need to do for the quest, as you only need to enter the huge area to find the Place of Breath, but we'll walk you through the rest of the puzzle if you want to complete it.
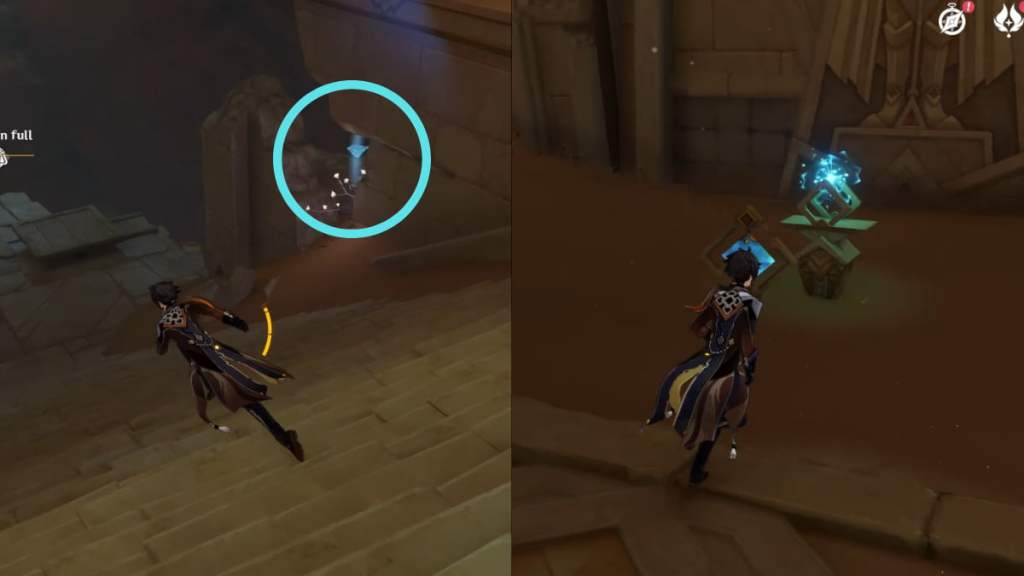
Go through the door and spot a Forged Primal Light by the stairs. Pick it up and place it on the platform in the previous room to reveal a device and unlock the Primal Ember. Then interact with the device at the center of the room to Rotate Cell once. Once that's done, release the Primal Ember, which will attach itself to another device. Release it again until it reaches its post in front of the red barrier on the other side of the broken bridge.
Going to Sekhem Hall

In the large area, plunge, enter the tunnel, and follow the path forward. We highly recommend turning on your quest navigator through the Scarlet Sand Slate to make it easier to get directions—but the path is pretty straightforward. Simply run along the path, ignore intersections, and don't plunge down.
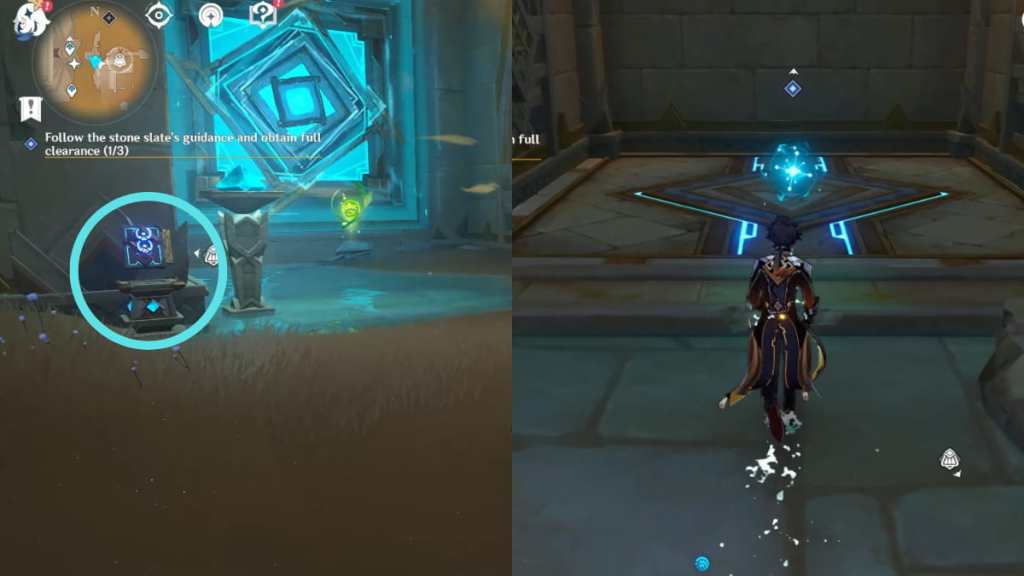
You must enter another tunnel through a pyramid-shaped entrance, and keep going forward until you see the Teleport Waypoint. Make sure to activate it to make it easier to return to the area later. Ahead of the Waypoint is a large area called Sekhem Hall, where you must solve three puzzles to complete the objective.
First Primal Ember puzzle
You can ignore the Primal Ember at the entrance of Sekhem Hall. Instead, turn right and enter the coffin-shaped entrance pictured above. Once inside, immediately turn left to find another Primal Ember at the end of the tunnel.
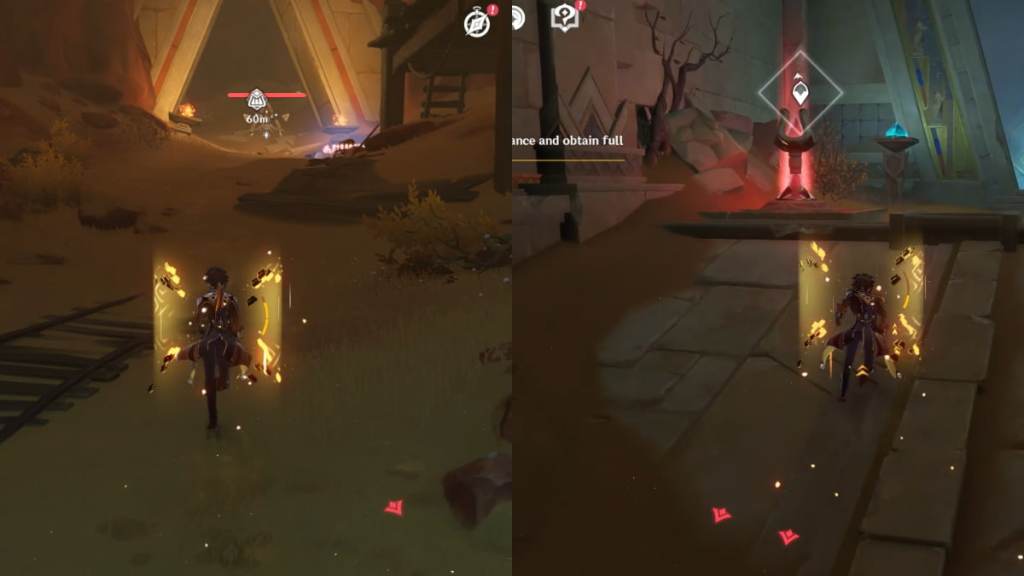
Interact with the device to release the Primal Ember and follow it to the floor below. Keep following it until it goes through the disappearing floor, which you must step on to make the floor disappear. Be careful of fall damage! The Primal Ember will attach itself to another device, but before releasing it, go to the next room first.
Interact with the Control Unit to turn off the fan. Then go back to the previous room and release the Primal Ember, which can only travel when the fan is turned off. Follow the Primal Ember, which will go through another disappearing floor you must step on to break. Then release it again and continue following it until it finally reaches its post in the main hall.
Related: How to Look for the materials that Kayvan needs in Genshin Impact
Second Primal Ember puzzle
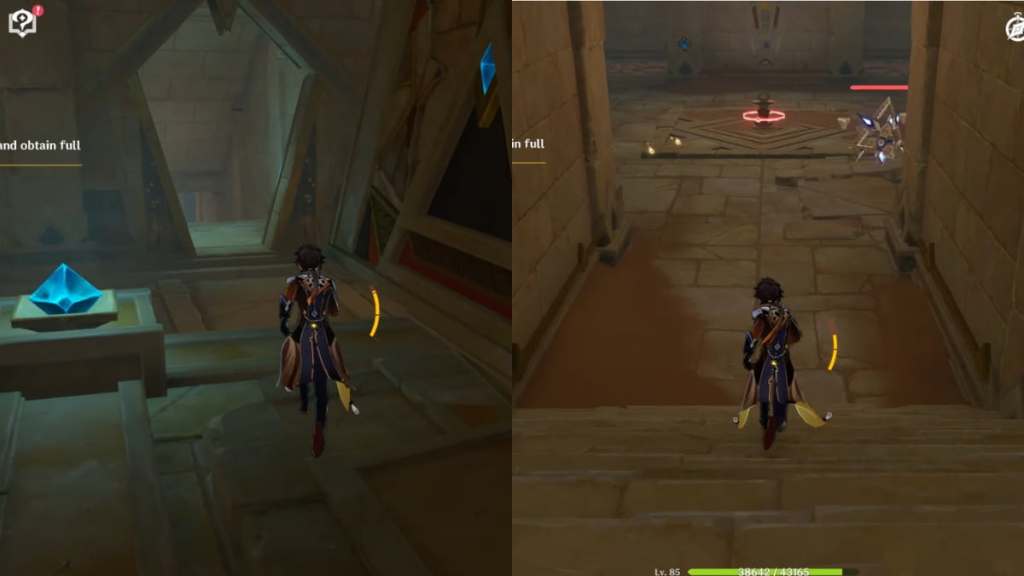
From the main room, go through the coffin-shaped entrance to find a locked device surrounded by Primal Constructs. Defeat the enemies to unlock the device, then release the Primal Ember and follow it toward its post in the main room.
Third Primal Ember puzzle
Go through the same coffin-shaped door as the previous puzzle and right to find a Control Unit. Interact with it to open the door and find an empty device inside. Turn right to find an elevator, which you need to ride. However, pay attention to where the elevator is going.
The elevator will go up a few floors, but you only need to go up one floor. As soon as you see the Primal Ember, jump off the elevator while it's still moving. Release the Primal Ember and follow it to the entrance on the ground. Plunge down and keep following the Ember until it reaches its post. Once all three puzzles are done, a small cutscene will play, and you'll obtain one of the three clearances you need to complete this segment in the Dual Evidence World Quest.
To complete more desert quests, check out our Genshin Impact Blooming Sands World Quest guide and Genshin Impact Join the Eremites and Embrace a Wonderful New Life! World Quest guide.