
Dune-Entombed Fecundity: Part II is the fourth Genshin Impact World Quest in The Dirge of Bilqis quest chain. In this segment, you must accompany Jeht and Azariq to explore the giant Ruin Golem lying northeast of the Desert of Hadramaveth.
You'll unlock this quest immediately after completing the following prerequisites:
- Wisdom Has Built Her House, She Has Hewn Out Her Seven Pillars
- The Temple Where Sand Flows Like Tears
- Dune-Entombed Fecundity: Part I
How to complete Dune-Entombed Fecundity: Part II World Quest in Genshin Impact
Go to the place Azariq mentioned

Upon starting the quest, follow the navigator to the Teleport Waypoint in Qusayr Al-Inkhida, then glide toward the foot of the Ruin Golem's arm. Doing so will trigger a small cutscene and dialogue with the exploration part.
Enter the machine wreckage
Enter the tunnel up ahead and use the Four-Leaf Sigils to help you travel faster. Keep following the path forward until you enter a small cabin.
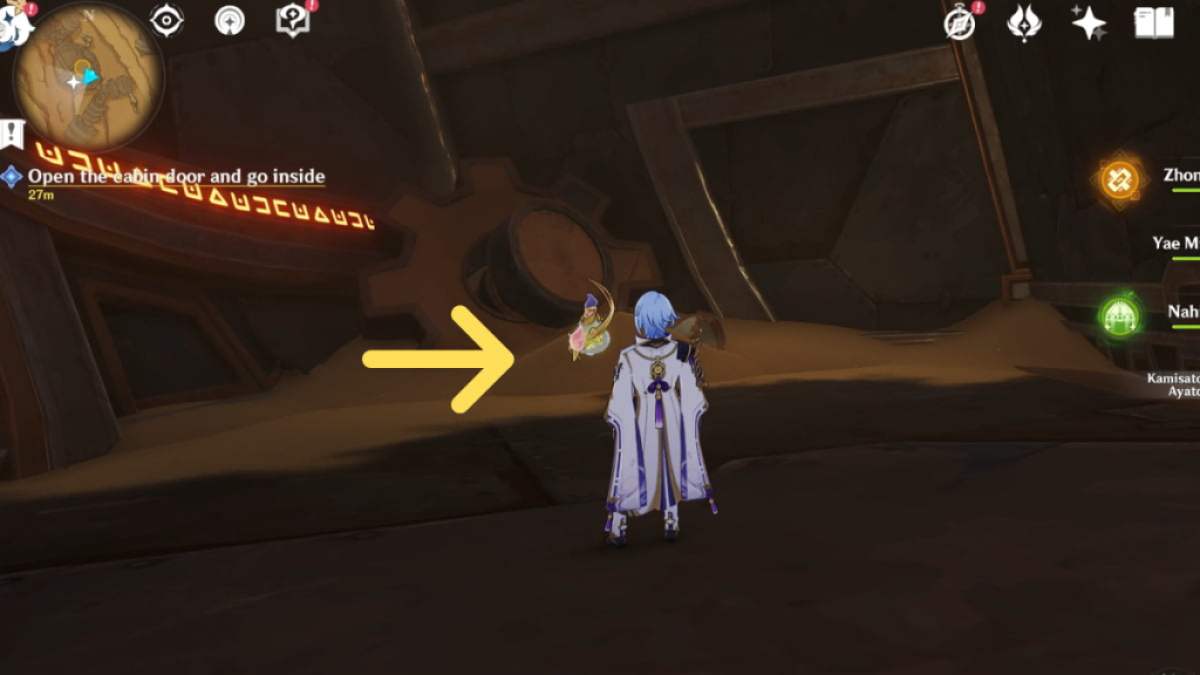
Open the cabin door and go inside

At the end of the tunnel and the entrance of the cabin, you'll find an Energy Block. Pick it up so that it's floating around you.
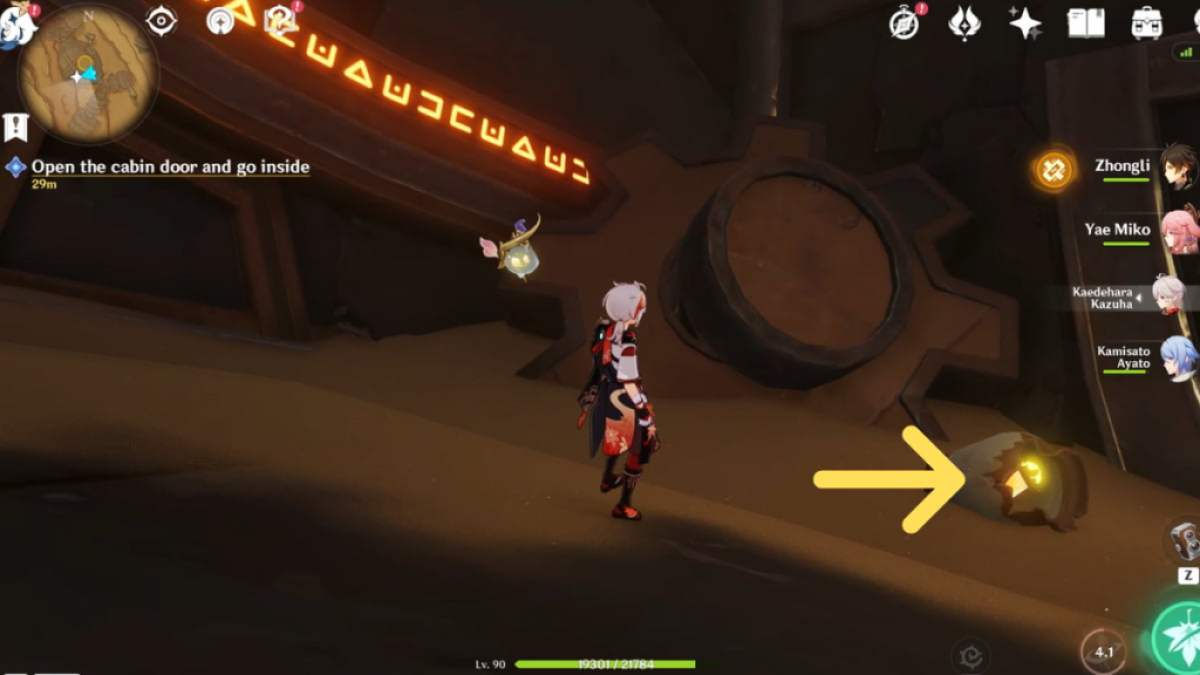
Enter the cabin and turn left to find a Sand Pile. Apply Anemo onto the Sand Pile to get rid of it, revealing the second Energy Block inside the broken vase. Pick it up—you should now have two Energy Blocks floating around you.
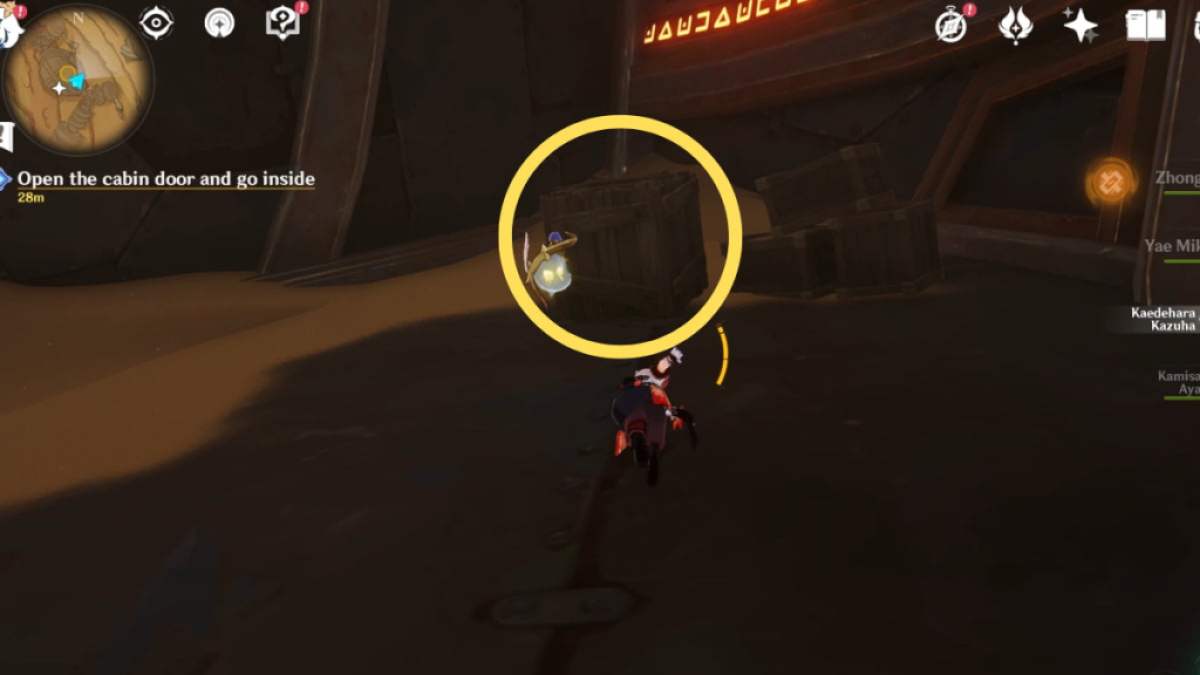
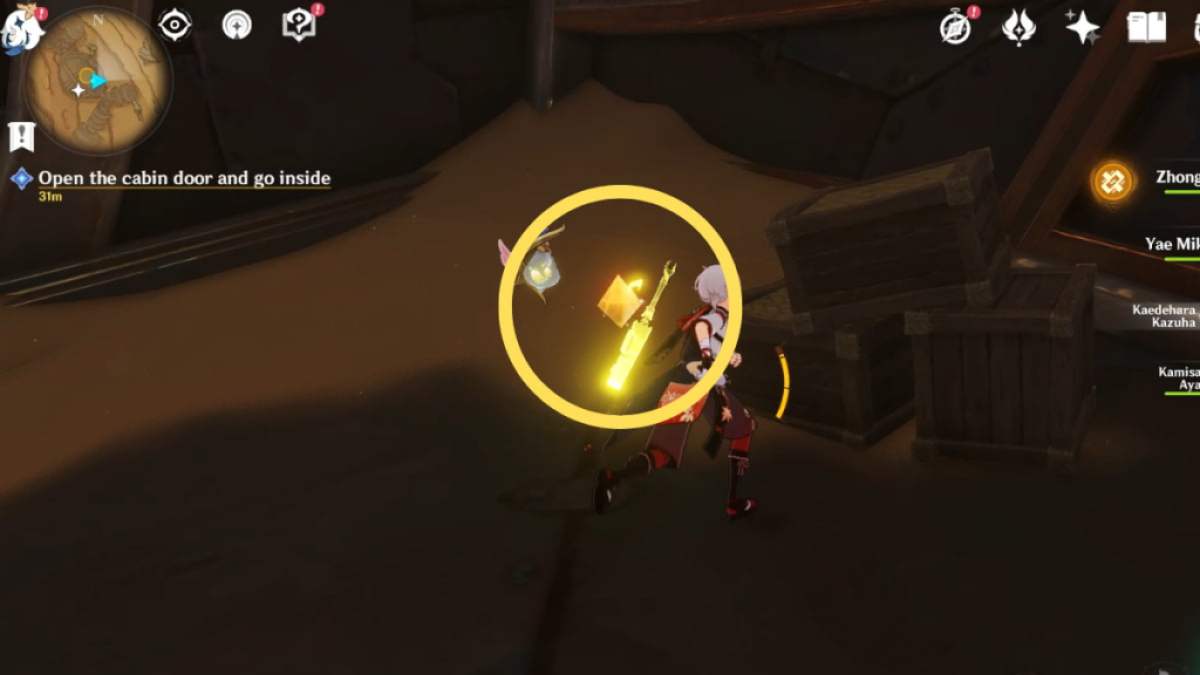
Next, turn right to find a big crate at the corner. Use any Normal Attack to break the crate, revealing the third Energy Block. Pick it up so that you have three floating around you.

Go to the front of the locked gate and Place the three Energy Blocks onto the power relay on the ground. This will open the gate and allow you to explore the interior of the Ruin Golem. Go inside to trigger dialogue with the exploration party.
Activate the giant machine’s energy system
In this segment, you need to pick up the Energy Block in front of the elevator and slot it into nearby power lines to obtain more Energy Blocks. These can then be used to power up the three large cylinders on the lower floor. For a full walkthrough of this puzzle, please refer to How to Activate the giant machine’s energy system in Genshin Impact.
Enter the control cabin

Approach the switch in front of the elevator and select Go to the top level. Once you've made the selection, enter the elevator and wait for it to bring you up two floors.

Once you're upstairs, climb the stairs leading to the circular cockpit, which acts as the control room for the Ruin Golem. If you've completed Afratu's Dilemma, this setup will look very familiar to you. Enter the control room to trigger dialogue with the exploration team.
Related: Genshin Impact The Eternal Dream, Ever Lush World Quest guide – The Dirge of Bilqis
Activate the machine
Interact with the controls in the control room to activate the machine. You'll then see the outside through the monitor. Click anywhere to prompt the Ruin Golem to move.
Check on the condition of the machine's interior
Wait for Azariq's dialogue to complete, then walk outside the control center to prompt the monitor screen to appear again. Wait for the dialogue to complete, then click anywhere to exit the monitor view. After some more conversations with the exploration team, you can move on to the next objective.
Restore power to the left arm
In this segment, you need to collect Energy Blocks to power up the machines on both sides of the control center. For a full walkthrough of this puzzle, please refer to How to Restore power to the left arm in Genshin Impact.
Go back to the control room and open the passage

Enter the control room at the center of the top floor and interact with the controls to Activate the Ruin Golem. The monitor will show up once again—this time, you need to click on the sparkling spots to prompt the Ruin Golem to punch open a cave entrance.
Enter the cave through the ancient machine's arm

Glide downward to the middle floor and enter the opening northeast of the mini-map. You'll find yourself in a long tunnel. Keep moving forward until you reach the exit.

Head to the highlighted area in the mini-map (turn on the quest navigator if you don't see it), which will take you to the entrance of a cave that's visibly purple inside. Enter the cave and follow the path forward until you reach the edge of the cliff.
Activate the ancient mechanism
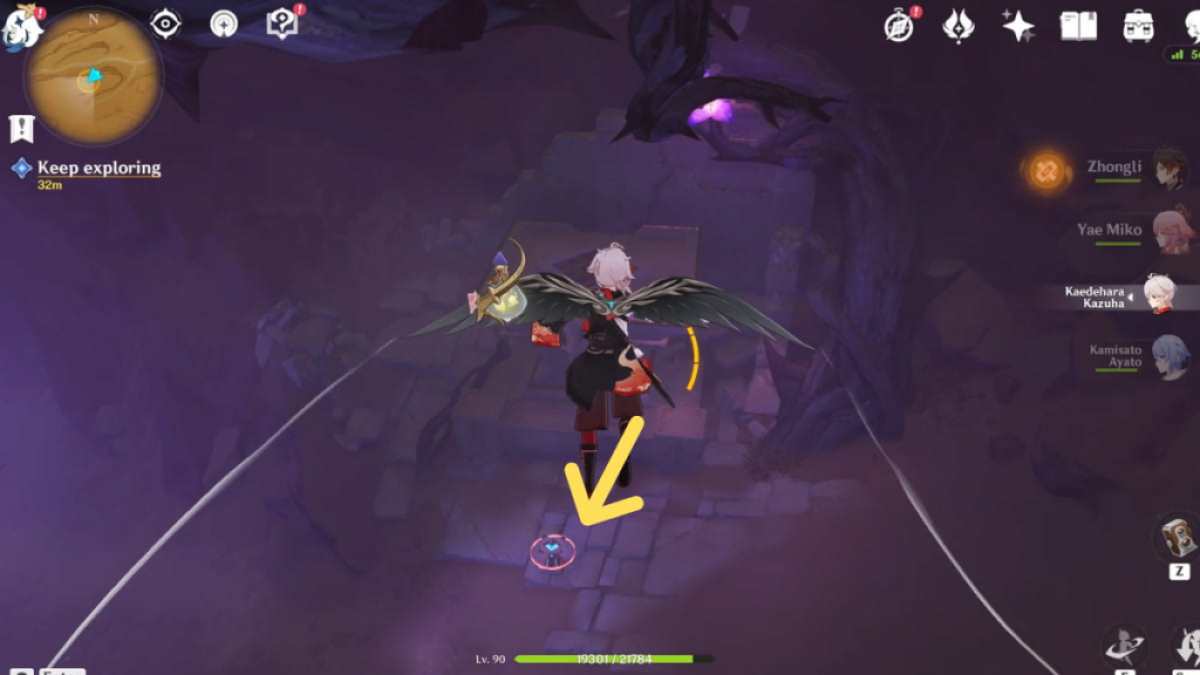
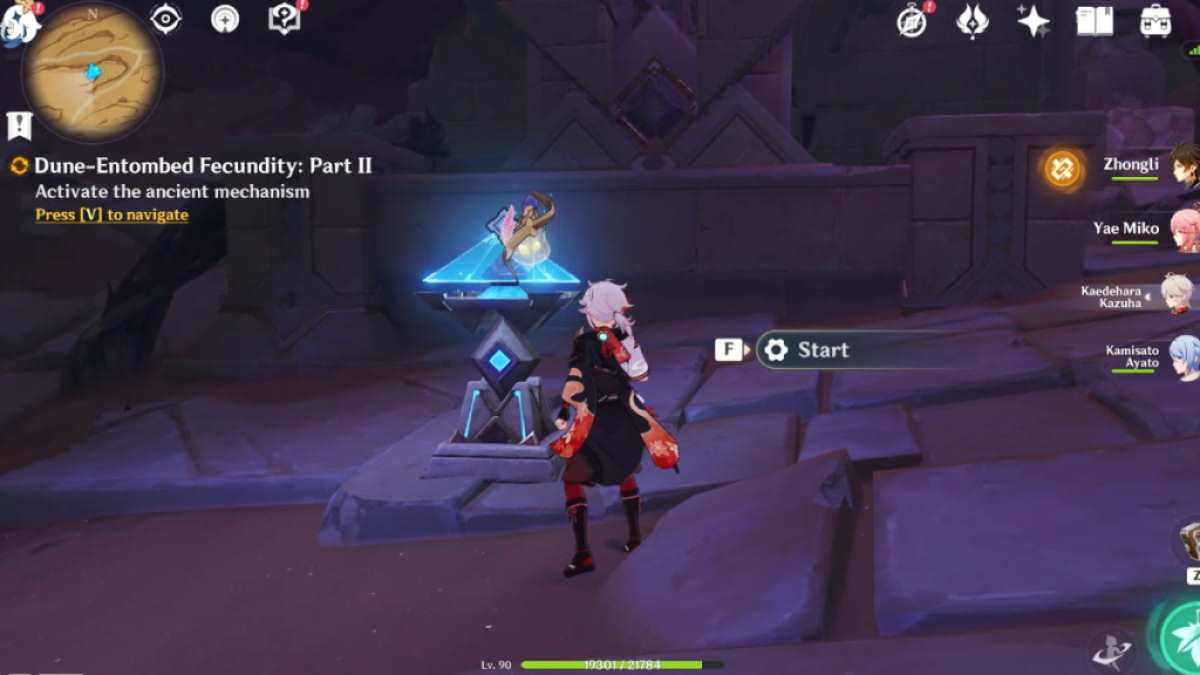
Glide down toward the locked mechanism. It will automatically unlock upon approaching. Interact with it to start up the "water," which has turned into sand.
Go deeper into Mt. Damavand

Head to the other side of the cave, marked by a large gate. To its right, you'll find a mechanism that you must interact with to open the gate and continue exploring indoors. Entering the room will trigger a dialogue.
Look for the passage to proceed
In this segment, you need to solve an ancient mechanism puzzle to unlock a string of mechanisms throughout the building, which will open up another door that will take you to the passage in question. Refer to our guide on How to Look for the passage to proceed in Genshin Impact for a full walkthrough of the puzzle solution.
Proceed deeper
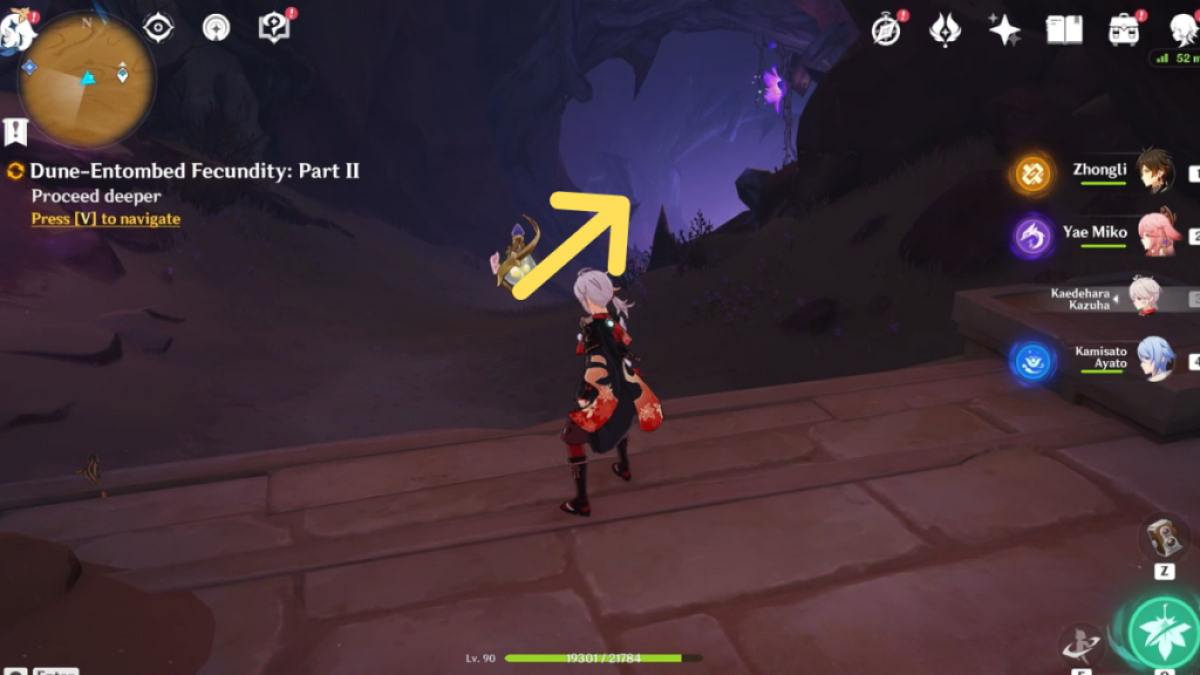
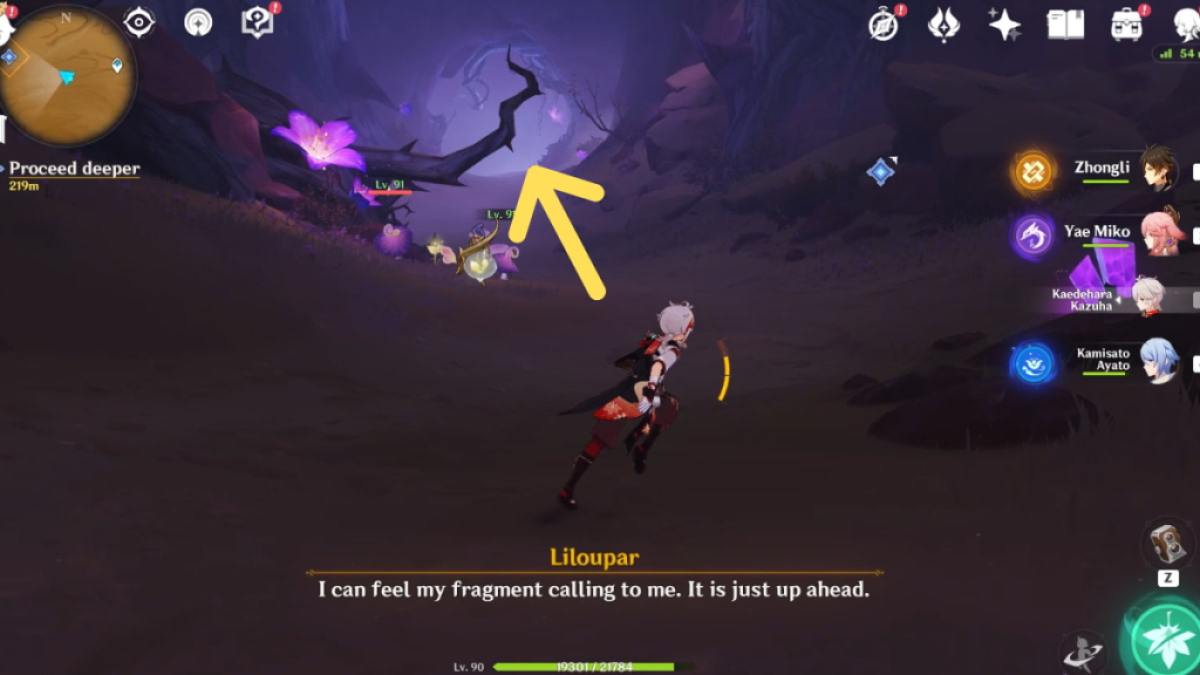
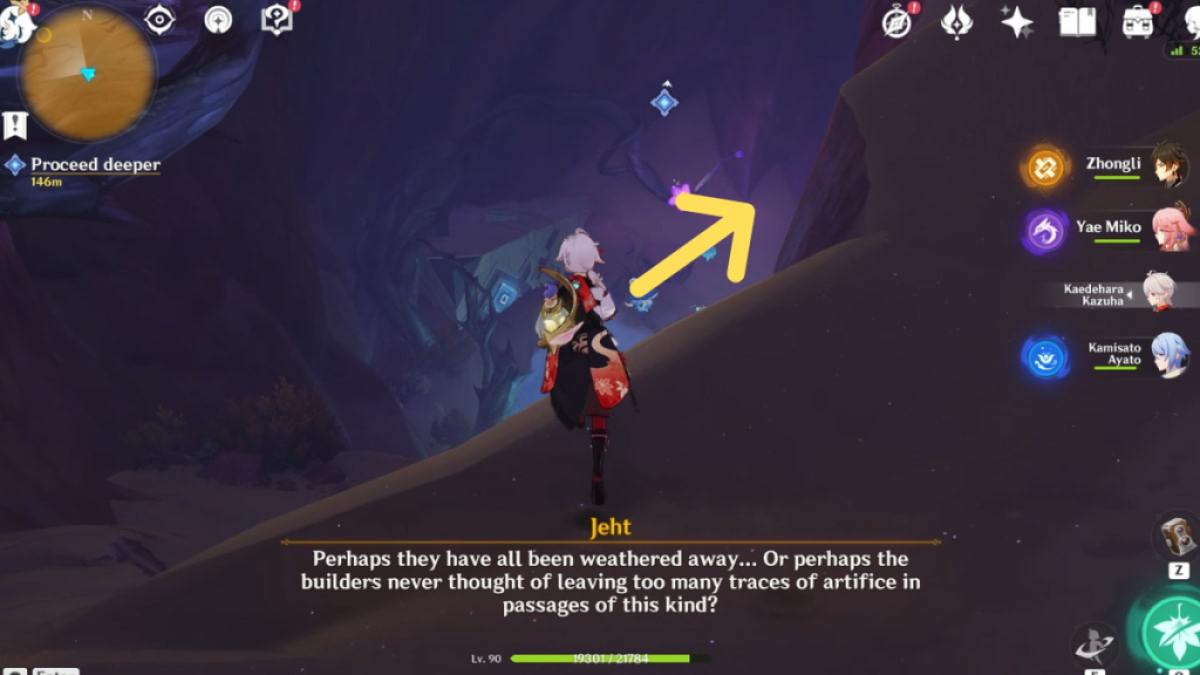
After crossing through the door, head to the tunnel emanating purple light to head to the depths of the cave. The path is wide but one-way, so there's no chance of getting lost. Simply keep going forward—you can reference the slideshow above to ensure you're on the right track. At the last leg of the tunnel, the path will split. Choose to climb the stairs and go forward to trigger dialogue with the exploration party.
Connect the junctions
You must enter the room at the top of the stairs and solve a puzzle to get access to the Primal Ember, which will repair the broken ancient mechanism outside. Refer to our guide on How to connect the junctions in Dune-Entombed Fecundity Part II for a full walkthrough of the puzzle solution.
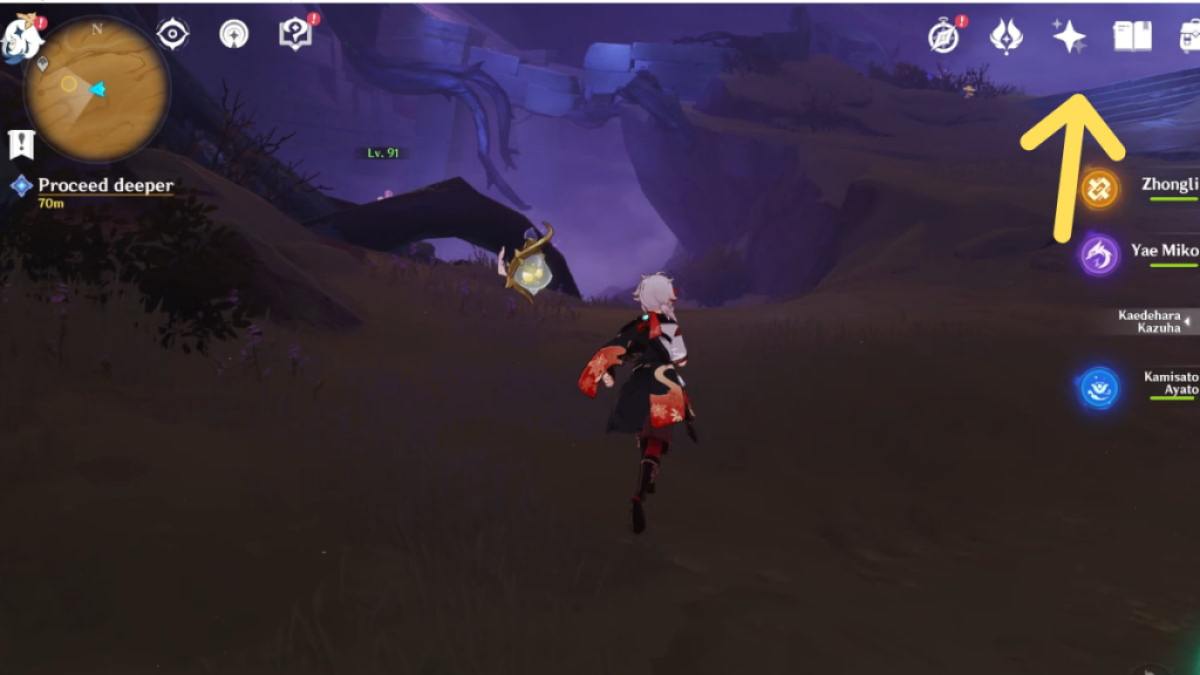
Proceed deeper

Go up the stairs located to the left of the connected junctions. You need to go up a few flights of stairs, and a hidden Teleport Waypoint is waiting for you at the top. We highly recommend activating it for ease of transport.
Open the ancient gate

From the top of the stairs, head toward the direction of the ancient gate (pictured above). You'll find a mechanism in front of it. Interact with the mechanism to open the gate, and enter to proceed.
Proceed deeper

Upon entering the room, you'll find an Exquisite Chest. Loot it to obtain a Quest Item called Soulferry, which will be used for a World Quest later down the line. Once done, keep going forward to find a Primal Ember. Release it and follow it to its next post.

When the Primal Ember rests on the second post, Release it again and follow it until it lights up the Primal Torch.
Obtain Liloupar's fragment
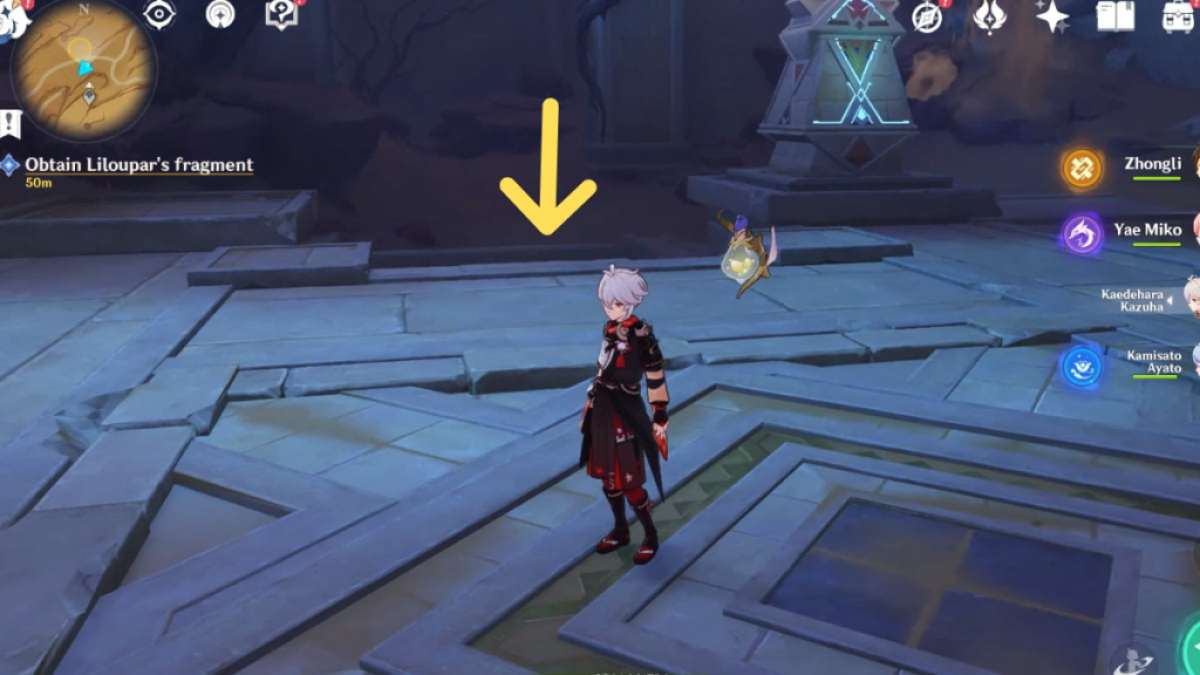
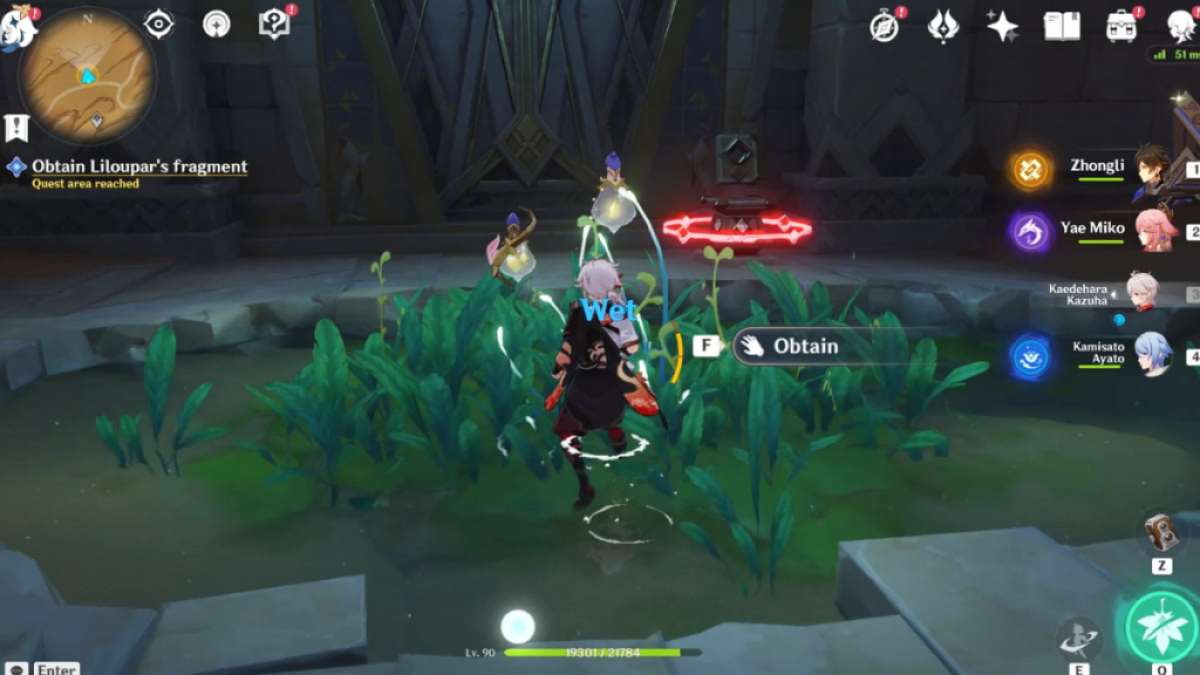
To the left of the Primal Torch, you'll find a staircase that leads underground. Go down to find a small clearing with a patch of grass, where Liloupar's fragment is waiting for you. Interact with it to obtain the fragment and trigger dialogue with the exploration party.
Open the door
Interact with the Control Unit beside the remnants of Liloupar's fragment and solve the Rotating Cell and Primal Beam puzzle to unlock the mechanism required to open the door. Refer to How to Open the door in Dune-Entombed Fecundity Part II for a full walkthrough of the puzzle solution.
Go to the deepest part of Mt. Damavand

Enter the door to find an extension of the tunnel. Follow the path until you reach a massive crater. Carefully plunge down until you reach the designated quest area. You don't need to interact with anything but may have to plunge down a few times as the crater is deep. Consider turning on your quest navigation so you don't get lost underground.
Activate the mysterious mechanism

Interact with the nearby ancient mechanism to prompt a small cutscene.
Activate the mechanism

Glide down to the platform at the bottom of the cave to find a yellow mechanism. Interact with it to spawn Primal Constructs and fungi in waves. Defeat them all while protecting the mechanism (similar to a Ley Line protection challenge) to complete this segment.
Head to the exit

Follow the sand toward the pyramid-shaped exit. Once you're outside, you'll trigger dialogue with the exploration party.
Return to the surface
Follow the quest navigator to the northwest of the Desert of Hadramaveth, where the Ruin Golem has relocated. You can use the nearby Teleport Waypoint to travel faster. Heading to the area will trigger dialogue with the exploration party and immediately start the next World Quest in the series, the Dune-Entombed Fecundity: Part III.
To play through the sequel of The Dirge of Bilqis, check out Genshin Impact Rejoice With Me, for What Was Lost Is Now Found World Quest guide here on Pro Game Guides.